How To Fix Car Door Trim: A Comprehensive Guide
Fixing car door trim can seem daunting, but with the right tools and techniques, it’s a manageable task. This guide from CARDIAGTECH.NET, will walk you through each step, ensuring a professional finish. Learn about automotive trim repair, door panel restoration, and essential auto body tools for a seamless repair.
1. Understanding Car Door Trim Issues
Before diving into the repair process, it’s important to understand the common issues that affect car door trim. Identifying the problem accurately will help you choose the right repair method and materials. Here are some typical scenarios:
- Loose Trim: This is perhaps the most common issue. Trim pieces may become loose due to worn-out adhesive, broken clips, or physical damage.
- Detached Trim: Sometimes, trim can completely detach from the door. This could be due to severe weather conditions, accidental impacts, or simply aging adhesive.
- Damaged Trim: Scratches, dents, or cracks in the trim can detract from your car’s appearance.
- Faded or Discolored Trim: Over time, exposure to sunlight and the elements can cause trim to fade or become discolored.
1.1. Common Causes of Car Door Trim Damage
Several factors can contribute to car door trim damage. Understanding these causes can help you prevent future issues:
- Weather Exposure: Extreme temperatures, UV rays, and moisture can degrade the adhesive and materials used in the trim.
- Physical Impact: Minor collisions, car washes, or even accidentally bumping the trim can cause it to loosen or break.
- Age and Wear: Over time, the materials used in car door trim, such as plastic and rubber, can become brittle and prone to damage.
- Improper Installation: If the trim was not installed correctly from the start, it’s more likely to come loose or become damaged.
- Using Harsh Cleaning Products: Some cleaning products can damage the finish or adhesive on the trim, leading to deterioration.
1.2. Identifying the Type of Car Door Trim
Car door trim comes in various materials and styles, each requiring a specific approach for repair. Common types include:
- Chrome Trim: Often found on older vehicles, chrome trim can be challenging to repair due to its rigid nature and potential for rust.
- Plastic Trim: Plastic trim is common on modern cars and is generally easier to work with. However, it can be prone to cracking and fading.
- Rubber Trim: Rubber trim is often used around windows and doors to create a seal. It can become brittle and crack over time.
- Vinyl Trim: Vinyl trim is a cost-effective option that can mimic the look of leather or other materials. It’s relatively easy to clean and maintain.
2. Essential Tools and Materials
Before you begin, gather all the necessary tools and materials. Having everything on hand will make the process smoother and more efficient. At CARDIAGTECH.NET, we ensure you have access to the best equipment for the job.
- Adhesive Remover: Essential for removing old adhesive without damaging the car’s paint.
- Surface Cleaner: To clean both the trim and the car’s surface before applying new adhesive.
- Primer: Enhances adhesion, especially on difficult surfaces like chrome or plastic.
- Adhesive: Choose a high-quality adhesive that is suitable for automotive use and resistant to weather.
- Heat Gun: Can be used to soften old adhesive for easier removal.
- Trim Removal Tools: Plastic tools designed to remove trim without scratching the paint.
- Gloves: Protect your hands from chemicals and adhesives.
- Clean Cloths: For cleaning and wiping surfaces.
- Masking Tape: To protect the surrounding areas and hold the trim in place while the adhesive cures.
- Safety Glasses: Protect your eyes from debris and chemicals.
2.1. Recommended Adhesives and Sealants
Choosing the right adhesive is crucial for a lasting repair. Here are some top recommendations available at CARDIAGTECH.NET:
- Weicon Super-Tack Adhesive Sealant: Known for its high initial adhesion and resistance to weather conditions.
- 3M Automotive Acrylic Plus Attachment Tape: A strong, double-sided tape that is ideal for attaching trim pieces.
- Loctite PL Premium Polyurethane Construction Adhesive: A versatile adhesive that provides a strong and durable bond.
2.2. Safety Precautions
Working with adhesives and tools requires safety precautions to protect yourself and your vehicle:
- Ventilation: Work in a well-ventilated area to avoid inhaling fumes from adhesives and cleaners.
- Eye Protection: Always wear safety glasses to protect your eyes from splashes and debris.
- Hand Protection: Wear gloves to prevent skin irritation and protect your hands from harsh chemicals.
- Read Instructions: Carefully read and follow the instructions on all products you use.
- Avoid Open Flames: Many adhesives and cleaners are flammable, so avoid working near open flames or sparks.
3. Step-by-Step Guide to Fixing Car Door Trim
Follow these steps to effectively fix your car door trim.
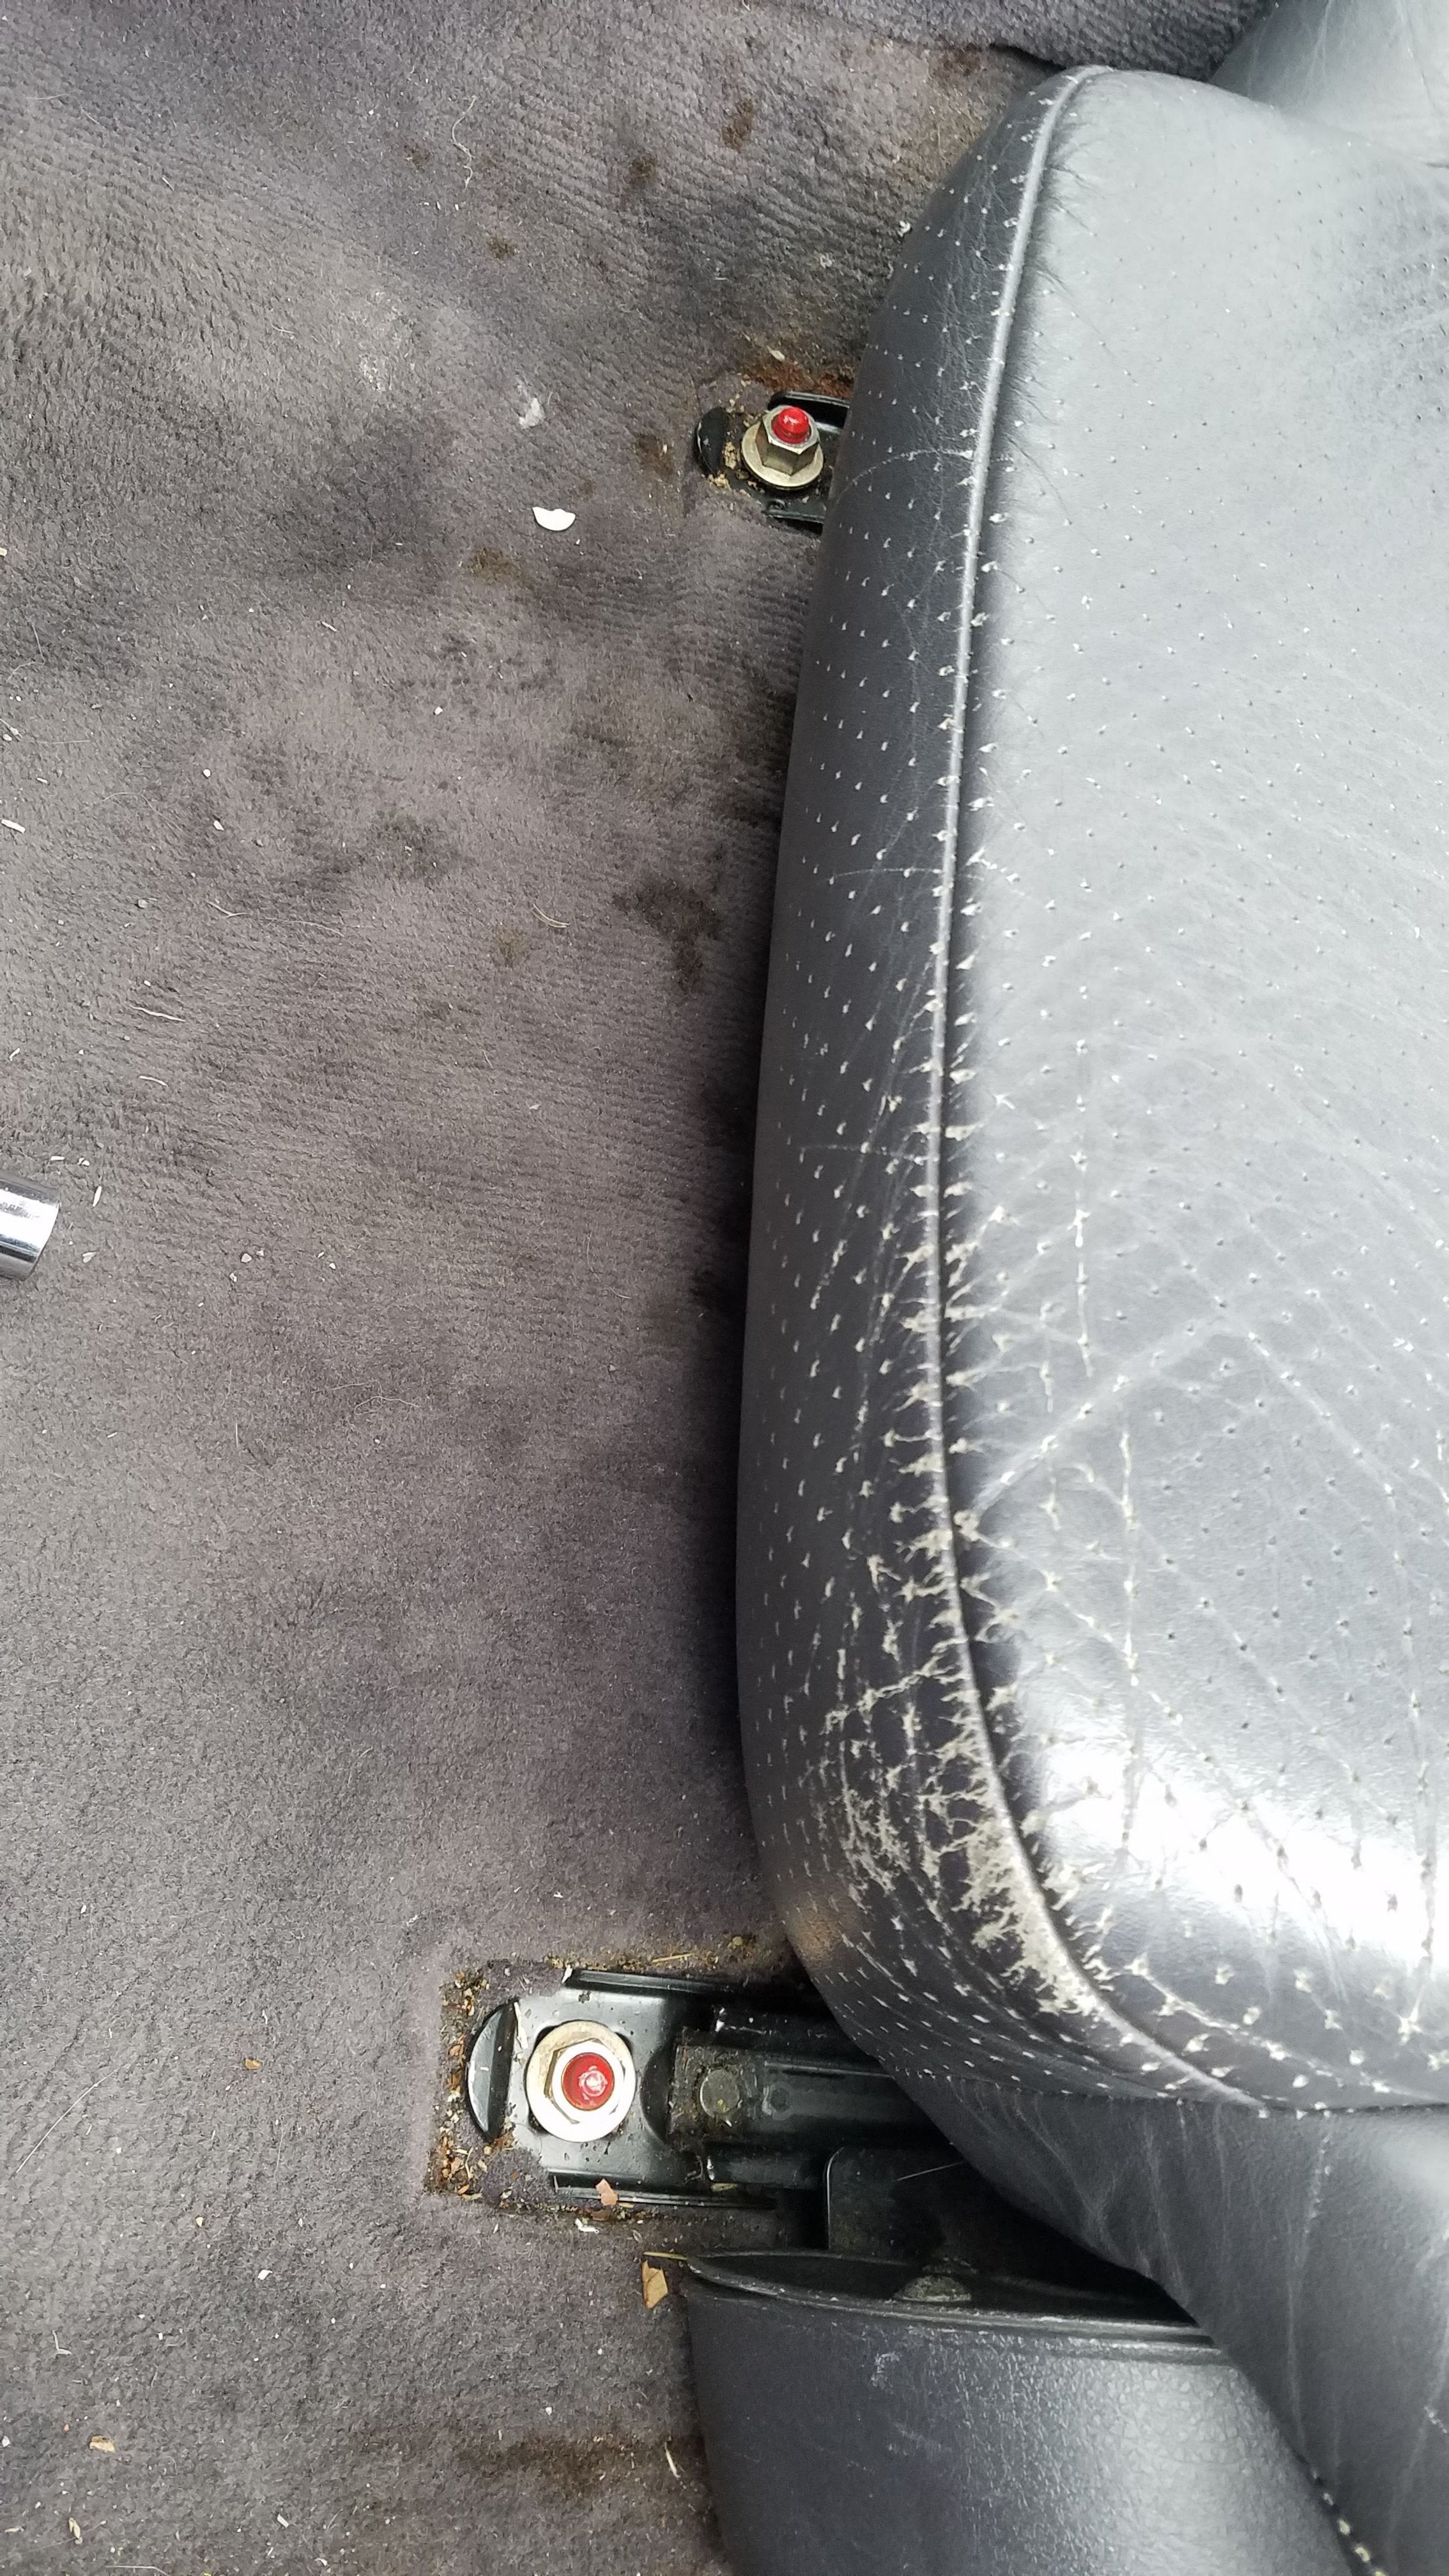
3.1. Removing the Old Trim
- Assess the Damage: Before removing the trim, assess the extent of the damage and how the trim is attached (e.g., clips, adhesive).
- Use Trim Removal Tools: Gently insert trim removal tools between the trim and the car door to release any clips or fasteners.
- Apply Heat: If the trim is held on with adhesive, use a heat gun to soften the adhesive. Be careful not to overheat the paint.
- Carefully Pry: Gently pry the trim away from the door, working slowly to avoid damaging the trim or the car’s paint.
- Remove Residue: Once the trim is removed, use an adhesive remover to clean any remaining adhesive residue from both the trim and the car door.
Alt Text: Thoroughly cleaning car surfaces with a cleaner spray to remove residue before bonding.
3.2. Cleaning and Preparing the Surfaces
- Clean the Trim: Thoroughly clean the back of the trim piece to remove any dirt, grease, or old adhesive.
- Clean the Car Door: Clean the area on the car door where the trim will be attached. Use a surface cleaner to remove any wax, polish, or contaminants.
- Dry the Surfaces: Ensure both surfaces are completely dry before proceeding.
3.3. Applying Primer (If Necessary)
- Identify Materials: Determine if the materials being bonded (e.g., automotive paint and chrome) require a primer.
- Apply Primer: If necessary, apply a thin, even coat of primer to both the trim and the car door.
- Allow to Dry: Let the primer dry completely according to the manufacturer’s instructions. Typically, this takes about 10-15 minutes.
Alt Text: Applying primer K 200 to car surfaces to enhance adhesion before bonding.
3.4. Applying Adhesive
- Choose the Right Adhesive: Select an adhesive that is suitable for the materials being bonded and the environmental conditions.
- Apply Adhesive: Apply a thin, even layer of adhesive to the back of the trim piece. Follow the manufacturer’s instructions for application.
- Avoid Excess Adhesive: Use just enough adhesive to create a strong bond, but avoid applying too much, which can create a mess.
Alt Text: Applying adhesive in an S-shaped pattern to the car trim for even distribution and strong bonding.
3.5. Reattaching the Trim
- Position the Trim: Carefully position the trim piece onto the car door, aligning it correctly.
- Press Firmly: Press the trim firmly against the car door, applying even pressure along the entire length of the trim.
- Use Masking Tape: Use masking tape to hold the trim in place while the adhesive cures. This will prevent the trim from shifting and ensure a strong bond.
- Allow to Cure: Allow the adhesive to cure completely according to the manufacturer’s instructions. This may take 24 hours or more.
3.6. Final Touches
- Remove Masking Tape: Once the adhesive is fully cured, carefully remove the masking tape.
- Clean Excess Adhesive: Use a clean cloth and adhesive remover to clean any excess adhesive that may have squeezed out.
- Inspect the Repair: Inspect the repair to ensure the trim is securely attached and that there are no gaps or imperfections.
4. Dealing with Specific Types of Trim
Different types of trim require different approaches. Here’s how to handle some common types:
4.1. Chrome Trim
- Cleaning: Use a chrome cleaner to remove any rust or corrosion before applying adhesive.
- Primer: Always use a primer designed for metal surfaces to ensure a strong bond.
- Adhesive: Choose an adhesive that is specifically designed for metal, such as an epoxy or a metal-bonding adhesive.
4.2. Plastic Trim
- Preparation: Use a plastic cleaner to remove any mold release agents or contaminants from the plastic surface.
- Adhesive: Choose an adhesive that is designed for plastic, such as an acrylic adhesive or a plastic-bonding adhesive.
- Clips: If the trim uses clips, make sure they are in good condition and properly aligned before reattaching the trim.
4.3. Rubber Trim
- Flexibility: Choose an adhesive that remains flexible after curing, such as a rubber-based adhesive or a silicone sealant.
- Sealing: Ensure the adhesive creates a watertight seal to prevent water from entering the car.
- Replacement: If the rubber trim is severely damaged, consider replacing it rather than attempting a repair.
5. Preventing Future Trim Damage
Taking preventative measures can help you avoid future trim damage:
- Regular Cleaning: Regularly clean your car’s trim to remove dirt, grime, and contaminants.
- Protective Products: Apply protective products, such as trim protectants or UV protectants, to help prevent fading and damage from the sun.
- Careful Washing: Be careful when washing your car, especially in automatic car washes. Avoid using brushes that could damage the trim.
- Park Smart: Park in shaded areas or use a car cover to protect your car from the elements.
- Prompt Repairs: Address any minor damage or looseness promptly to prevent it from becoming a bigger problem.
6. Advanced Repair Techniques
For more complex trim repairs, you may need to employ advanced techniques:
6.1. Repairing Cracked Trim
- Plastic Welding: Use a plastic welder to repair cracks in plastic trim. This involves melting the plastic together to create a strong bond.
- Filler: Use a plastic filler to fill in any gaps or imperfections in the trim. Sand the filler smooth before painting.
- Painting: Paint the repaired trim to match the original color of your car. Use automotive-grade paint and clear coat for a durable finish.
6.2. Restoring Faded Trim
- Cleaning: Thoroughly clean the faded trim to remove any dirt or contaminants.
- Sanding: Lightly sand the trim to create a smooth surface for painting.
- Primer: Apply a primer designed for plastic or metal, depending on the type of trim.
- Painting: Paint the trim with automotive-grade paint and clear coat. Apply several thin coats for a smooth, even finish.
7. DIY vs. Professional Repair
Deciding whether to tackle the repair yourself or hire a professional depends on your skill level and the complexity of the job.
7.1. When to DIY
- Minor Damage: If the damage is minor, such as a loose trim piece or a small crack, you may be able to handle the repair yourself.
- Basic Skills: If you have basic automotive repair skills and are comfortable working with tools and adhesives, a DIY repair may be a good option.
- Cost Savings: DIY repairs can save you money on labor costs.
7.2. When to Hire a Professional
- Extensive Damage: If the damage is extensive, such as a large crack or a missing trim piece, it’s best to hire a professional.
- Complex Repairs: If the repair requires specialized tools or techniques, such as plastic welding or painting, a professional will have the expertise to do the job correctly.
- Warranty Concerns: If your car is still under warranty, attempting a DIY repair could void the warranty.
8. Cost Considerations
The cost of fixing car door trim can vary depending on the extent of the damage and whether you choose to DIY or hire a professional.
8.1. DIY Costs
- Materials: The cost of materials, such as adhesive, cleaner, and primer, can range from $20 to $50.
- Tools: If you don’t already have the necessary tools, such as trim removal tools or a heat gun, you may need to purchase them. This can add an additional $20 to $100 to the cost.
8.2. Professional Repair Costs
- Labor: Labor costs can range from $50 to $100 per hour, depending on the shop and the complexity of the repair.
- Parts: If the trim piece needs to be replaced, the cost of the part can range from $50 to $200 or more, depending on the make and model of your car.
8.3. Cost Comparison Table
| Repair Type | DIY Cost | Professional Cost |
|---|---|---|
| Loose Trim | $20 – $50 | $100 – $200 |
| Cracked Trim | $50 – $150 | $200 – $400 |
| Missing Trim | $50 – $200 | $200 – $500+ |
| Faded/Discolored Trim | $30 – $100 | $150 – $300 |
9. Maintaining Your Car’s Appearance
Keeping your car’s trim in good condition is essential for maintaining its overall appearance. Regular maintenance and prompt repairs can help prevent more extensive damage and keep your car looking its best.
9.1. Tips for Long-Term Maintenance
- Regular Cleaning: Wash your car regularly, paying attention to the trim. Use a mild soap and water solution and a soft brush to remove dirt and grime.
- Protective Products: Apply a trim protectant to help prevent fading and cracking.
- Inspect Regularly: Inspect your car’s trim regularly for any signs of damage or looseness.
- Address Issues Promptly: Address any issues promptly to prevent them from becoming bigger problems.
9.2. When to Consider Replacement
- Severe Damage: If the trim is severely damaged, such as a large crack or a missing piece, it may be more cost-effective to replace it rather than repair it.
- Availability: If the trim is no longer available from the manufacturer, you may need to consider aftermarket options or salvage yards.
- Cost: Compare the cost of repairing the trim to the cost of replacing it. In some cases, replacement may be the more economical option.
10. Frequently Asked Questions (FAQs)
Here are some frequently asked questions about fixing car door trim:
-
What is car door trim?
Car door trim refers to the decorative and protective pieces that are attached to the exterior and interior of car doors. -
Why does car door trim come loose?
Common causes include weather exposure, physical impact, aging adhesive, and improper installation. -
Can I fix car door trim myself?
Yes, minor damage like loose trim can often be fixed DIY, but extensive damage may require a professional. -
What tools do I need to fix car door trim?
Essential tools include adhesive remover, surface cleaner, primer, adhesive, trim removal tools, gloves, and masking tape. -
What type of adhesive should I use?
Choose an adhesive suitable for automotive use and resistant to weather, such as Weicon Super-Tack Adhesive Sealant or 3M Automotive Acrylic Plus Attachment Tape. -
How do I remove old adhesive residue?
Use an adhesive remover and a clean cloth to gently remove any remaining adhesive residue without damaging the paint. -
Is primer necessary for reattaching trim?
Primer enhances adhesion, especially on difficult surfaces like chrome or plastic, and is highly recommended. -
How long does it take for the adhesive to cure?
Adhesive curing time varies; typically, it takes 24 hours or more. Refer to the manufacturer’s instructions for specific details. -
How can I prevent future trim damage?
Regular cleaning, protective products, careful washing, smart parking, and prompt repairs can prevent future trim damage. -
When should I hire a professional for trim repair?
Hire a professional for extensive damage, complex repairs requiring specialized tools, or if you have warranty concerns.
11. CARDIAGTECH.NET: Your Partner in Auto Repair
At CARDIAGTECH.NET, we understand the challenges faced by automotive technicians and car enthusiasts. Our mission is to provide high-quality tools and equipment that enhance efficiency, accuracy, and safety in your work. We are committed to supporting your success by offering:
- Wide Range of Products: From diagnostic tools to repair equipment, we have everything you need to tackle any automotive job.
- Expert Advice: Our team of experienced technicians is available to provide expert advice and support.
- Competitive Prices: We offer competitive prices on all our products, so you can get the best value for your money.
- Exceptional Customer Service: We are committed to providing exceptional customer service and ensuring your satisfaction.
11.1. Addressing Customer Challenges
We recognize the challenges you face in your daily work, including the physical demands, exposure to harsh chemicals, and the need to stay updated with the latest automotive technology. Our products are designed to:
- Enhance Efficiency: Reduce repair time and increase productivity.
- Improve Accuracy: Ensure precise and accurate repairs.
- Promote Safety: Protect you from harm with reliable and safe tools.
11.2. Meeting Customer Needs
We are dedicated to providing services that help you:
- Increase Revenue: Boost your shop’s profitability with efficient and effective tools.
- Enhance Reputation: Improve the quality of your service and build a loyal customer base.
- Stay Competitive: Keep up with the latest technology and trends in the automotive industry.
Are you ready to elevate your automotive repair capabilities? Contact us at CARDIAGTECH.NET today for a consultation on the best tools and equipment for your needs. Our experts are ready to assist you in selecting the perfect solutions to enhance your efficiency, accuracy, and safety.
Contact Information:
- Address: 276 Reock St, City of Orange, NJ 07050, United States
- WhatsApp: +1 (641) 206-8880
- Website: CARDIAGTECH.NET
Let CARDIAGTECH.NET be your trusted partner in achieving excellence in automotive repair.