How Much Is It to Fix Wiring in a Car? Expert Guide
Fixing wiring issues in your car can be a complex and potentially expensive endeavor. At CARDIAGTECH.NET, we understand the importance of a properly functioning electrical system for your vehicle’s safety and performance, offering a range of diagnostic tools to pinpoint the exact problem. Addressing electrical problems promptly is crucial, and this comprehensive guide will delve into the costs associated with fixing car wiring, common causes of wiring issues, and preventative measures to keep your car’s electrical system in top shape.
1. Understanding Car Wiring Repair Costs
The cost to fix wiring in a car can vary significantly, typically ranging from $88-$111 to diagnose the issue and $1,300-$2,000 to repair. The final price depends on several factors, including the extent of the damage, the complexity of the wiring system, the type of vehicle, and the labor rates in your area.
1.1. Factors Affecting Wiring Repair Costs
- Diagnostic Fees: The initial step involves diagnosing the electrical problem, which can cost between $88 and $111. This fee covers the mechanic’s time to identify the specific wiring issue.
- Extent of Damage: Minor repairs, such as replacing a shorted wire or fixing a loose connection, will be less expensive than replacing an entire wiring harness.
- Vehicle Type: Luxury and high-performance vehicles often have more complex wiring systems, which can increase repair costs.
- Labor Costs: Labor rates vary by location and shop. Dealerships tend to have higher labor rates than independent repair shops.
- Parts Costs: The cost of replacement wires, connectors, and other components can add to the overall expense.
1.2. Average Costs for Specific Wiring Repairs
While it’s difficult to provide an exact estimate without diagnosing the specific problem, here are some average costs for common wiring repairs:
| Repair Type | Average Cost |
|---|---|
| Short Circuit Repair | $100 – $300 |
| Wiring Harness Replacement | $500 – $2,000+ |
| Connector Replacement | $50 – $200 |
| Grounding Issue Repair | $80 – $250 |
| Diagnosing Electrical Problem | $88 – $111 |
These figures are estimates and can vary based on the factors mentioned above.
This image illustrates a typical car wiring diagram, showcasing the intricate network of wires and components that power your vehicle’s electrical system.
2. Common Car Wiring Problems
Several issues can lead to wiring problems in your car. Understanding these common causes can help you identify potential problems early and take preventative measures.
2.1. Rodent Damage
Rodents, such as mice and rats, often chew on car wires, especially when the vehicle is parked for extended periods. This can cause short circuits, broken connections, and other electrical problems.
2.2. Corrosion
Corrosion can occur due to moisture, road salt, and other environmental factors. Corrosion can damage wires and connectors, leading to poor electrical connections and malfunctions.
2.3. Loose Connections
Over time, vibrations and temperature changes can cause wiring connections to loosen. Loose connections can result in intermittent electrical problems and, in some cases, complete failure of a circuit.
2.4. Overloading Circuits
Adding too many electrical accessories or using incorrect fuses can overload circuits, causing wires to overheat and melt. This can lead to short circuits and potential fires.
2.5. Wear and Tear
Like any other part of your car, wires can wear out over time due to constant flexing, exposure to heat, and general degradation. Worn wires can become brittle and crack, leading to electrical problems.
2.6. Aftermarket Installations
Improperly installed aftermarket accessories, such as stereos, alarms, and lighting systems, can damage the car’s wiring system. Poor wiring techniques and incorrect connections can cause a variety of electrical issues.
2.7. Accidents and Collisions
Accidents and collisions can damage the car’s wiring system, causing wires to break, short circuit, or become disconnected. Even minor accidents can result in hidden wiring damage that can cause problems later on.
3. Diagnosing Car Wiring Problems
Diagnosing car wiring problems requires specialized tools and expertise. Mechanics use a variety of techniques to identify the source of electrical issues.
3.1. Visual Inspection
The first step in diagnosing a wiring problem is a thorough visual inspection. Mechanics will look for obvious signs of damage, such as chewed wires, corrosion, loose connections, and melted insulation.
3.2. Multimeter Testing
A multimeter is a versatile tool used to measure voltage, current, and resistance in electrical circuits. Mechanics use multimeters to check for continuity, voltage drops, and shorts in the wiring system.
3.3. Scan Tools
Modern vehicles have complex electronic systems controlled by computers. Scan tools can read diagnostic trouble codes (DTCs) stored in the car’s computer, which can provide clues about the source of electrical problems.
3.4. Wiring Diagrams
Wiring diagrams are detailed schematics that show the layout of the car’s electrical system. Mechanics use wiring diagrams to trace circuits and identify potential problem areas.
3.5. Circuit Testers
Circuit testers are simple tools that can quickly check for the presence of voltage in a circuit. These tools are useful for identifying blown fuses and other basic electrical problems.
3.6. Oscilloscopes
Oscilloscopes are advanced diagnostic tools that can display electrical signals in a graphical format. Mechanics use oscilloscopes to analyze complex electrical problems and identify intermittent issues.
4. Step-by-Step Guide to Fixing Car Wiring
While some wiring repairs are best left to professionals, there are a few basic repairs that you can attempt yourself. Always disconnect the battery before working on any electrical system.
4.1. Gathering Tools and Materials
Before starting any wiring repair, gather the necessary tools and materials. These may include:
- Wire strippers
- Crimpers
- Pliers
- Electrical tape
- Wire connectors
- Heat shrink tubing
- Multimeter
- Wiring diagram (for your specific vehicle)
- Replacement wire (same gauge as the original)
4.2. Identifying the Damaged Wire
Use a multimeter to test the continuity of the wire. If there is no continuity, the wire is broken or damaged. Visually inspect the wire for any signs of damage, such as cuts, breaks, or melted insulation.
4.3. Stripping the Wire
Use wire strippers to remove a small amount of insulation from each end of the wire. Be careful not to cut or nick the wire strands.
4.4. Connecting the Wire
There are several ways to connect the wire. One common method is to use wire connectors. Insert the stripped ends of the wires into the connector and crimp it securely. Another method is to solder the wires together and then cover the connection with heat shrink tubing.
4.5. Insulating the Connection
Wrap the connection with electrical tape to insulate it and protect it from moisture and corrosion. If you used heat shrink tubing, use a heat gun to shrink the tubing and create a tight seal.
4.6. Testing the Repair
Reconnect the battery and test the circuit to make sure it is working properly. Use a multimeter to check for voltage and continuity. If the circuit is still not working, re-examine the wiring and connections to identify any potential problems.
4.7. Professional Assistance
If you’re not comfortable performing the wiring repair yourself, or if the problem is more complex, seek professional assistance from a qualified mechanic. Electrical problems can be dangerous, and it’s always best to err on the side of caution.
This image illustrates a mechanic using diagnostic tools to inspect and repair car wiring, highlighting the expertise required for complex electrical issues.
5. Preventing Car Wiring Issues
Preventing car wiring issues can save you time and money in the long run. Here are some tips to keep your car’s electrical system in top shape.
5.1. Regular Inspections
Have your car’s electrical system inspected regularly by a qualified mechanic. They can identify potential problems early and address them before they become major issues.
5.2. Protect Against Rodents
Take steps to protect your car from rodents. Park your car in a garage if possible, and use rodent repellents to keep them away from your vehicle.
5.3. Keep It Clean
Keep your car clean and dry to prevent corrosion. Wash your car regularly, especially during the winter months when road salt is used.
5.4. Secure Connections
Check wiring connections periodically and tighten any loose connections. Use dielectric grease to protect connections from moisture and corrosion.
5.5. Avoid Overloading Circuits
Avoid overloading circuits by using the correct fuses and limiting the number of electrical accessories you add to your car.
5.6. Professional Installations
Have aftermarket accessories installed by a qualified professional. They will ensure that the accessories are properly wired and connected to avoid damaging the car’s electrical system.
5.7. Address Problems Promptly
Address any electrical problems promptly. Ignoring minor issues can lead to more significant problems down the road.
6. Understanding Wire Gauges and Types
Choosing the correct wire gauge and type is crucial for safe and reliable wiring repairs.
6.1. Wire Gauges
Wire gauge refers to the thickness of the wire. The lower the gauge number, the thicker the wire. Thicker wires can carry more current without overheating. Using the wrong wire gauge can lead to overloaded circuits and potential fires.
| Wire Gauge | Amperage Capacity (Chassis Wiring) | Typical Uses |
|---|---|---|
| 10 AWG | 30 Amps | High-power accessories, such as amplifiers and electric fans |
| 12 AWG | 20 Amps | Headlights, power windows, and door locks |
| 14 AWG | 15 Amps | Taillights, brake lights, and turn signals |
| 16 AWG | 10 Amps | Interior lights and instrument panel lights |
| 18 AWG | 7.5 Amps | Low-power circuits, such as sensors and switches |
6.2. Wire Types
There are several types of wire used in automotive applications, each with its own characteristics and uses.
- GPT (General Purpose Thermoplastic): This is the most common type of wire used in cars. It is inexpensive and suitable for most low-voltage applications.
- SXL (Cross-Linked Polyethylene): This type of wire is more resistant to heat and abrasion than GPT wire. It is often used in engine compartments and other high-temperature areas.
- GXL (Cross-Linked Polyethylene): Similar to SXL wire, GXL wire is also heat and abrasion resistant. It is commonly used in automotive wiring harnesses.
- TXL (Thin Wall Cross-Linked Polyethylene): This type of wire has a thinner insulation layer than SXL and GXL wire, making it easier to work with in tight spaces.
- Marine Grade Wire: This type of wire is designed to withstand the harsh marine environment. It is corrosion-resistant and often used in boats and other marine vehicles.
7. Advanced Diagnostic Techniques
For complex wiring problems, advanced diagnostic techniques may be necessary to pinpoint the issue.
7.1. Voltage Drop Testing
Voltage drop testing involves measuring the voltage drop across a circuit while it is operating. A high voltage drop indicates excessive resistance in the circuit, which can be caused by corrosion, loose connections, or damaged wires.
7.2. Load Testing
Load testing involves applying a load to a circuit and measuring the voltage and current. This can help identify weak or failing components that are not able to handle the load.
7.3. Signal Tracing
Signal tracing involves using an oscilloscope to trace electrical signals through a circuit. This can help identify breaks or interruptions in the signal path.
7.4. Component Testing
Component testing involves testing individual electrical components, such as sensors, switches, and relays, to determine if they are functioning properly.
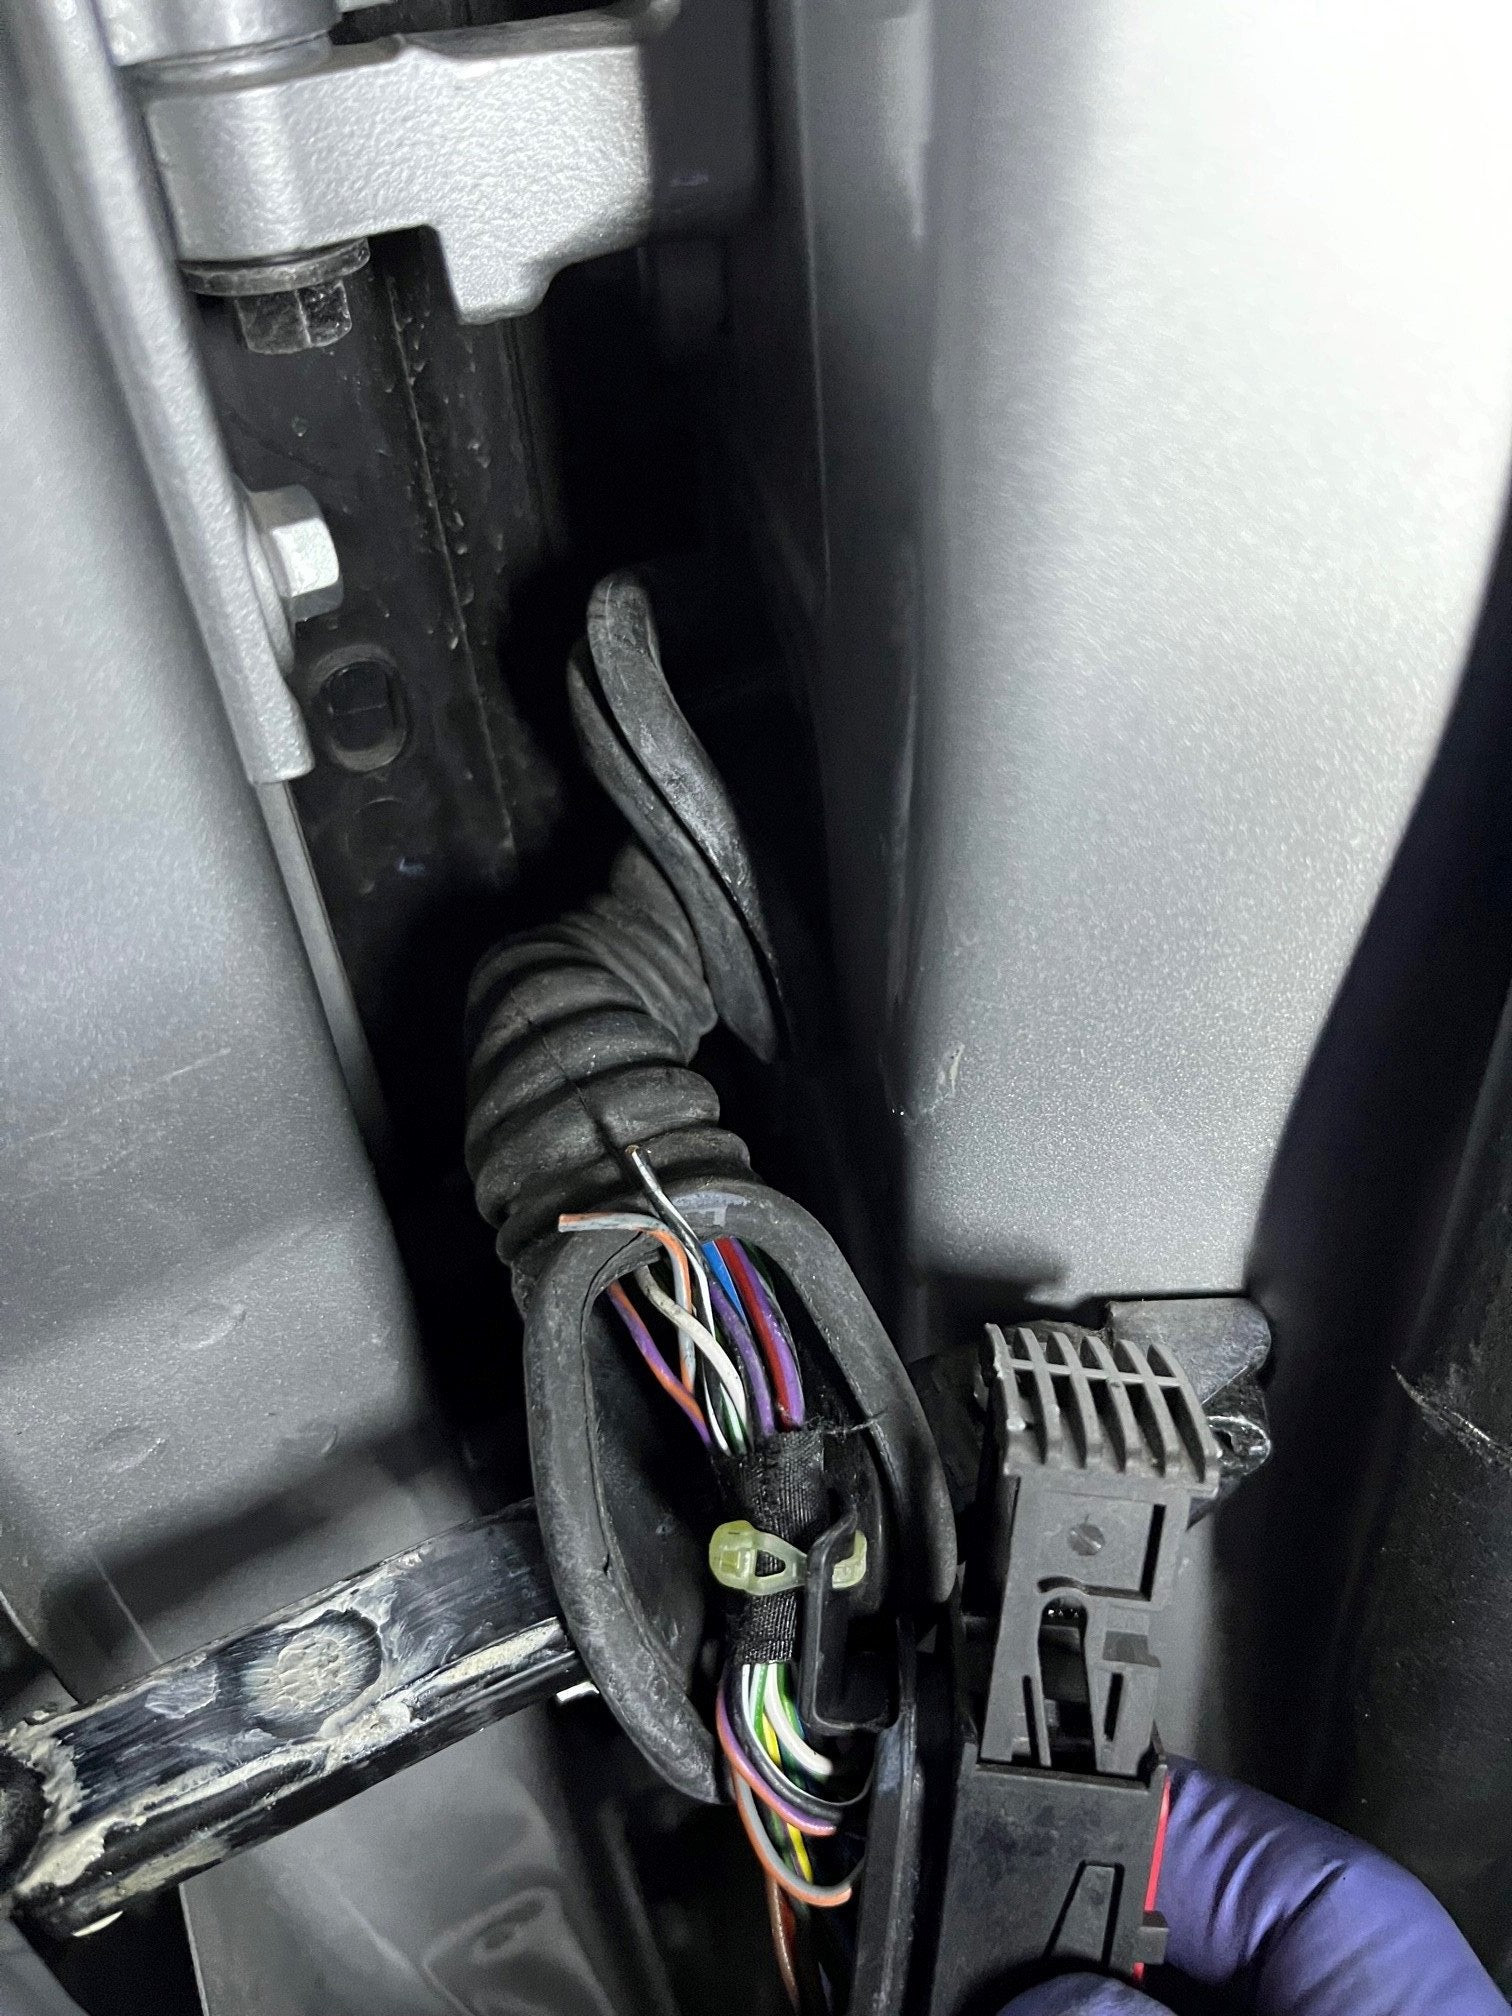
This close-up image shows a mechanic meticulously working on car wiring, emphasizing the precision and attention to detail required for effective repairs.
8. The Role of Fuses and Relays
Fuses and relays are essential components of the car’s electrical system. Fuses protect circuits from overcurrent, while relays are used to switch high-current circuits on and off.
8.1. Fuses
Fuses are designed to blow when the current in a circuit exceeds a certain level. This protects the wiring and components from damage. If a fuse blows repeatedly, it indicates a problem in the circuit that needs to be addressed.
8.2. Relays
Relays are electrically operated switches that are used to control high-current circuits. They allow a low-current circuit to control a high-current circuit, such as the headlights or starter motor.
8.3. Fuse and Relay Boxes
Fuses and relays are typically housed in fuse and relay boxes. These boxes provide a central location for the car’s electrical protection and control devices. Most cars have multiple fuse boxes, located under the hood and inside the cabin.
9. Electrical System Maintenance Checklist
Regular maintenance can help prevent electrical problems and keep your car’s electrical system in top shape.
9.1. Battery Maintenance
- Check the battery terminals for corrosion and clean them as needed.
- Make sure the battery is securely mounted and not vibrating excessively.
- Have the battery tested regularly to ensure it is holding a charge.
- Replace the battery every three to five years, or as recommended by the manufacturer.
9.2. Alternator Maintenance
- Have the alternator tested regularly to ensure it is charging the battery properly.
- Inspect the alternator belt for wear and replace it as needed.
- Avoid overloading the electrical system with too many accessories.
9.3. Wiring Inspection
- Inspect the wiring for signs of damage, such as chewed wires, corrosion, and loose connections.
- Repair or replace any damaged wiring promptly.
- Use dielectric grease to protect connections from moisture and corrosion.
9.4. Fuse and Relay Maintenance
- Check the fuses and relays regularly to ensure they are in good condition.
- Replace any blown fuses with the correct amperage rating.
- Test the relays to ensure they are functioning properly.
9.5. Lighting Maintenance
- Check the headlights, taillights, and turn signals regularly to ensure they are working properly.
- Replace any burned-out bulbs promptly.
- Clean the headlight lenses to ensure maximum brightness.
10. Upgrading Your Car’s Electrical System
If you plan to add high-power accessories to your car, such as a high-end stereo system or auxiliary lighting, you may need to upgrade your car’s electrical system to handle the increased load.
10.1. Upgrading the Battery
Consider upgrading to a high-performance battery with increased cold cranking amps (CCA) and reserve capacity. This will provide more power for your car’s electrical system.
10.2. Upgrading the Alternator
If you plan to add a lot of high-power accessories, you may need to upgrade to a high-output alternator. This will provide more charging capacity to keep the battery fully charged.
10.3. Upgrading the Wiring
Upgrade the wiring to handle the increased current. Use thicker gauge wires and high-quality connectors to ensure reliable performance.
10.4. Adding a Distribution Block
Add a distribution block to provide a central point for connecting multiple accessories to the car’s electrical system. This will help keep the wiring neat and organized.
11. Choosing a Qualified Mechanic
When it comes to fixing car wiring problems, it’s essential to choose a qualified mechanic with the experience and expertise to diagnose and repair electrical issues accurately.
11.1. Certifications
Look for mechanics who are certified by the National Institute for Automotive Service Excellence (ASE). ASE certification indicates that the mechanic has met certain standards of knowledge and skill.
11.2. Experience
Choose a mechanic with experience working on your make and model of vehicle. They will be more familiar with the specific wiring system and potential problems.
11.3. Reputation
Check online reviews and ask for recommendations from friends and family. A mechanic with a good reputation is more likely to provide quality service.
11.4. Diagnostic Equipment
Ensure the mechanic has access to the latest diagnostic equipment, such as scan tools, multimeters, and oscilloscopes. This will enable them to diagnose electrical problems accurately.
11.5. Warranty
Ask about the mechanic’s warranty policy. A reputable mechanic will stand behind their work and offer a warranty on parts and labor.
12. Cost-Saving Tips for Car Wiring Repairs
While car wiring repairs can be expensive, there are several ways to save money without sacrificing quality.
12.1. Get Multiple Estimates
Get estimates from several different mechanics before choosing one. This will give you a better idea of the average cost of the repair.
12.2. Ask About Used Parts
Ask if the mechanic is willing to use used parts. Used parts can be a cost-effective alternative to new parts, especially for older vehicles.
12.3. Do Some of the Work Yourself
If you’re comfortable with basic mechanical tasks, you can save money by doing some of the work yourself, such as removing and replacing the battery or cleaning corroded connections.
12.4. Negotiate the Price
Don’t be afraid to negotiate the price with the mechanic. They may be willing to lower the price if you ask.
12.5. Regular Maintenance
Preventive maintenance is the best way to save money on car wiring repairs. By keeping your car’s electrical system in top shape, you can avoid costly repairs down the road.
Electrical issues in your car can range from simple fixes to complex repairs. Whether it’s a minor short circuit or a complete wiring harness replacement, understanding the costs, common causes, and preventative measures can help you keep your vehicle running smoothly. Remember, addressing electrical problems promptly is crucial for your safety and the longevity of your car.
Are you experiencing electrical issues with your car and need expert advice? Contact CARDIAGTECH.NET today at 276 Reock St, City of Orange, NJ 07050, United States, or call us on WhatsApp at +1 (641) 206-8880. Our team is ready to assist you with top-of-the-line diagnostic tools and solutions. Visit CARDIAGTECH.NET for all your automotive diagnostic needs and let us help you ensure your vehicle’s electrical system is in perfect working order. Your reliable ride is just a call or click away!
FAQ: Car Wiring Repair
1. How can I tell if my car has a wiring problem?
Common signs include flickering lights, frequent blown fuses, a burning smell, difficulty starting the car, or intermittent power loss.
2. Is it safe to drive with a wiring problem?
It’s generally not safe to drive with a known wiring problem, as it could lead to electrical fires or sudden vehicle malfunction.
3. Can I fix car wiring myself?
Simple wiring repairs can be done yourself with the right tools and knowledge, but complex issues should be handled by a professional mechanic.
4. How long does it take to fix car wiring?
The time required depends on the complexity of the problem, ranging from a few hours to several days for extensive repairs.
5. What tools are needed to fix car wiring?
Essential tools include wire strippers, crimpers, pliers, electrical tape, wire connectors, a multimeter, and wiring diagrams.
6. What causes car wiring to fail?
Common causes include rodent damage, corrosion, loose connections, overloading circuits, wear and tear, and improper aftermarket installations.
7. How can I prevent rodent damage to car wiring?
Park your car in a garage if possible, use rodent repellents, and regularly inspect your car’s wiring for signs of damage.
8. What is a short circuit?
A short circuit occurs when electricity flows along an unintended path, often due to damaged or exposed wires, leading to a sudden surge of current.
9. What is a wiring harness?
A wiring harness is a set of wires, connectors, and terminals that run throughout the car, connecting various electrical components.
10. How often should I have my car’s electrical system inspected?
It’s recommended to have your car’s electrical system inspected at least once a year or as part of your regular maintenance schedule.