How to Fix Car Bumper Crack: Your Comprehensive Guide
Fixing a car bumper crack can restore your vehicle’s appearance and structural integrity. This comprehensive guide from CARDIAGTECH.NET will provide expert advice on when to repair versus replace a cracked bumper, and will explain the step-by-step process of how to perform a bumper repair that looks great. Using proven techniques and top-quality auto repair tools ensures a flawless finish.
1. Automotive Plastic Repairs: To Replace or Not to Replace?
Do you need to replace a cracked bumper? Not always! Thanks to advancements in automotive plastic repairs, fixing a cracked bumper is often the most practical first step. With plastics increasingly used in automotive manufacturing, modern repair techniques can restore bumpers to their original condition.
However, there are situations where replacement is unavoidable. Some manufacturers specifically advise against repairs, mandating bumper replacement for certain vehicle models. Also, bumpers with extensive damage or multiple cracks might compromise structural integrity, necessitating replacement. A thorough assessment is essential to determine the best course of action.
For minor cracks and dents, SMART (Small to Medium Area Repair Technology) repairs offer a cost-effective solution. These localized fixes can often be completed without removing the bumper, saving time and money.
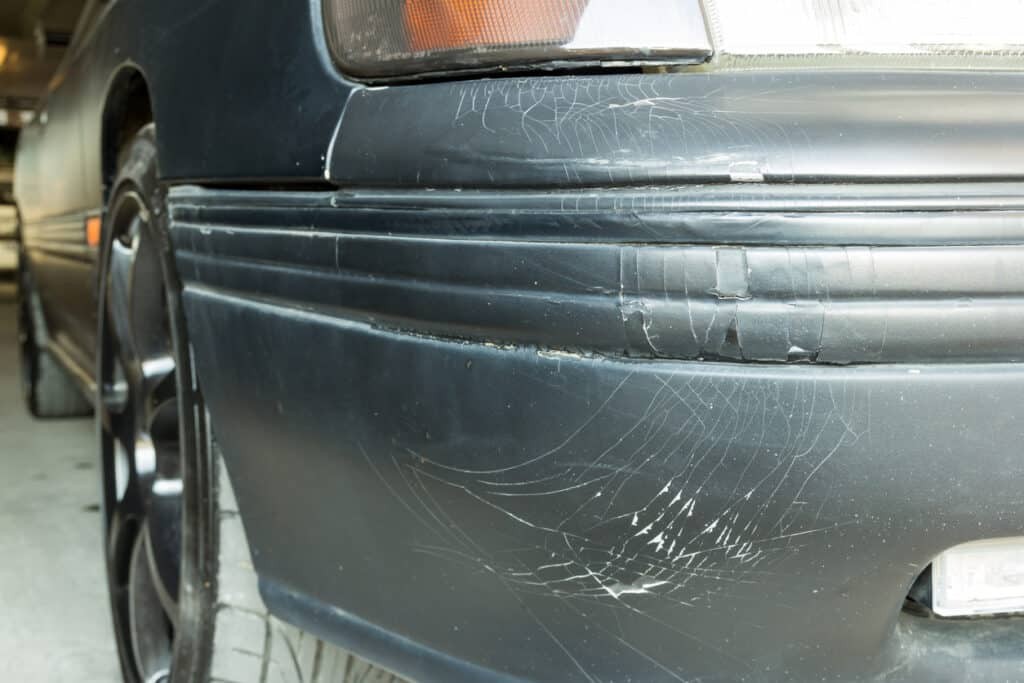
Zoomed in photo of a cracked bumper
Alt Text: Close-up view of a severely cracked car bumper, illustrating damage assessment for auto body repair.
2. Repairing vs. Replacing: A Comprehensive Assessment
Assessing the damage on a case-by-case basis is essential to determine whether a repair will suffice or a complete replacement is necessary. Consider these questions to guide your decision:
2.1. Is Repair Possible?
Begin by examining the damage closely to determine if a repair is feasible. Consult the vehicle manufacturer’s guidelines to confirm whether bumper repairs are permitted for the specific model, as some manufacturers recommend replacement. Also, evaluate the crack’s size and depth, as significant structural damage might preclude repair.
2.2. Is it Safe to Repair?
Safety is paramount when dealing with car parts. If you opt for a repair, ensure that the bumper’s structural integrity meets the required safety standards. Bumpers are designed to protect occupants, and a compromised structure could pose a risk in future collisions. Always replace parts if the manufacturer advises or if underlying structural damage exists. Replacement is also crucial if repairs might affect the vehicle’s safety systems or sensors.
2.3. Is Repair Efficient?
If the bumper has a single crack or minor damage, repair is often the most efficient option. However, extensive cracks or significant damage might require considerable repair time, making a full replacement more practical.
A Vehicle Damage Assessor (VDA) can estimate the repair time. This estimate should be compared to the cost of a new bumper, as well as the availability and delivery times for necessary parts. This comparison will help you identify the most cost-effective and efficient solution.
2.4. What’s Best for the Customer?
Always prioritize the customer’s best interests. If a repair only provides a temporary solution to a larger problem, advise the customer accordingly. SMART repairs may suit customers with minimal damage seeking a quick fix. For significant cracks, dents, or scratches, a more extensive repair or replacement might be necessary. Discuss the customer’s timeline and provide transparent options.
A recent study by the Highway Loss Data Institute (HLDI) found that vehicles with properly repaired bumpers performed similarly to those with new bumpers in low-speed crash tests. This highlights the importance of quality repairs in maintaining vehicle safety.
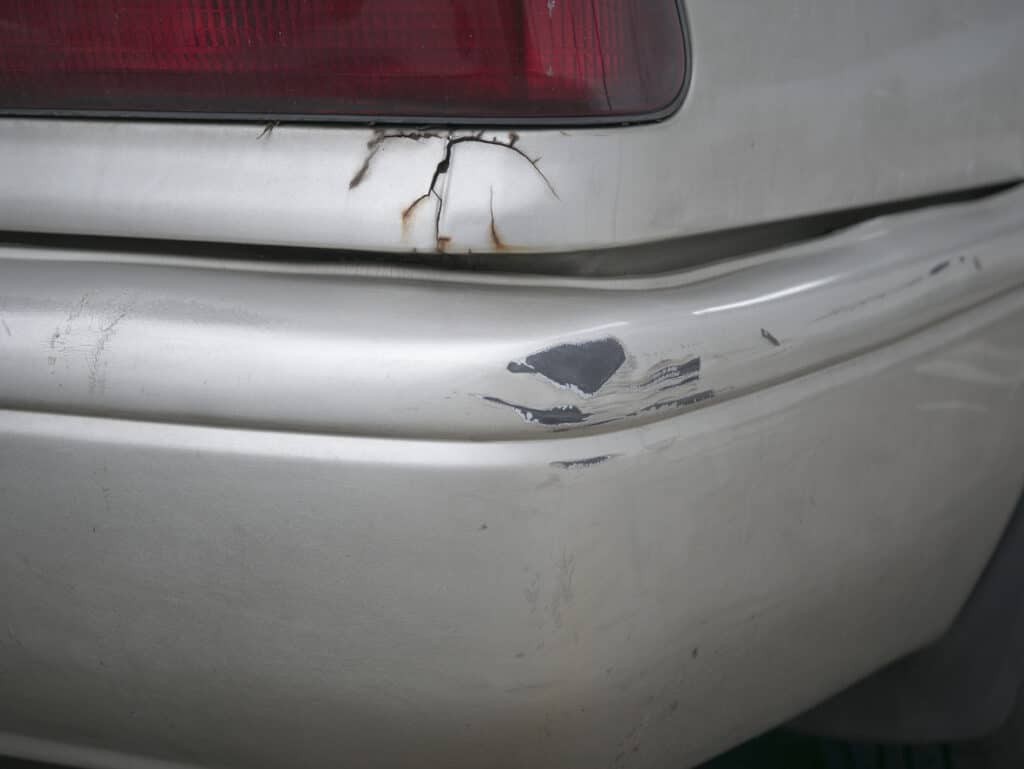
 Zoomed in photo of a front bumper
Alt Text: Detailed shot of a car’s front bumper, used to illustrate the decision-making process between repair and replacement.
3. Step-By-Step Guide: How to Fix a Cracked Bumper Like a Pro
Once you decide to repair the cracked bumper, follow this step-by-step process for a flawless finish. While removing the bumper might be necessary in some cases, consider it a last resort.
3.1. Damage Assessment
First, evaluate the extent of the damage. Removing the bumper provides a clear view of the crack’s size and any hidden damage. This assessment will solidify your decision to repair or replace.
3.2. Masking
Protect adjacent panels and areas from drilling, sanding, and painting by applying masking tape. CARDIAGTECH.NET recommends using JTAPE Premium Cloth Protection Tape around the bumper’s edges. This double-strength automotive cloth protection tape prevents unwanted damage and overspray, ensuring a clean, high-quality finish.
3.3. Drilling
Drill two 6mm holes, one at each end of the crack. These holes act as a barrier, preventing further cracking.
3.4. Carving and Grinding
Create a larger bonding surface by carving a V-shaped groove into the front-facing edges of the damaged area. Use a grinder and a sharp knife to remove excess plastic residue, following a V pattern.
3.5. Sanding
Sand both the front and back of the cracked area using medium-grit sandpaper. This removes damage and creates micro-abrasions, improving adhesion for the plastic adhesion promoter and paint.
3.6. Plastic Adhesion Promoter
Apply a plastic adhesion promoter to the front and back of the damaged area. This ensures proper adhesion of epoxy and filler, resulting in a smooth finish.
3.7. Epoxy Application
Apply epoxy to both sides of the bumper and allow it to dry. Start with the back, smoothing the application with a spreader, then move to the more visible front. This strengthens the area before applying body filler.
3.8. Surface Preparation
After the epoxy hardens, sand the area again to create a smooth base for the body filler. Feather the edges of the repair area, leaving a slight dip where the crack was.
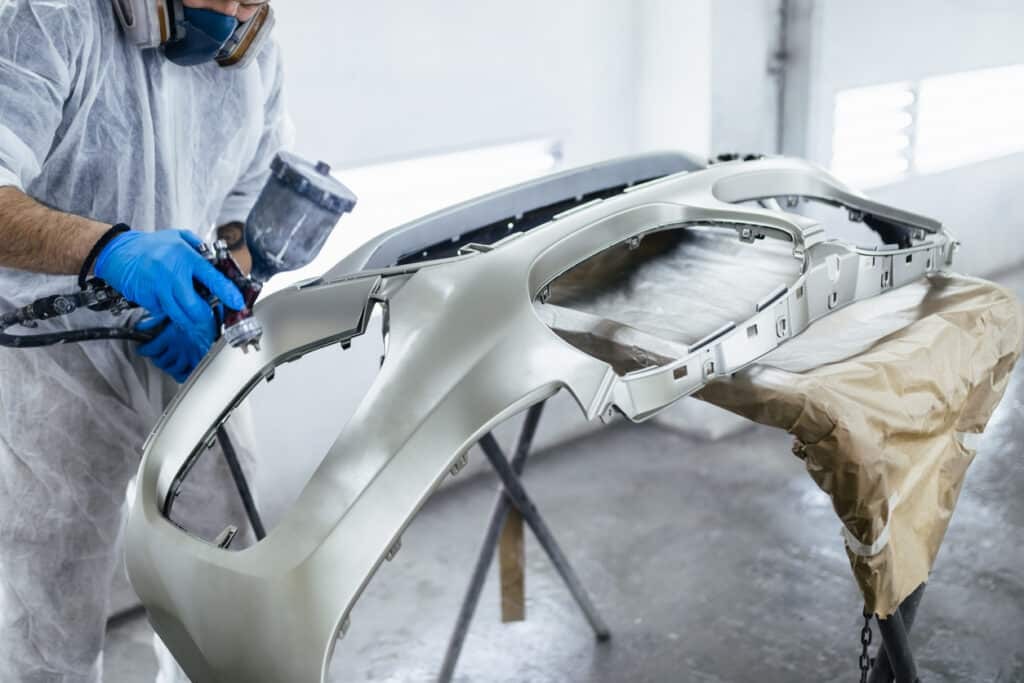 Engineer fixing a silver bumper
Alt Text: Automotive technician meticulously repairing a silver car bumper in a professional auto body shop.
3.9. Body Filler Application
Apply pre-mixed automotive body filler evenly to the repair area, following the bumper’s curves and corners. Smooth it over with a spreader to ensure a professional finish. Once dry, lightly sand the area to prepare it for painting.
3.10. Painting
Paint the plastic bumper to restore its original appearance. CARDIAGTECH.NET suggests using JTAPE Foam Masking Tapes to mask off surrounding panels, creating a soft-edge finish for seamless blending.
Apply an even coat of primer, allow it to dry, and then spray several coats of the base color, allowing each layer to dry. Finish with a few clear coat layers. Once the paint cures, remove the foam masking tape to reveal a high-quality finish.
3.11. Bumper Removal (If Necessary)
For minor scuffs and cracks, removing the bumper isn’t necessary. However, for extensive damage or suspected defects on the bumper’s back, removal may be required.
To remove the bumper:
- Lift the car with a jack.
- Locate the pins, latches, and screws holding the bumper in place, typically found in the wheel arches.
- Remove these fasteners, along with any electrical connections or screws.
If the crack extends to the bumper’s edge, replacement is the best practice to ensure structural integrity.
On some occasions, bumpers will need to be replaced rather than simply repaired. Ultimately, it’s up to the discretion of the body shop team to make the best decision that benefits the customer and gets the job done as efficiently as possible.
According to a report by IbisWorld, the auto body repair industry in the US is a multi-billion dollar market, indicating the demand for skilled technicians who can perform efficient and effective bumper repairs.
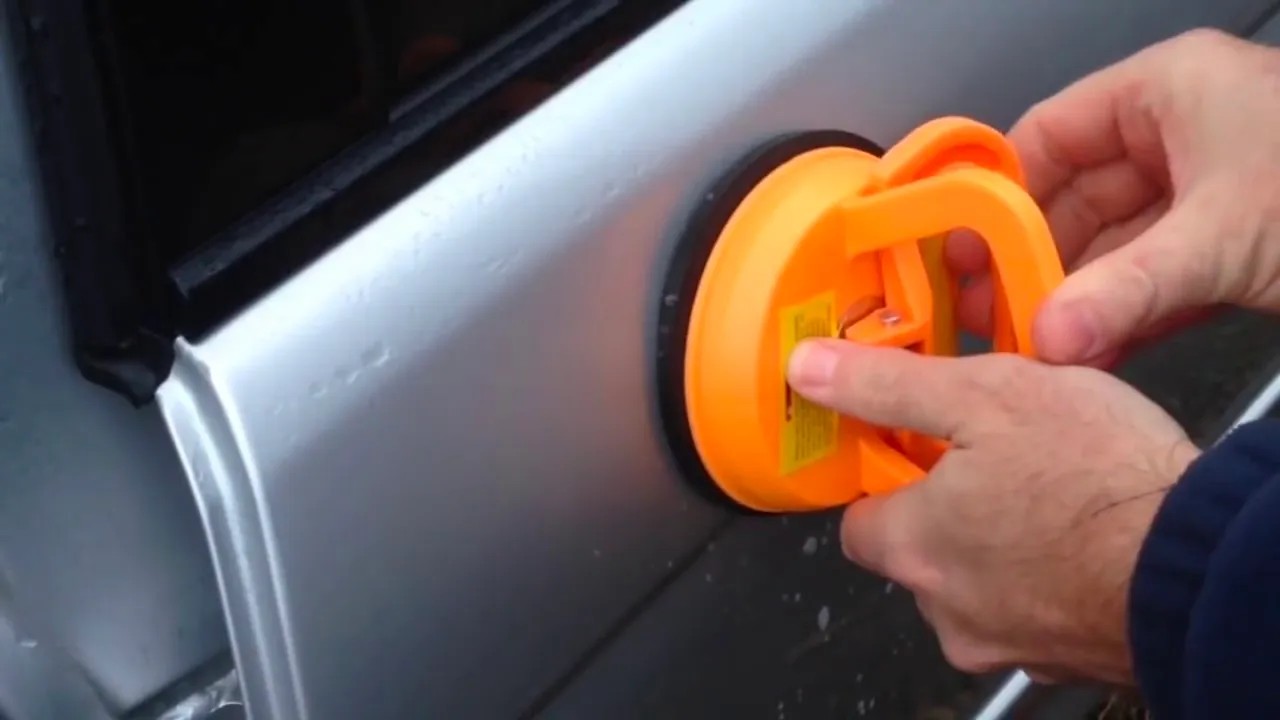
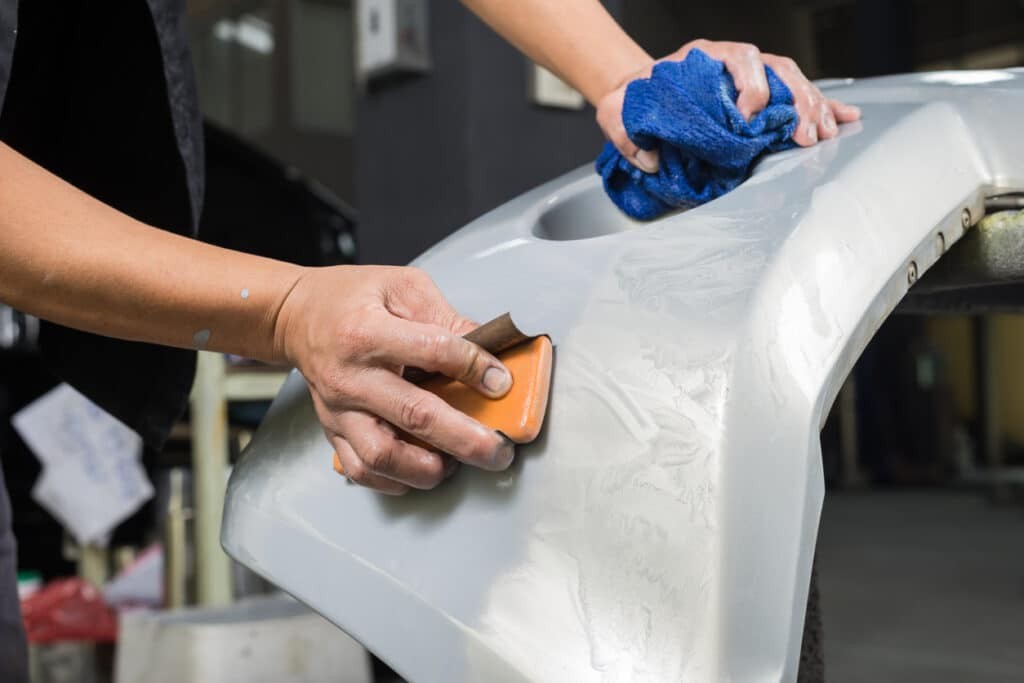 zoomed in photo of hands cleaning a bumper
Alt Text: Close-up of hands carefully cleaning and prepping a car bumper for painting and finishing work.
4. CARDIAGTECH.NET: Your Partner in Auto Repair Excellence
At CARDIAGTECH.NET, we understand the challenges faced by auto repair professionals: the physical demands, constant exposure to chemicals, and the need to stay updated with the latest technologies. That’s why we offer high-quality auto repair tools designed to enhance efficiency, accuracy, and safety.
4.1. How CARDIAGTECH.NET Supports Your Business
- Enhanced Efficiency: Our tools help reduce repair times, allowing you to serve more customers.
- Increased Accuracy: Precision instruments ensure accurate repairs, minimizing errors and rework.
- Improved Safety: Ergonomic designs and safety features protect technicians from injury.
- Cost Savings: Efficient tools reduce material waste and labor costs.
- Enhanced Reputation: High-quality repairs build customer trust and loyalty.
4.2. Addressing Your Specific Needs
We recognize the diverse needs of our customers:
- Young Technicians (18-35): Affordable, modern tools to kickstart your career.
- Experienced Technicians (35-55): Durable, high-quality tools for reliable performance.
- Shop Owners/Managers (40-60): Efficient, cost-effective solutions to maximize productivity and profit.
4.3. The CARDIAGTECH.NET Advantage
Choosing CARDIAGTECH.NET means investing in tools that improve your work and your bottom line. Our products are designed to meet the demands of the modern auto repair shop, helping you stay competitive and deliver exceptional service.
5. Why Choose CARDIAGTECH.NET?
- Quality: We offer only the highest quality tools and equipment.
- Expertise: Our team provides expert advice and support to help you choose the right tools.
- Innovation: We stay at the forefront of auto repair technology, offering the latest solutions.
- Customer Focus: We are committed to providing exceptional customer service and support.
6. Real-World Impact: Success Stories from CARDIAGTECH.NET Customers
Many auto repair shops have experienced significant improvements by using CARDIAGTECH.NET tools. For example, one shop in Los Angeles reduced bumper repair times by 20% using our advanced plastic welding equipment. Another shop in Houston improved repair accuracy by 15% with our precision measurement tools. These are just a few examples of how CARDIAGTECH.NET is helping auto repair professionals achieve greater success.
Testimonial: “Since switching to CARDIAGTECH.NET, we’ve seen a noticeable increase in our efficiency and the quality of our repairs. Our customers are happier, and so are we!” – John S., Shop Owner, Miami, FL
7. Common Car Bumper Materials
Understanding the materials that make up car bumpers is essential for carrying out effective repairs. Below are some of the most common bumper materials, each with its unique characteristics.
| Material | Characteristics | Repair Considerations |
|---|---|---|
| Polypropylene (PP) | Flexible, lightweight, impact-resistant; commonly used for its durability and cost-effectiveness. | Requires specialized plastic welding techniques and adhesion promoters for effective repair; tends to be more resistant to cracking under stress. |
| Acrylonitrile Butadiene Styrene (ABS) | Rigid, strong, good chemical resistance; often used in older vehicles or for components needing high rigidity. | Can be repaired with adhesives and fillers, but may require more surface preparation; prone to cracking if not properly supported during repair. |
| Polycarbonate (PC) | High impact resistance, transparent; used in headlight lenses and some high-end bumpers. | Requires careful handling due to its sensitivity to certain chemicals; specialized adhesives and coatings are needed to maintain its clarity and strength. |
| Thermoplastic Olefin (TPO) | Combines properties of polypropylene and rubber for flexibility and impact resistance; increasingly popular in modern cars. | Requires specific TPO-compatible repair materials and techniques; adhesion can be challenging without proper surface preparation and adhesion promoters. |
| Fiberglass | Strong, lightweight, but brittle; used in aftermarket bumpers and body kits. | Requires fiberglass repair techniques, including layering fiberglass cloth and resin; more susceptible to shattering upon impact compared to plastics. |
| Carbon Fiber | Extremely strong, lightweight, but expensive; used in high-performance vehicles. | Requires specialized carbon fiber repair techniques and epoxy resins; very costly to repair and often requires expert skills. |
Understanding these materials allows technicians to select the appropriate repair methods and materials, ensuring a long-lasting and safe repair.
8. FAQs: How to Fix Car Bumper Crack
8.1. How much does it cost to fix a cracked bumper?
The cost varies depending on the damage’s severity, the car’s make and model, and whether you opt for repair or replacement. Repairs can range from $100 to $500, while replacements can cost between $500 and $1500 or more.
8.2. Can I fix a cracked bumper myself?
Yes, with the right tools, materials, and guidance, you can repair a cracked bumper yourself. However, for extensive damage, professional repair is recommended.
8.3. What tools do I need to fix a cracked bumper?
Essential tools include:
- Sanding paper (various grits)
- Body filler
- Plastic adhesion promoter
- Epoxy
- Masking tape
- Primer
- Paint
- Clear coat
- Spreaders
- Grinder
- Drill
8.4. Is it worth repairing a cracked bumper?
In many cases, yes. Repairing a cracked bumper is often more cost-effective than replacement, especially for minor damage.
8.5. How long does it take to fix a cracked bumper?
Repair time varies depending on the damage’s extent. Minor repairs can take a few hours, while more extensive repairs may take a full day.
8.6. Will fixing a cracked bumper affect my car’s value?
A properly repaired bumper should not negatively affect your car’s value. However, a poorly executed repair can reduce its value.
8.7. Can a cracked bumper cause further damage?
Yes, if left untreated, a cracked bumper can worsen due to weather and impact, potentially leading to more costly repairs.
8.8. Is it illegal to drive with a cracked bumper?
Laws vary by location, but driving with a severely cracked bumper can be illegal if it poses a safety hazard.
8.9. How do I prevent bumper cracks?
Preventive measures include:
- Driving carefully
- Avoiding collisions
- Parking thoughtfully
- Installing bumper protectors
8.10. Where can I get the best tools for bumper repair?
CARDIAGTECH.NET offers a wide range of high-quality auto repair tools and equipment for all your bumper repair needs.
9. Act Now: Transform Your Auto Repair Capabilities with CARDIAGTECH.NET
Ready to elevate your auto repair skills and efficiency? Contact CARDIAGTECH.NET today for expert advice and top-quality tools.
Don’t let a cracked bumper slow you down. Reach out to us now:
- Address: 276 Reock St, City of Orange, NJ 07050, United States
- WhatsApp: +1 (641) 206-8880
- Website: CARDIAGTECH.NET
Let CARDIAGTECH.NET be your partner in achieving auto repair excellence. Our commitment is to provide you with the tools and support you need to succeed, ensuring every repair is performed with precision, efficiency, and utmost quality. Contact us today and experience the CARDIAGTECH.NET advantage.
By choosing CARDIAGTECH.NET, you’re not just buying tools; you’re investing in a future of streamlined operations, satisfied customers, and a thriving business. Take the next step and see how we can transform your auto repair capabilities.