**How to Fix a Car Bumper Dent: A Comprehensive Guide**
Fixing a car bumper dent can seem daunting, but with the right techniques, it’s achievable. CARDIAGTECH.NET provides you with effective DIY methods to restore your bumper’s appearance and specialized tools to make the process smoother, ensuring professional-quality results and potentially saving you money. We also offer expert advice and solutions for more complex damage.
1. Understanding the Basics of Car Bumper Dent Repair
1.1. What are the Common Causes of Car Bumper Dents?
Car bumper dents often result from minor collisions. According to the National Highway Traffic Safety Administration (NHTSA), parking-related incidents account for a significant percentage of reported car accidents each year, often leading to bumper damage. These incidents range from low-speed impacts with other vehicles to contact with stationary objects. Whether it’s a fender bender in a parking lot, a run-in with a shopping cart, or even just misjudging distances while parking, these everyday occurrences can leave unsightly dents on your bumper. Understanding these common causes can help drivers be more cautious and proactive in preventing future damage.
- Minor Collisions: Low-speed impacts in parking lots or on the road.
- Stationary Objects: Contact with poles, walls, or curbs while parking.
- Shopping Carts: Runaway carts hitting your car in parking areas.
- Road Debris: Small objects kicked up by other vehicles.
- Weather: Hail or falling debris can cause dents.
1.2. What are the Different Types of Bumper Materials?
Bumpers are made from various materials, each requiring specific repair approaches. According to the Insurance Institute for Highway Safety (IIHS), most modern car bumpers are designed to absorb impact and minimize damage to the vehicle’s body. Understanding the type of material you’re working with is crucial for selecting the right repair method and tools.
- Plastic: Common in modern cars, flexible and often repairable with heat.
- Metal: Found in older cars, more durable but can corrode.
- Fiberglass: Less common, requires specialized repair techniques.
- Carbon Fiber: Used in high-end vehicles, needs professional repair to maintain structural integrity.
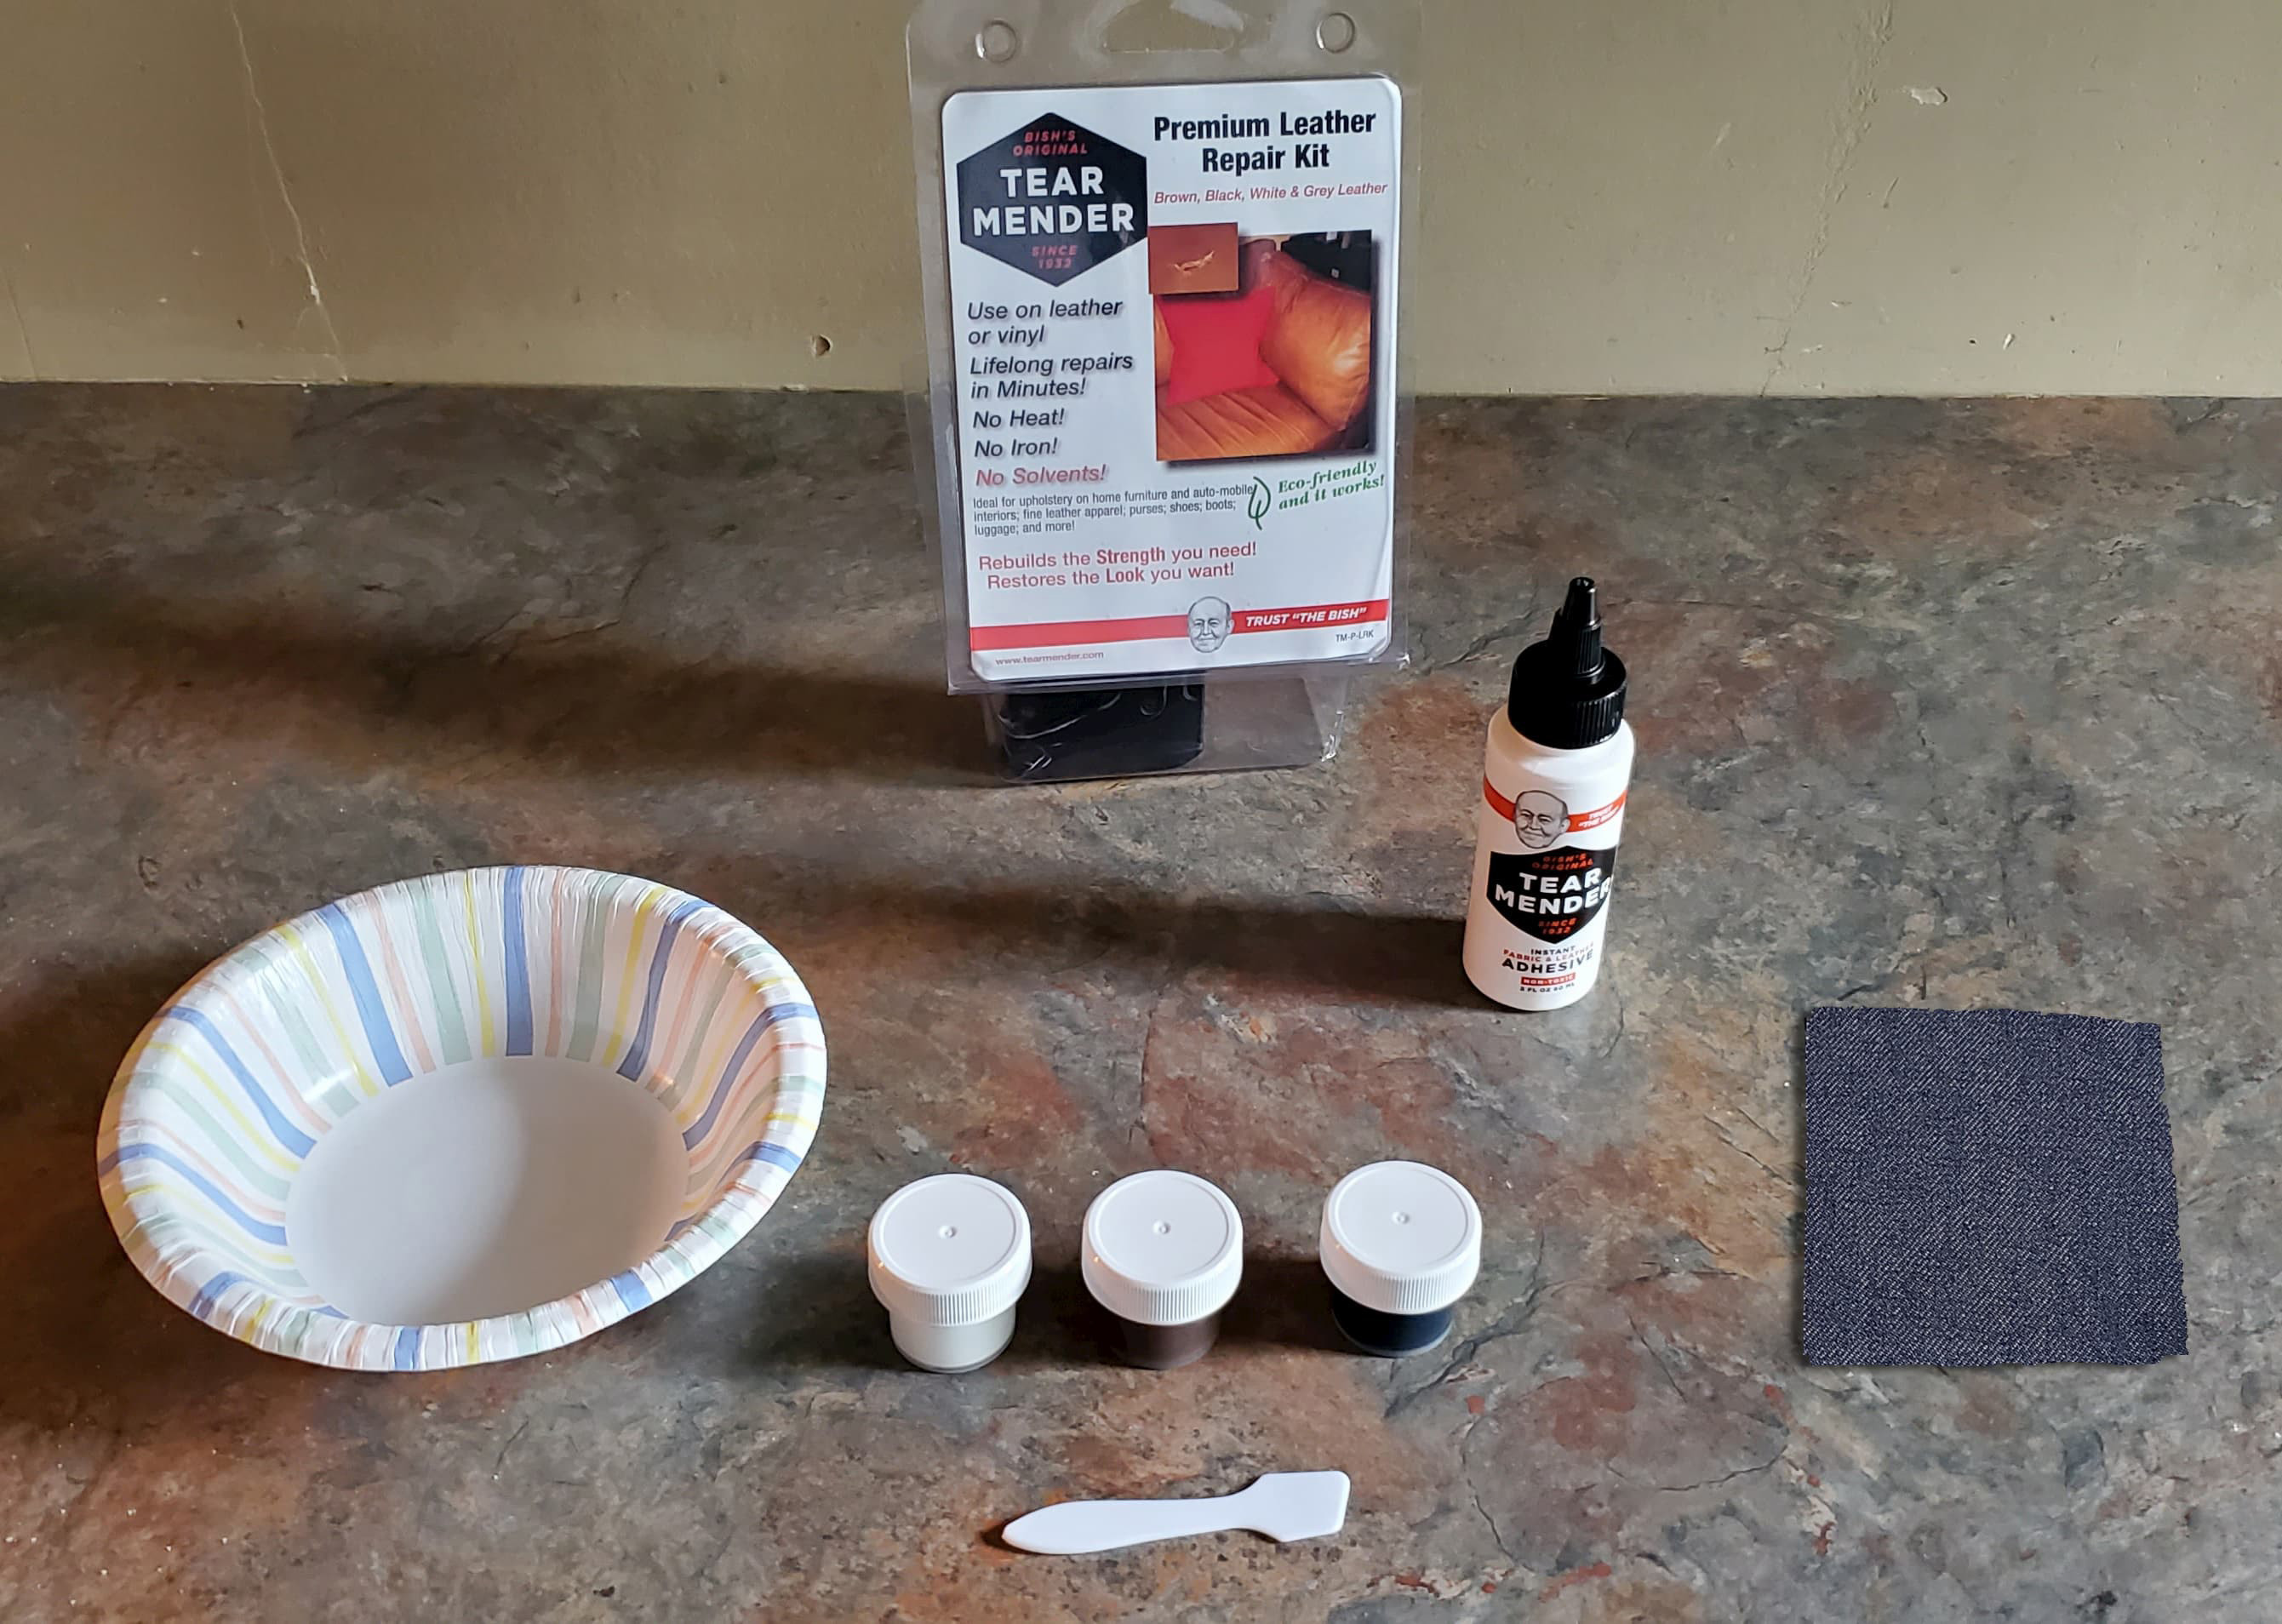
1.3. What are the Essential Tools for DIY Bumper Dent Repair?
Having the right tools can make the repair process smoother and more effective. CARDIAGTECH.NET offers a range of tools designed for bumper dent repair, ensuring you have everything you need at your fingertips.
| Tool | Description | Purpose |
|---|---|---|
| Plunger | Standard household plunger. | To pull out dents using suction. |
| Heat Gun/Hair Dryer | Adjustable heat settings. | To make plastic bumpers more pliable. |
| Dent Puller Kit | Includes various suction cups and pulling devices. | To provide a more controlled and effective pulling force. |
| Rubber Mallet | Soft-headed hammer. | To gently tap the dent back into shape without damaging the paint. |
| Putty Knife/Spatula | Flexible and thin. | To apply and smooth body filler. |
| Sandpaper | Assorted grits (e.g., 220, 400, 600). | To smooth the repaired area before painting. |
| Body Filler (Bondo) | Two-part mixture. | To fill in any remaining imperfections after the dent is pulled out. |
| Automotive Primer | Spray can. | To prepare the surface for painting and ensure better adhesion. |
| Automotive Paint | Matching your car’s color code. | To restore the bumper’s original color. |
| Clear Coat | Spray can. | To protect the paint and provide a glossy finish. |
| Safety Gloves and Goggles | Protects skin and eyes. | To ensure safety during the repair process. |
| Microfiber Cloths | Soft, lint-free cloths. | To clean the surface and apply products evenly. |
| Masking Tape and Paper | Protects surrounding areas. | To prevent overspray when painting. |
| Heat Resistant Gloves | Protects hands from high temperatures. | To handle hot water or heated surfaces safely. |
| Dry Ice | Solid form of carbon dioxide. | To rapidly cool heated metal, causing it to contract and potentially pop the dent out. |
| Aluminum Foil | Standard kitchen foil. | To protect the paint when using dry ice. |
| Vacuum Cleaner | Household vacuum. | To create suction when combined with a bucket or pot for pulling out dents in hard-to-reach areas. |
| Bucket or Pot | Sturdy container. | To create a seal and focus the suction from the vacuum cleaner. |
1.4. What are the Safety Precautions to Consider?
Safety should be your top priority when attempting any DIY car repair. According to the Occupational Safety and Health Administration (OSHA), wearing proper protective gear and following safety guidelines can significantly reduce the risk of injury.
- Wear Safety Gear: Always use safety goggles and gloves to protect your eyes and skin.
- Work in a Well-Ventilated Area: Especially when using chemicals like body filler or paint.
- Use Heat Guns Carefully: Avoid overheating the plastic to prevent damage.
- Handle Boiling Water with Caution: Wear heat-resistant gloves to prevent burns.
- Disconnect the Battery: If working near electrical components, disconnect the car battery.
- Use Dry Ice Safely: Wear gloves and avoid direct skin contact to prevent frostbite.
- Dispose of Materials Properly: Follow local regulations for disposing of chemicals and waste materials.
1.5. What are the Factors Determining the Feasibility of DIY Repair?
Several factors determine whether you can fix a bumper dent yourself. According to automotive repair experts, the size, location, and severity of the dent, as well as your skill level, play crucial roles in deciding whether to attempt a DIY repair.
- Dent Size and Depth: Small, shallow dents are easier to fix than large, deep ones.
- Material Type: Plastic bumpers are generally easier to repair than metal ones.
- Location: Dents in easily accessible areas are simpler to fix.
- Paint Damage: If the paint is cracked or peeling, it may require professional attention.
- Skill Level: Assess your comfort level with DIY repairs before starting.
- Tool Availability: Ensure you have all the necessary tools and materials.
- Time Commitment: DIY repairs can take several hours, depending on the complexity.
2. Step-by-Step Guide to Fixing a Car Bumper Dent
2.1. How to Prepare the Damaged Area?
Before you start the repair, thoroughly clean the area around the dent. According to experienced auto detailers, proper preparation is essential for achieving a seamless repair.
- Clean the Bumper: Wash the bumper with soap and water to remove dirt and grime.
- Dry the Area: Use a clean microfiber cloth to dry the bumper thoroughly.
- Inspect the Damage: Examine the dent closely to assess its size, depth, and any paint damage.
- Mask the Surrounding Area: Use masking tape and paper to protect the areas around the dent from accidental damage during the repair process.
2.2. How to Use a Plunger to Remove Dents?
A plunger can be surprisingly effective for removing small, shallow dents. This method works best on relatively flat surfaces.
- Wet the Plunger and Bumper: Thoroughly wet the plunger and the area around the dent with water.
- Position the Plunger: Place the plunger directly over the dent, ensuring a good seal.
- Apply Pressure: Push and pull the plunger repeatedly, maintaining a firm grip.
- Check Progress: After several attempts, check if the dent has popped out. If not, repeat the process.
- Clean the Area: Once the dent is removed, clean the area with a microfiber cloth.
2.3. How to Apply Heat to Remove Dents from Plastic Bumpers?
Heat can make plastic bumpers more pliable, allowing you to push the dent out from the inside. This method is particularly effective for dents in warm weather.
- Heat the Dented Area: Use a heat gun or hair dryer to heat the area around the dent. Hold the heat source about 6 inches away and use sweeping motions to avoid overheating.
- Reach Behind the Bumper: If possible, reach behind the bumper and gently push the dent out. You may need to remove the bumper for better access.
- Cool the Plastic: After pushing the dent out, pour cold water over the area to cool and set the plastic.
- Check the Result: Inspect the bumper to ensure the dent is completely removed. Repeat the process if necessary.
2.4. How to Use Dry Ice and a Hair Dryer for Metal Surfaces?
For metal surfaces, the combination of heat and cold can help pop out the dent. This method relies on the rapid expansion and contraction of the metal.
- Heat the Dented Area: Use a hair dryer to heat the area around the dent for about three minutes. Hold the dryer about 6 inches away and use sweeping motions.
- Cover with Aluminum Foil: Place a piece of aluminum foil over the heated area to protect the paint.
- Apply Dry Ice: Wearing gloves, apply a handful of dry ice to the foil-covered area.
- Wait and Watch: After a few minutes, the dent should pop out on its own.
- Repeat if Necessary: If the dent does not pop out completely, repeat the process several times.
2.5. How to Create Suction with a Vacuum Cleaner?
If you cannot access the dent from the inside, you can create a suction device using a vacuum cleaner, a bucket, and some tape.
- Prepare the Bucket: Cut a hole in the bottom of a bucket or pot that is slightly smaller than the vacuum cleaner hose.
- Attach the Bucket to the Bumper: Use tape to securely attach the bucket to the bumper, ensuring the hole is centered over the dent.
- Position the Vacuum Cleaner: Place the vacuum cleaner hose over the hole in the bucket, creating a seal.
- Turn on the Vacuum: Turn on the vacuum cleaner and let it run for several minutes. The suction should pull the dent out.
- Remove the Equipment: Once the dent is removed, turn off the vacuum cleaner and carefully remove the bucket and tape.
2.6. How to Use a Dent Puller Kit?
A dent puller kit provides a more controlled and effective way to pull out dents. These kits typically include a suction cup and a pulling device. CARDIAGTECH.NET offers a variety of dent puller kits to suit different needs and budgets.
- Attach the Suction Cup: Clean the area around the dent and attach the suction cup to the center of the dent.
- Secure the Pulling Device: Attach the pulling device to the suction cup, following the manufacturer’s instructions.
- Pull the Dent Out: Slowly and steadily pull the dent out using the pulling device. Avoid applying too much force, which could damage the bumper.
- Check Progress: As you pull, check the progress of the dent removal.
- Remove the Kit: Once the dent is removed, carefully remove the suction cup and pulling device.
2.7. How to Use Body Filler to Smooth Imperfections?
Even after pulling out the dent, there may be some imperfections remaining. Body filler, also known as Bondo, can be used to smooth these out.
- Prepare the Body Filler: Mix the body filler according to the manufacturer’s instructions. Typically, this involves combining the filler with a hardener.
- Apply the Filler: Use a putty knife or spatula to apply a thin, even layer of body filler over the dented area.
- Let it Dry: Allow the body filler to dry completely. This usually takes about 20-30 minutes, but refer to the product instructions for specific drying times.
- Sand the Filler: Once the filler is dry, use sandpaper to smooth it down. Start with a coarser grit (e.g., 220) and gradually move to finer grits (e.g., 400, 600) to achieve a smooth finish.
- Clean the Area: Use a tack cloth to remove any sanding dust from the area.
2.8. How to Prime and Paint the Repaired Area?
After smoothing the area with body filler, you’ll need to prime and paint it to match the rest of the bumper.
- Apply Primer: Use automotive primer to prepare the surface for painting. Apply several light coats, allowing each coat to dry before applying the next.
- Sand the Primer: Once the primer is dry, use fine-grit sandpaper (e.g., 600) to lightly sand the surface. This will help the paint adhere better.
- Apply Paint: Use automotive paint that matches your car’s color code. Apply several light coats, allowing each coat to dry before applying the next.
- Apply Clear Coat: After the paint is dry, apply a clear coat to protect the paint and give it a glossy finish.
- Let it Cure: Allow the paint and clear coat to cure completely before washing or waxing the car.
2.9. How to Reassemble the Bumper (If Removed)?
If you removed the bumper to access the dent from the inside, you’ll need to reassemble it after the repair is complete.
- Align the Bumper: Carefully align the bumper with the mounting points on the car.
- Attach the Bumper: Use the original screws or bolts to attach the bumper to the car. Make sure all the screws are tightened securely.
- Check the Alignment: Inspect the bumper to ensure it is properly aligned and there are no gaps or misalignments.
- Replace Any Removed Parts: If you removed any lights or other parts, replace them now.
3. Advanced Techniques for Difficult Dents
3.1. When to Consider Paintless Dent Repair (PDR)?
Paintless Dent Repair (PDR) is a technique used to remove dents without affecting the vehicle’s paint finish. According to the National Alliance of Paintless Dent Repair Technicians (NAPDRT), PDR is an effective method for repairing dents caused by hail, door dings, and minor collisions.
- Suitable Dents: Small to medium-sized dents without paint damage.
- Benefits: Maintains original paint, cost-effective, and environmentally friendly.
- Professional Service: Typically performed by trained technicians using specialized tools.
3.2. What are the Techniques Used in PDR?
PDR involves using specialized tools to gently massage the metal back into its original shape from behind the panel.
- Access the Dent: Technicians use tools to access the back of the dent.
- Apply Pressure: They apply pressure to the dented area using specialized levers and picks.
- Restore Shape: Gradually massage the metal back into its original shape.
- Refine the Surface: Use a tap-down tool to refine the surface and remove any remaining imperfections.
3.3. How to Deal with Dents Near Edges and Creases?
Dents near edges and creases can be more challenging to repair because the metal is often more rigid in these areas.
- Use Specialized Tools: Use tools designed for working in tight spaces and along edges.
- Apply Heat Carefully: Heat can help make the metal more pliable, but be careful not to overheat the paint.
- Work Gradually: Take your time and work in small increments to avoid damaging the surrounding area.
- Consider Professional Help: If the dent is severe or you’re not comfortable working near edges and creases, consider seeking professional help.
3.4. How to Repair Dents with Creased or Cracked Paint?
If the paint is creased or cracked, you’ll need to repair the paint along with the dent.
- Remove Loose Paint: Use a scraper or sandpaper to remove any loose or peeling paint from the area.
- Apply Body Filler: Apply body filler to fill in any imperfections in the surface.
- Sand the Filler: Sand the filler smooth, using progressively finer grits of sandpaper.
- Prime the Area: Apply automotive primer to prepare the surface for painting.
- Paint the Area: Apply automotive paint that matches your car’s color code.
- Apply Clear Coat: Apply a clear coat to protect the paint and give it a glossy finish.
4. Maintaining Your Car Bumper to Prevent Future Dents
4.1. How to Park Smart to Avoid Bumper Damage?
Parking smart can significantly reduce the risk of bumper damage. According to parking safety experts, taking a few extra precautions can help you avoid collisions and dents.
- Choose Your Spot Carefully: Look for parking spots that are wide enough to allow you to maneuver easily.
- Avoid Tight Spaces: Avoid parking in tight spaces where you risk hitting other cars or objects.
- Use Parking Sensors and Cameras: If your car has parking sensors or cameras, use them to help you avoid obstacles.
- Park Away from Shopping Carts: Park away from shopping cart return areas to avoid runaway carts.
- Pull Through Parking: When possible, pull through parking spots to avoid backing out into traffic.
4.2. What are Bumper Protection Accessories?
Various accessories can help protect your bumper from damage. CARDIAGTECH.NET offers a range of bumper protection products to keep your car looking its best.
| Accessory | Description | Benefits |
|---|---|---|
| Bumper Guards | Thick rubber or plastic strips that attach to the bumper. | Protects against scratches and minor impacts. |
| Bumper Stickers | Decorative and protective stickers. | Adds a layer of protection while customizing the look of your car. |
| Bumper Protectors | Padded covers that protect the bumper from scratches and dents. | Ideal for preventing damage from loading and unloading cargo. |
| Parking Sensors | Electronic devices that alert you to nearby obstacles. | Helps prevent collisions while parking. |
| Corner Protectors | Small guards that attach to the corners of the bumper. | Protects the most vulnerable areas of the bumper from damage. |
| Bumper Fillers/Extenders | Bumper Fillers are designed to fill any exposed gaps or openings | Enhances the vehicles appearance. While Bumper Extenders help minimize damage to your vehicle’s bumper |
4.3. How to Regularly Inspect Your Bumper for Damage?
Regularly inspecting your bumper can help you catch and repair minor damage before it becomes more severe.
- Wash Your Car Regularly: Washing your car allows you to inspect the bumper for any new dents or scratches.
- Check After Parking: After parking, take a quick look at the bumper to make sure you haven’t bumped into anything.
- Inspect After Incidents: If you have a minor collision, inspect the bumper for damage, even if it doesn’t seem severe.
- Look for Cracks or Peeling Paint: Check for any cracks or peeling paint, which could indicate underlying damage.
4.4. What are the Benefits of Professional Detailing?
Professional detailing can help keep your bumper looking its best and protect it from future damage.
- Thorough Cleaning: Professional detailers use specialized products and techniques to thoroughly clean the bumper.
- Paint Protection: They can apply wax or sealant to protect the paint from UV rays and other environmental factors.
- Damage Repair: Detailers can repair minor scratches and imperfections in the paint.
- Long-Term Maintenance: Regular detailing can help extend the life of your bumper and keep it looking like new.
5. Choosing the Right Products for Bumper Dent Repair
5.1. What are the Key Features to Look for in Body Fillers?
When choosing a body filler, consider the following features:
- Ease of Use: Look for a filler that is easy to mix and apply.
- Drying Time: Consider the drying time, as some fillers dry faster than others.
- Sanding Properties: Choose a filler that is easy to sand smooth.
- Durability: Look for a filler that is durable and resistant to cracking.
- Shrinkage: Choose a filler with low shrinkage to minimize the risk of imperfections.
5.2. How to Select the Correct Automotive Paint?
Selecting the correct automotive paint is crucial for achieving a seamless repair.
- Find Your Car’s Color Code: Locate your car’s color code, which is usually found on a sticker in the doorjamb or glove compartment.
- Match the Paint: Use the color code to purchase automotive paint that matches your car’s color.
- Consider a Paint Pen: For small scratches and imperfections, a paint pen can be a convenient option.
- Test the Paint: Before applying the paint to the bumper, test it in an inconspicuous area to ensure it matches.
5.3. What are the Different Types of Automotive Primers?
There are several types of automotive primers available, each with its own benefits.
- Acrylic Primer: A general-purpose primer that is easy to use and provides good adhesion.
- Epoxy Primer: A more durable primer that provides excellent corrosion resistance.
- Self-Etching Primer: A primer that etches into the metal surface, providing superior adhesion.
- Urethane Primer: A flexible primer that is ideal for use on plastic bumpers.
5.4. How to Choose the Right Sandpaper Grit?
Choosing the right sandpaper grit is essential for achieving a smooth finish.
- Coarse Grit (e.g., 220): Used for removing body filler and smoothing rough surfaces.
- Medium Grit (e.g., 400): Used for sanding primer and smoothing imperfections.
- Fine Grit (e.g., 600): Used for final sanding before painting.
- Ultra-Fine Grit (e.g., 1000+): Used for wet sanding to achieve a smooth, glossy finish.
6. Cost Analysis: DIY vs. Professional Bumper Dent Repair
6.1. What are the Typical Costs of DIY Repair?
DIY bumper dent repair can save you money, but it’s important to factor in the cost of materials and tools.
| Item | Estimated Cost |
|---|---|
| Dent Puller Kit | $20 – $50 |
| Body Filler (Bondo) | $10 – $20 |
| Automotive Primer | $10 – $15 |
| Automotive Paint | $20 – $40 |
| Clear Coat | $10 – $15 |
| Sandpaper | $5 – $10 |
| Masking Tape and Paper | $5 – $10 |
| Total | $80 – $160 |
6.2. What are the Typical Costs of Professional Repair?
Professional bumper dent repair can be more expensive, but it often provides better results, especially for severe damage. According to estimates from RepairPal, the cost of professional bumper repair can vary widely depending on the extent of the damage and the type of vehicle.
| Service | Estimated Cost |
|---|---|
| Minor Dent Repair | $150 – $300 |
| Bumper Replacement | $500 – $1,000+ |
| Paintless Dent Repair (PDR) | $100 – $200 |
| Full Bumper Refinishing | $300 – $600 |
6.3. What are the Factors Influencing the Cost of Professional Repair?
Several factors can influence the cost of professional bumper repair.
- Severity of the Damage: More severe damage requires more extensive repairs, increasing the cost.
- Type of Vehicle: Luxury cars and vehicles with complex bumper designs tend to have higher repair costs.
- Labor Rates: Labor rates vary depending on the location and the shop’s expertise.
- Parts Costs: The cost of replacement parts, such as a new bumper, can significantly increase the overall cost.
- Paint Matching: Matching the paint perfectly can be time-consuming and may require specialized equipment, adding to the cost.
6.4. What is the ROI of DIY vs. Professional Repair?
The return on investment (ROI) of DIY vs. professional repair depends on your skill level and the severity of the damage.
- DIY Repair: Higher ROI for small, shallow dents that you can fix yourself.
- Professional Repair: Higher ROI for severe damage or when you want a flawless finish.
7. Expert Tips and Tricks for a Flawless Finish
7.1. How to Achieve a Perfect Paint Match?
Achieving a perfect paint match can be challenging, but there are several techniques you can use to improve your chances of success.
- Use the Correct Color Code: Always use your car’s color code to purchase the correct paint.
- Blend the Paint: When painting the repaired area, blend the paint into the surrounding area to create a seamless transition.
- Apply Multiple Light Coats: Apply several light coats of paint, rather than one heavy coat, to avoid runs and drips.
- Use a Clear Coat: Apply a clear coat to protect the paint and give it a glossy finish.
7.2. What are the Best Techniques for Sanding Body Filler?
Sanding body filler properly is essential for achieving a smooth finish.
- Start with Coarse Grit: Begin with a coarser grit sandpaper to remove the bulk of the filler.
- Move to Finer Grits: Gradually move to finer grits to smooth the surface.
- Use a Sanding Block: Use a sanding block to keep the surface flat and even.
- Sand in Circular Motions: Sand in circular motions to avoid creating lines or grooves.
- Check Your Progress: Regularly check your progress to ensure you’re not sanding too much or too little.
7.3. How to Avoid Common Mistakes in Bumper Repair?
Avoiding common mistakes can save you time and money.
- Not Preparing the Surface Properly: Always clean and prepare the surface before starting the repair.
- Using the Wrong Materials: Use the correct body filler, primer, and paint for your car.
- Applying Too Much Body Filler: Apply body filler in thin layers to avoid cracking and shrinking.
- Not Sanding Properly: Sand the body filler smooth, using progressively finer grits of sandpaper.
- Rushing the Repair: Take your time and work carefully to avoid mistakes.
7.4. What are the Benefits of Using Professional-Grade Tools?
Using professional-grade tools can make the repair process easier and more effective. CARDIAGTECH.NET offers a range of professional-grade tools designed for bumper dent repair.
- Improved Performance: Professional-grade tools are designed to perform better and last longer than consumer-grade tools.
- Increased Accuracy: They provide more precise control, allowing you to achieve better results.
- Reduced Effort: Professional-grade tools can help you complete the repair more quickly and with less effort.
- Better Results: Ultimately, using professional-grade tools can help you achieve a flawless finish.
8. Legal and Insurance Considerations
8.1. When Should You File an Insurance Claim for Bumper Damage?
Filing an insurance claim for bumper damage depends on the extent of the damage and your insurance policy. According to the Insurance Information Institute, you should consider filing a claim if:
- The Damage is Extensive: If the damage is severe and requires professional repair.
- You’re Not At Fault: If the damage was caused by another driver and you have their insurance information.
- The Repair Costs Exceed Your Deductible: If the estimated repair costs are higher than your deductible.
8.2. What are the Potential Impacts on Your Insurance Premiums?
Filing an insurance claim can potentially impact your insurance premiums.
- Increased Premiums: Filing a claim may result in higher premiums in the future, especially if you have multiple claims.
- Loss of Discounts: You may lose discounts for safe driving or claim-free history.
- Policy Cancellation: In some cases, filing too many claims can result in policy cancellation.
8.3. What are the Legal Requirements for Bumper Repairs?
Bumper repairs must meet certain legal requirements to ensure the safety of your vehicle.
- Compliance with Safety Standards: Repairs must comply with federal safety standards.
- Proper Installation: Bumpers must be properly installed to provide adequate protection in a collision.
- No Sharp Edges: Repaired bumpers must not have any sharp edges that could pose a hazard to pedestrians or other vehicles.
8.4. How to Ensure Your Repairs Meet Safety Standards?
To ensure your repairs meet safety standards, consider the following:
- Use Quality Parts: Use high-quality replacement parts that meet or exceed OEM specifications.
- Follow Repair Guidelines: Follow the manufacturer’s repair guidelines.
- Seek Professional Advice: If you’re unsure about any aspect of the repair, seek professional advice from a qualified mechanic.
9. Frequently Asked Questions (FAQ)
9.1. How much does it cost to fix a car bumper dent?
The cost to fix a car bumper dent ranges from $80-$160 for DIY repairs, including dent puller kits, body filler, primer, and paint. Professional repairs range from $150 to $300 for minor dents and $500 to $1,000+ for bumper replacements, according to RepairPal.
9.2. Can I fix a bumper dent myself?
Yes, you can fix a bumper dent yourself if it’s small and shallow, especially on plastic bumpers. DIY methods include using a plunger, heat gun, or dent puller kit, as highlighted by CARDIAGTECH.NET.
9.3. What tools do I need to fix a car bumper dent?
Essential tools include a plunger, heat gun or hair dryer, dent puller kit, rubber mallet, putty knife, sandpaper, body filler, automotive primer, paint, clear coat, safety gloves, and goggles, all available at CARDIAGTECH.NET.
9.4. How does heat help in removing bumper dents?
Heat makes plastic bumpers more pliable, allowing you to push the dent out from the inside. Use a heat gun or hair dryer and then cool the plastic with cold water to set it.
9.5. What is Paintless Dent Repair (PDR)?
Paintless Dent Repair (PDR) is a technique to remove dents without affecting the paint finish, ideal for small to medium-sized dents. Technicians use specialized tools to massage the metal back to its original shape.
9.6. How can I prevent future bumper dents?
To prevent future bumper dents, park smart by choosing wide spots, avoiding tight spaces, using parking sensors, and parking away from shopping carts. Consider bumper protection accessories from CARDIAGTECH.NET.
9.7. When should I file an insurance claim for bumper damage?
File an insurance claim if the damage is extensive, you’re not at fault, or the repair costs exceed your deductible, as advised by the Insurance Information Institute.
9.8. What are the legal requirements for bumper repairs?
Bumper repairs must comply with federal safety standards, be properly installed, and not have sharp edges. Use quality parts and follow repair guidelines.
9.9. Can a vacuum cleaner really remove a car dent?
Yes, a vacuum cleaner can remove dents in some cases. By using a bucket or pot with a hole cut in the bottom, taping it over the dent, and then placing the vacuum cleaner hose over the hole, the suction created can pull the dent out.
9.10. Is it worth fixing a bumper dent?
Yes, it’s generally worth fixing a bumper dent. Repairing the dent can improve your car’s appearance, prevent further damage, and maintain its resale value. For minor dents, DIY repair may be cost-effective, while more severe damage might warrant professional repair.
10. Conclusion: Take Action Today
Don’t let a car bumper dent diminish your vehicle’s appearance and value. Whether you choose to tackle the repair yourself with tools and guidance from CARDIAGTECH.NET or seek professional assistance, taking prompt action is key. For DIY enthusiasts, our comprehensive range of dent repair tools and materials ensures a successful outcome. If you prefer professional service, weigh the costs and benefits to make an informed decision. Remember, a well-maintained bumper not only enhances your car’s aesthetics but also contributes to its safety and longevity.
Are you facing challenges with a stubborn car bumper dent? Unsure which tools are right for the job, or feeling overwhelmed by the repair process? Contact CARDIAGTECH.NET today for expert advice and personalized solutions. Our team can guide you through the DIY process or connect you with trusted professionals for seamless repairs. Reach out now and let us help you restore your car’s bumper to its former glory!
Contact Information:
- Address: 276 Reock St, City of Orange, NJ 07050, United States
- WhatsApp: +1 (641) 206-8880
- Website: CARDIAGTECH.NET
Take the first step towards a flawless finish and a dent-free ride!