How To Fix Car Leather Armrest: A Complete Guide
Fixing a car leather armrest doesn’t have to be a daunting task. At CARDIAGTECH.NET, we provide you with practical solutions and quality tools to restore your car’s interior. Discover how to repair worn leather, replace damaged material, and maintain your armrest’s pristine condition with our expert advice. This comprehensive guide covers everything from leather repair kits to professional restoration techniques, ensuring you can achieve a showroom-worthy finish. By following our detailed steps, you’ll not only enhance the look of your vehicle but also extend the lifespan of your leather armrests. Explore the benefits of DIY repairs and the convenience of professional-grade tools available at CARDIAGTECH.NET. Let’s dive into the world of automotive leather care and refurbishment, exploring methods like leather conditioning, upholstery repair, and interior detailing.
1. Assessing the Damage to Your Car Leather Armrest
Before diving into the repair process, it’s crucial to assess the extent of the damage to your car leather armrest. This initial evaluation will determine the best course of action and the tools you’ll need.
1.1. Types of Damage
- Cracks: Small lines or fissures in the leather surface, often caused by dryness and lack of maintenance.
- Tears: Rips or splits in the leather, which can range from minor to severe.
- Fading: Loss of color due to sun exposure or wear.
- Stains: Discoloration caused by spills, dirt, or other contaminants.
- Wear and Tear: General deterioration of the leather surface over time.
1.2. Tools for Assessment
- Bright Light: A flashlight or work light to illuminate the armrest and highlight imperfections.
- Magnifying Glass: To inspect small cracks and imperfections closely.
- Soft Cloth: For wiping the surface to reveal the true extent of the damage.
- Camera: To document the damage before and after the repair process.
1.3. Severity Levels
- Minor: Small cracks, minor fading, or light stains. These can often be addressed with simple cleaning and conditioning.
- Moderate: Larger cracks, noticeable fading, or more significant stains. These may require patching or color restoration.
- Severe: Large tears, extensive fading, or significant wear. These might necessitate professional repair or replacement of the leather.
Understanding the type and severity of the damage is the first step toward a successful repair. Now, let’s explore the tools and materials you’ll need to get started.
2. Essential Tools and Materials for Leather Armrest Repair
Having the right tools and materials on hand is essential for a successful car leather armrest repair. Here’s a comprehensive list to help you prepare.
2.1. Cleaning Supplies
- Leather Cleaner: Specifically designed for automotive leather to remove dirt and grime without damaging the surface.
- Soft Brushes: For gently scrubbing the leather and getting into crevices.
- Microfiber Cloths: For wiping away cleaner and polishing the surface.
2.2. Repair Materials
- Leather Repair Kit: Includes leather filler, colorant, and sealant for repairing cracks and tears.
- Leather Patches: Pre-cut or custom-cut pieces of leather for patching larger tears.
- Leather Glue: Strong adhesive specifically for bonding leather.
- Thread and Needles: For stitching tears and reinforcing patches.
- Sandpaper: Fine-grit sandpaper (600-grit or higher) for smoothing rough edges.
2.3. Application Tools
- Palette Knife or Spreader: For applying leather filler smoothly.
- Small Paint Brushes: For applying colorant and sealant.
- Heat Gun or Hair Dryer: For accelerating the drying process.
- Staple Gun: For reattaching the leather to the armrest frame.
- Pliers: For removing old staples and tacks.
- Screwdriver Set: For removing and reattaching the armrest.
2.4. Safety Gear
- Gloves: To protect your hands from chemicals and adhesives.
- Safety Glasses: To protect your eyes from splashes and debris.
- Respirator or Mask: To avoid inhaling fumes from cleaners and solvents.
Here’s a table summarizing the essential tools and materials:
| Tool/Material | Purpose |
|---|---|
| Leather Cleaner | Removes dirt and grime from leather surfaces |
| Soft Brushes | Gently scrubs leather to remove embedded dirt |
| Microfiber Cloths | Wipes away cleaner and polishes the surface |
| Leather Repair Kit | Repairs cracks and tears with filler, colorant, and sealant |
| Leather Patches | Patches larger tears in the leather |
| Leather Glue | Bonds leather pieces together |
| Thread and Needles | Stitches tears and reinforces patches |
| Fine-Grit Sandpaper | Smooths rough edges before repair |
| Palette Knife | Applies leather filler smoothly |
| Small Paint Brushes | Applies colorant and sealant evenly |
| Heat Gun/Hair Dryer | Accelerates drying process |
| Staple Gun | Reattaches leather to armrest frame |
| Pliers | Removes old staples and tacks |
| Screwdriver Set | Removes and reattaches the armrest |
| Gloves | Protects hands from chemicals and adhesives |
| Safety Glasses | Protects eyes from splashes and debris |
| Respirator/Mask | Avoids inhaling fumes from cleaners and solvents |
With these tools and materials, you’ll be well-prepared to tackle most car leather armrest repairs.
Tools needed to fix a car leather armrest, including leather cleaner, repair kit, glue, and brushes
3. Step-by-Step Guide to Repairing Minor Cracks and Scratches
Minor cracks and scratches on your car leather armrest can be unsightly, but they’re often easy to repair with the right approach. Here’s a step-by-step guide to help you restore your leather’s appearance.
3.1. Cleaning the Area
- Step 1: Use a leather cleaner and a soft brush to gently scrub the affected area. This removes dirt and oils that can interfere with the repair.
- Step 2: Wipe the area clean with a microfiber cloth. Ensure the surface is completely dry before proceeding.
3.2. Applying Leather Filler
- Step 3: Apply a small amount of leather filler to the crack or scratch using a palette knife or spreader.
- Step 4: Smooth the filler evenly over the damaged area, making sure to fill the crack completely.
3.3. Sanding the Filler
- Step 5: Once the filler is dry (usually after 20-30 minutes, check the product instructions), use fine-grit sandpaper (600-grit or higher) to gently smooth the surface.
- Step 6: Be careful not to remove too much filler. The goal is to create a smooth, even surface that blends with the surrounding leather.
3.4. Color Matching and Application
- Step 7: Use a leather colorant that matches the color of your armrest. Test the color on an inconspicuous area first to ensure a good match.
- Step 8: Apply the colorant with a small paint brush, using light, even strokes.
- Step 9: Allow the colorant to dry completely. You may need to apply multiple coats for full coverage.
3.5. Sealing and Conditioning
- Step 10: Apply a leather sealant to protect the repaired area from future damage.
- Step 11: Once the sealant is dry, apply a leather conditioner to keep the leather soft and supple.
3.6. Drying and Curing
- Step 12: Allow the repaired area to dry and cure for at least 24 hours before using the armrest.
Here’s a quick reference table for the steps:
| Step | Action | Description |
|---|---|---|
| 1 | Clean the Area | Scrub with leather cleaner and soft brush, then wipe dry with a microfiber cloth. |
| 2 | Apply Leather Filler | Use a palette knife to evenly spread filler over cracks or scratches. |
| 3 | Sand the Filler | Gently smooth the surface with fine-grit sandpaper once the filler is dry. |
| 4 | Color Matching | Test leather colorant on an inconspicuous area to ensure a good match. |
| 5 | Apply Colorant | Use a small paint brush to apply colorant in light, even strokes. |
| 6 | Seal and Condition | Apply leather sealant for protection and leather conditioner to keep the leather supple. |
| 7 | Drying and Curing | Allow the repaired area to dry and cure for at least 24 hours. |
Following these steps, you can effectively repair minor cracks and scratches, restoring the look and feel of your car leather armrest. CARDIAGTECH.NET provides high-quality leather repair kits and tools to make this process easier and more effective.
4. How to Fix Larger Tears in Your Leather Armrest
Larger tears in your car leather armrest require a more involved repair process than simple cracks or scratches. Here’s a detailed guide to help you tackle these more significant damages.
4.1. Preparing the Area
- Step 1: Clean the area around the tear with a leather cleaner and a soft brush.
- Step 2: Use a microfiber cloth to wipe the area dry, ensuring no residue remains.
4.2. Assessing the Tear
- Step 3: Examine the tear to determine if any material is missing. If so, you’ll need to find a leather patch that closely matches the color and texture of your armrest.
4.3. Applying a Leather Patch (if needed)
- Step 4: Cut the leather patch slightly larger than the tear.
- Step 5: Thin the edges of the patch using a leather skiver or fine-grit sandpaper to create a seamless transition.
- Step 6: Apply leather glue to the back of the patch and carefully position it over the tear.
- Step 7: Press the patch firmly in place and allow the glue to dry completely.
4.4. Stitching the Tear
- Step 8: If the tear is clean and the edges can be brought together, you can stitch it closed.
- Step 9: Use a curved needle and strong leather thread to sew the tear together, using a saddle stitch or a similar durable stitch.
- Step 10: Ensure the stitches are tight and even, creating a strong and discreet seam.
4.5. Applying Leather Filler
- Step 11: Apply leather filler to any gaps or imperfections around the patch or stitched tear.
- Step 12: Smooth the filler evenly with a palette knife, ensuring it blends with the surrounding leather.
4.6. Sanding and Smoothing
- Step 13: Once the filler is dry, use fine-grit sandpaper to smooth the surface.
- Step 14: Be careful not to remove too much filler or damage the surrounding leather.
4.7. Color Matching and Application
- Step 15: Use a leather colorant that matches the color of your armrest. Test the color on an inconspicuous area first.
- Step 16: Apply the colorant with a small paint brush, using light, even strokes.
- Step 17: Allow the colorant to dry completely. You may need to apply multiple coats for full coverage.
4.8. Sealing and Conditioning
- Step 18: Apply a leather sealant to protect the repaired area from future damage.
- Step 19: Once the sealant is dry, apply a leather conditioner to keep the leather soft and supple.
4.9. Drying and Curing
- Step 20: Allow the repaired area to dry and cure for at least 24 hours before using the armrest.
Here’s a table summarizing the steps for repairing larger tears:
| Step | Action | Description |
|---|---|---|
| 1-2 | Prepare the Area | Clean with leather cleaner and wipe dry. |
| 3 | Assess the Tear | Determine if a leather patch is needed. |
| 4-7 | Apply Leather Patch | Cut, thin, glue, and press the patch over the tear. |
| 8-10 | Stitch the Tear | Sew the tear closed with a curved needle and strong leather thread. |
| 11-12 | Apply Leather Filler | Fill any gaps or imperfections around the patch or stitched tear. |
| 13-14 | Sanding and Smoothing | Smooth the surface with fine-grit sandpaper. |
| 15-17 | Color Matching | Test and apply leather colorant to match the armrest color. |
| 18-19 | Seal and Condition | Apply sealant and conditioner for protection and suppleness. |
| 20 | Drying and Curing | Allow the repaired area to dry and cure for at least 24 hours. |
Repairing larger tears requires patience and attention to detail, but with these steps, you can restore your car leather armrest to a presentable condition.
 Leather patches and stitching used to repair a large tear in a car armrest
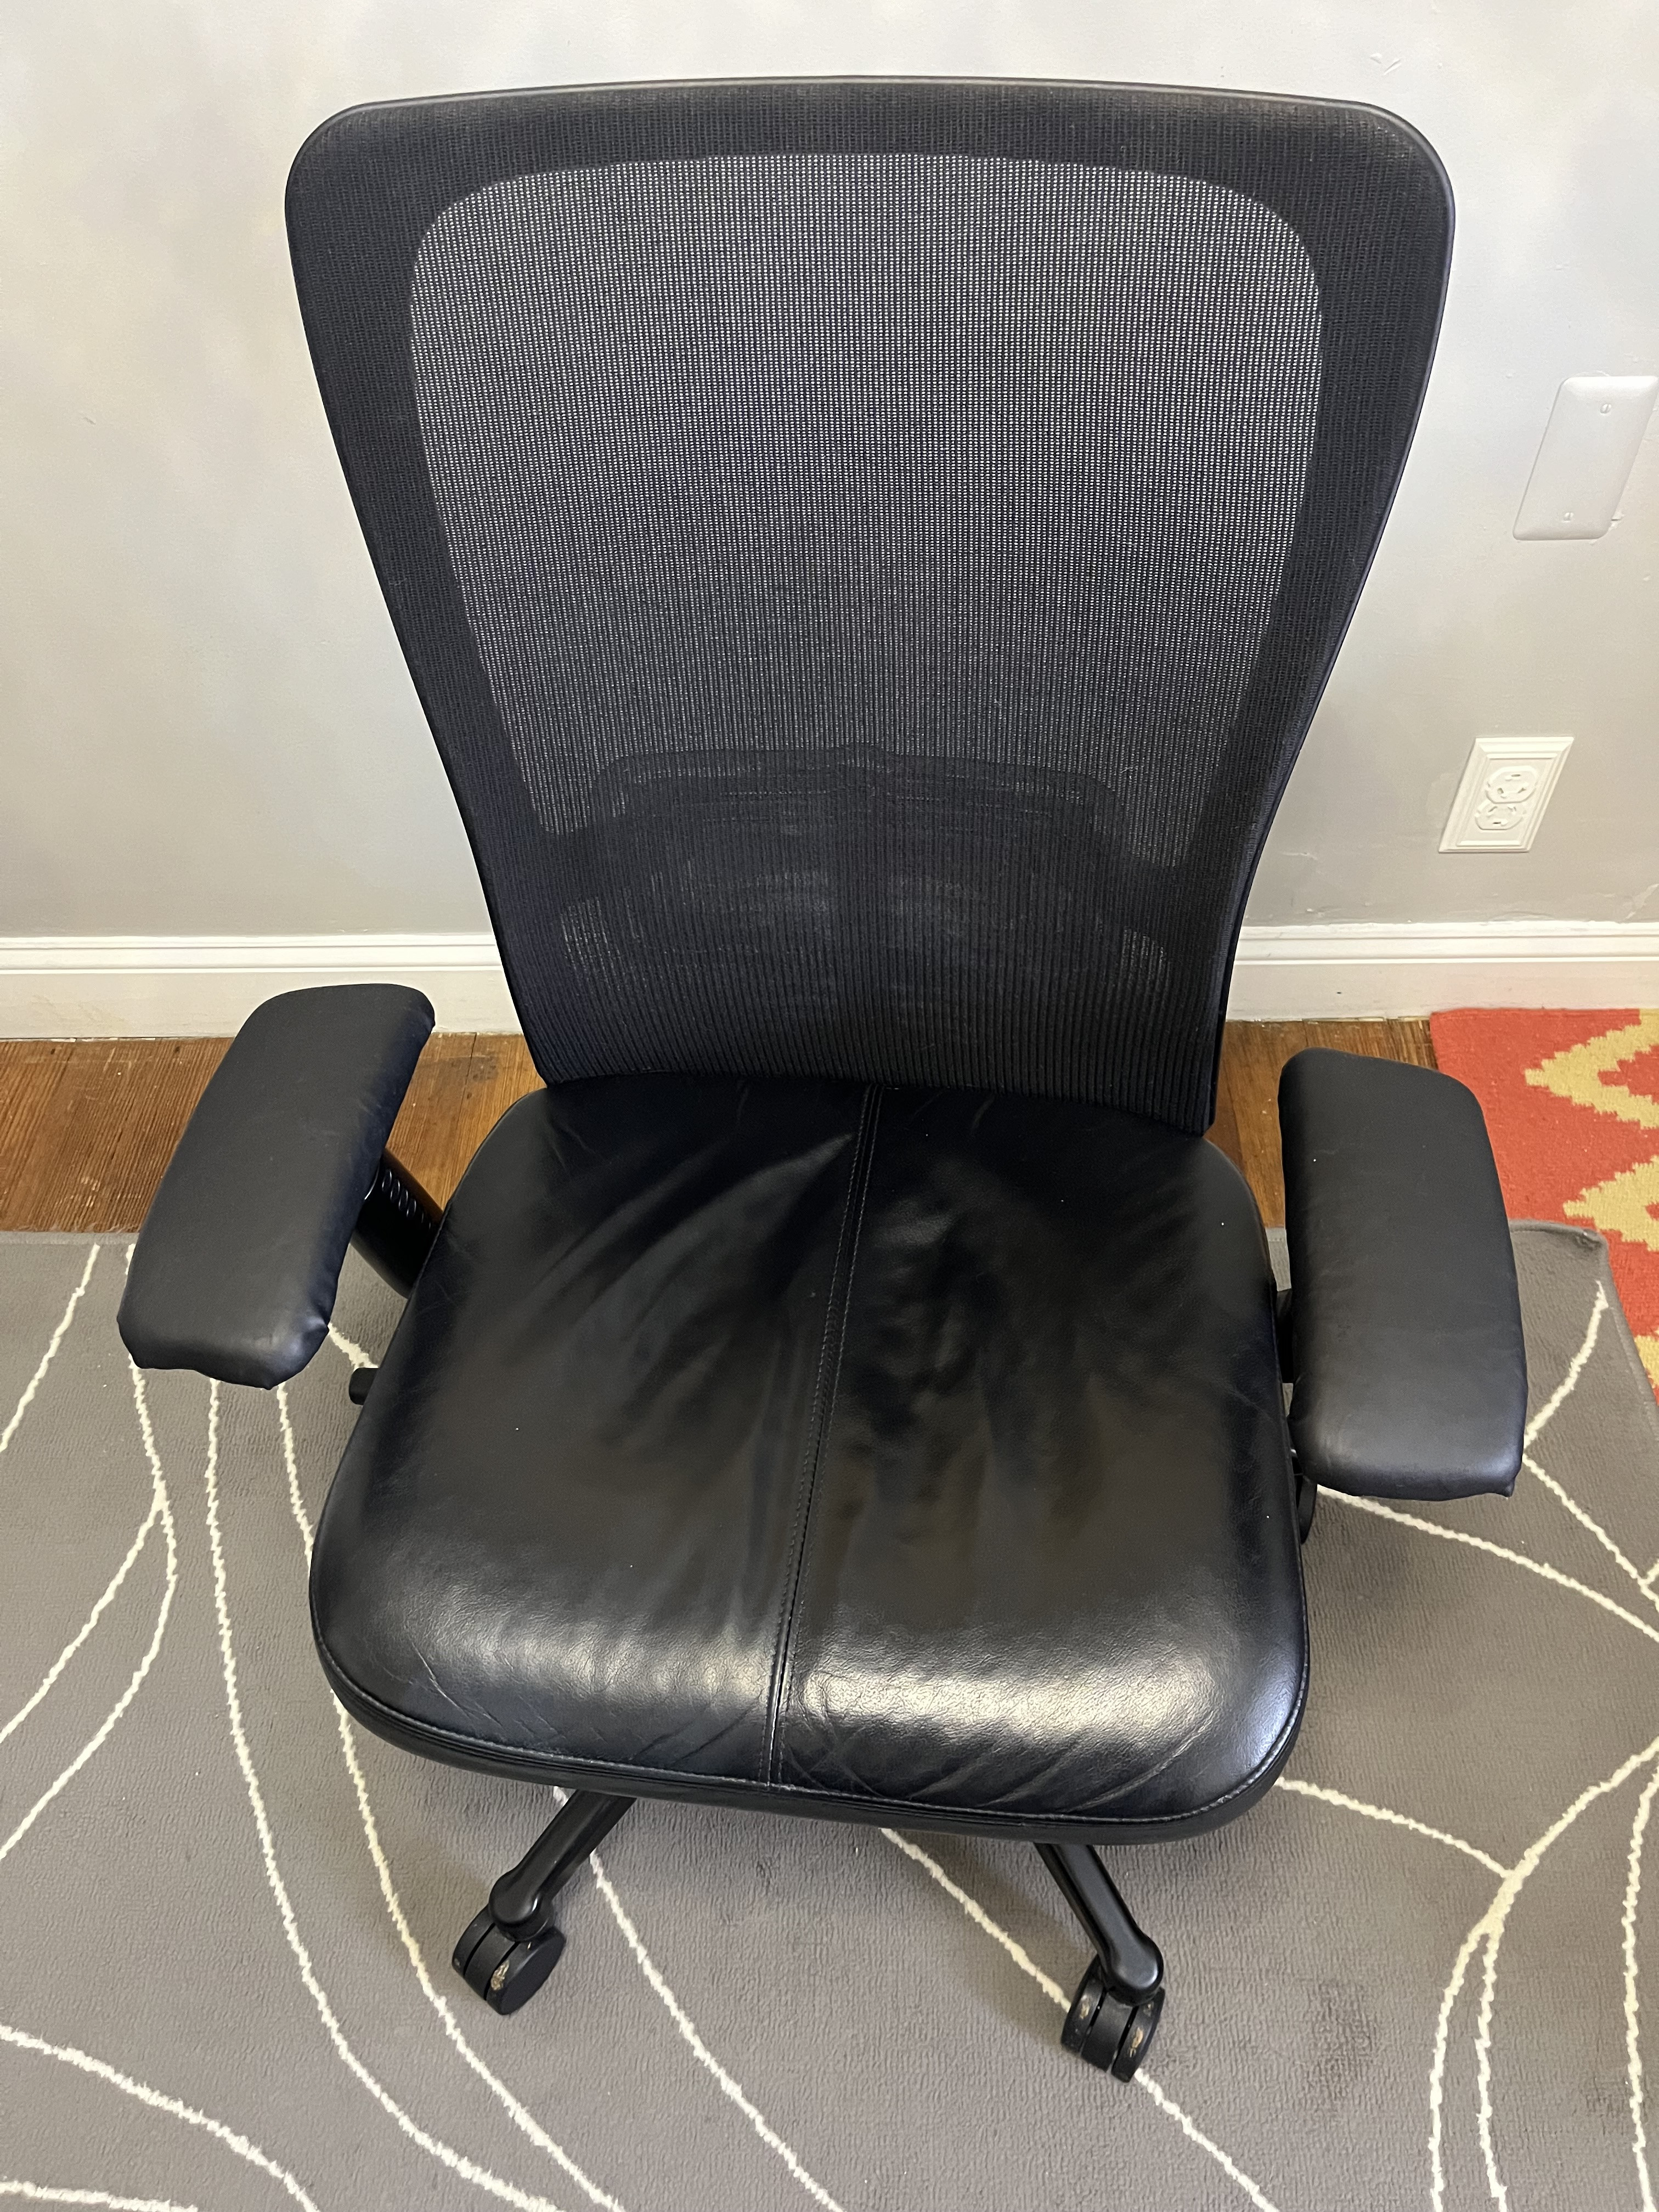
5. Removing and Replacing the Leather on Your Armrest
In cases of severe damage, such as extensive tears, wear, or fading, removing and replacing the leather on your armrest may be the best solution. This process requires more effort and skill but can yield excellent results.
5.1. Removing the Armrest
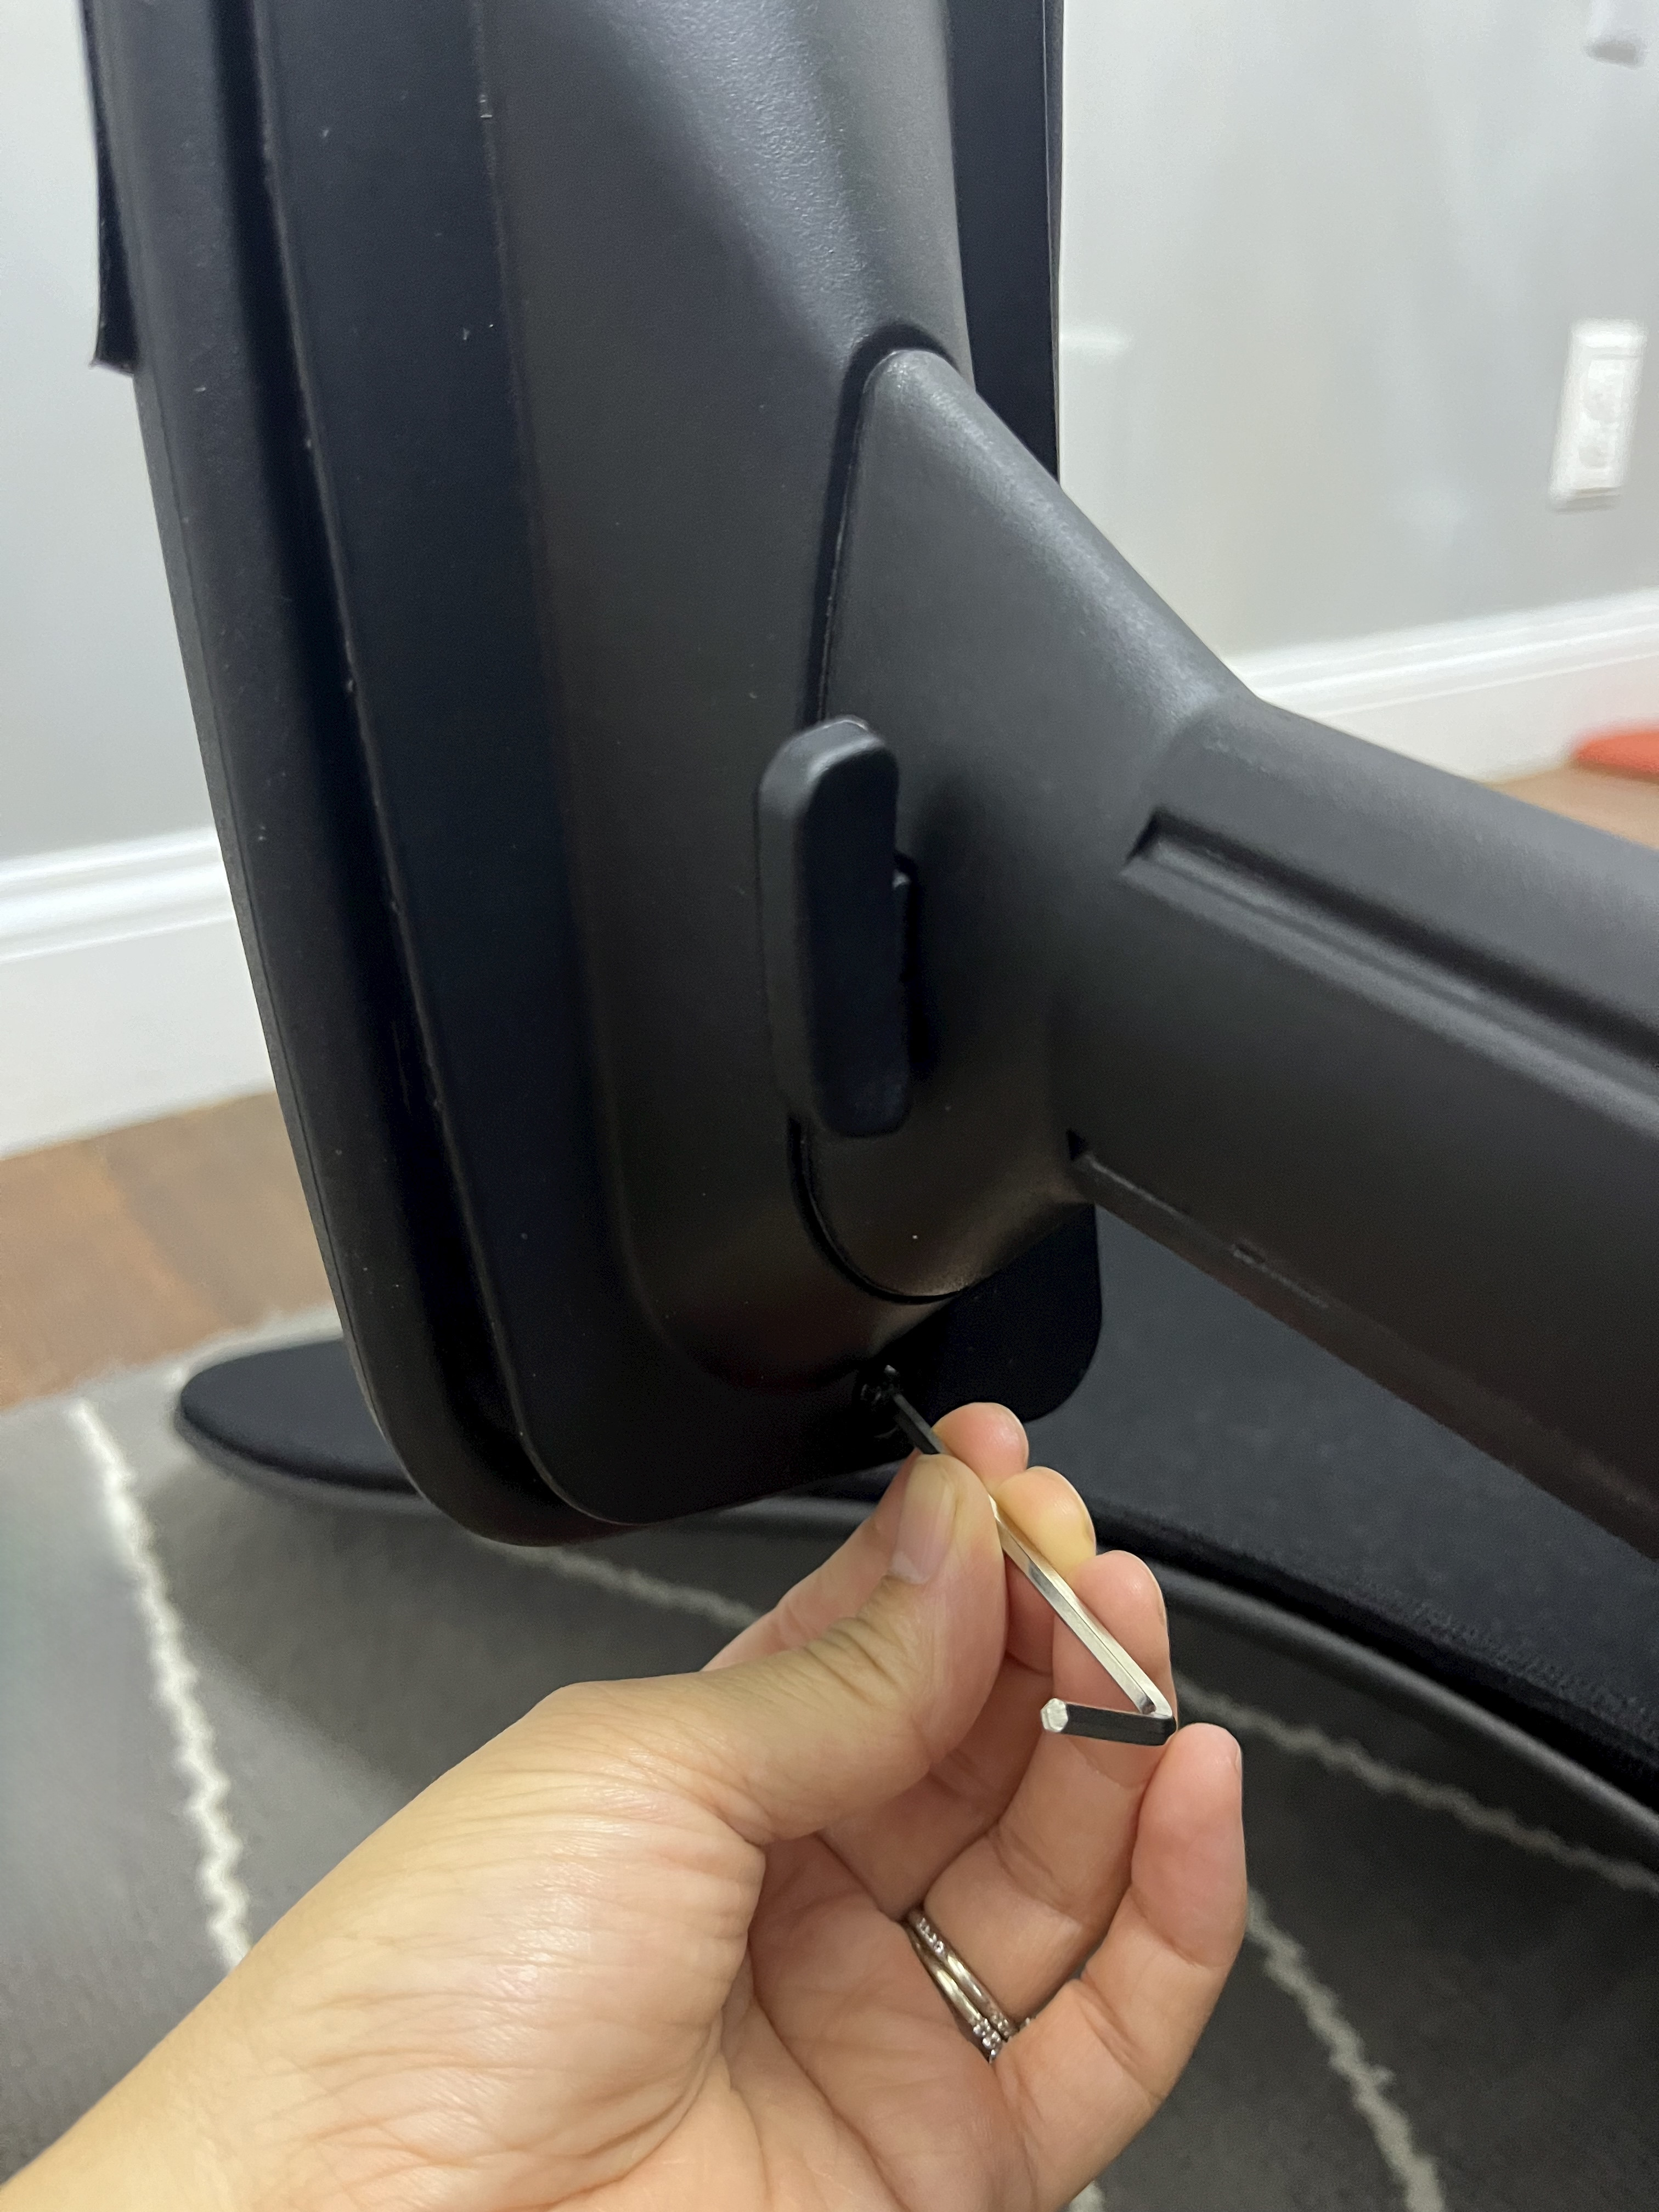
- Step 1: Locate the screws or bolts that secure the armrest to the car frame.
- Step 2: Use a screwdriver or wrench to remove the fasteners and detach the armrest.
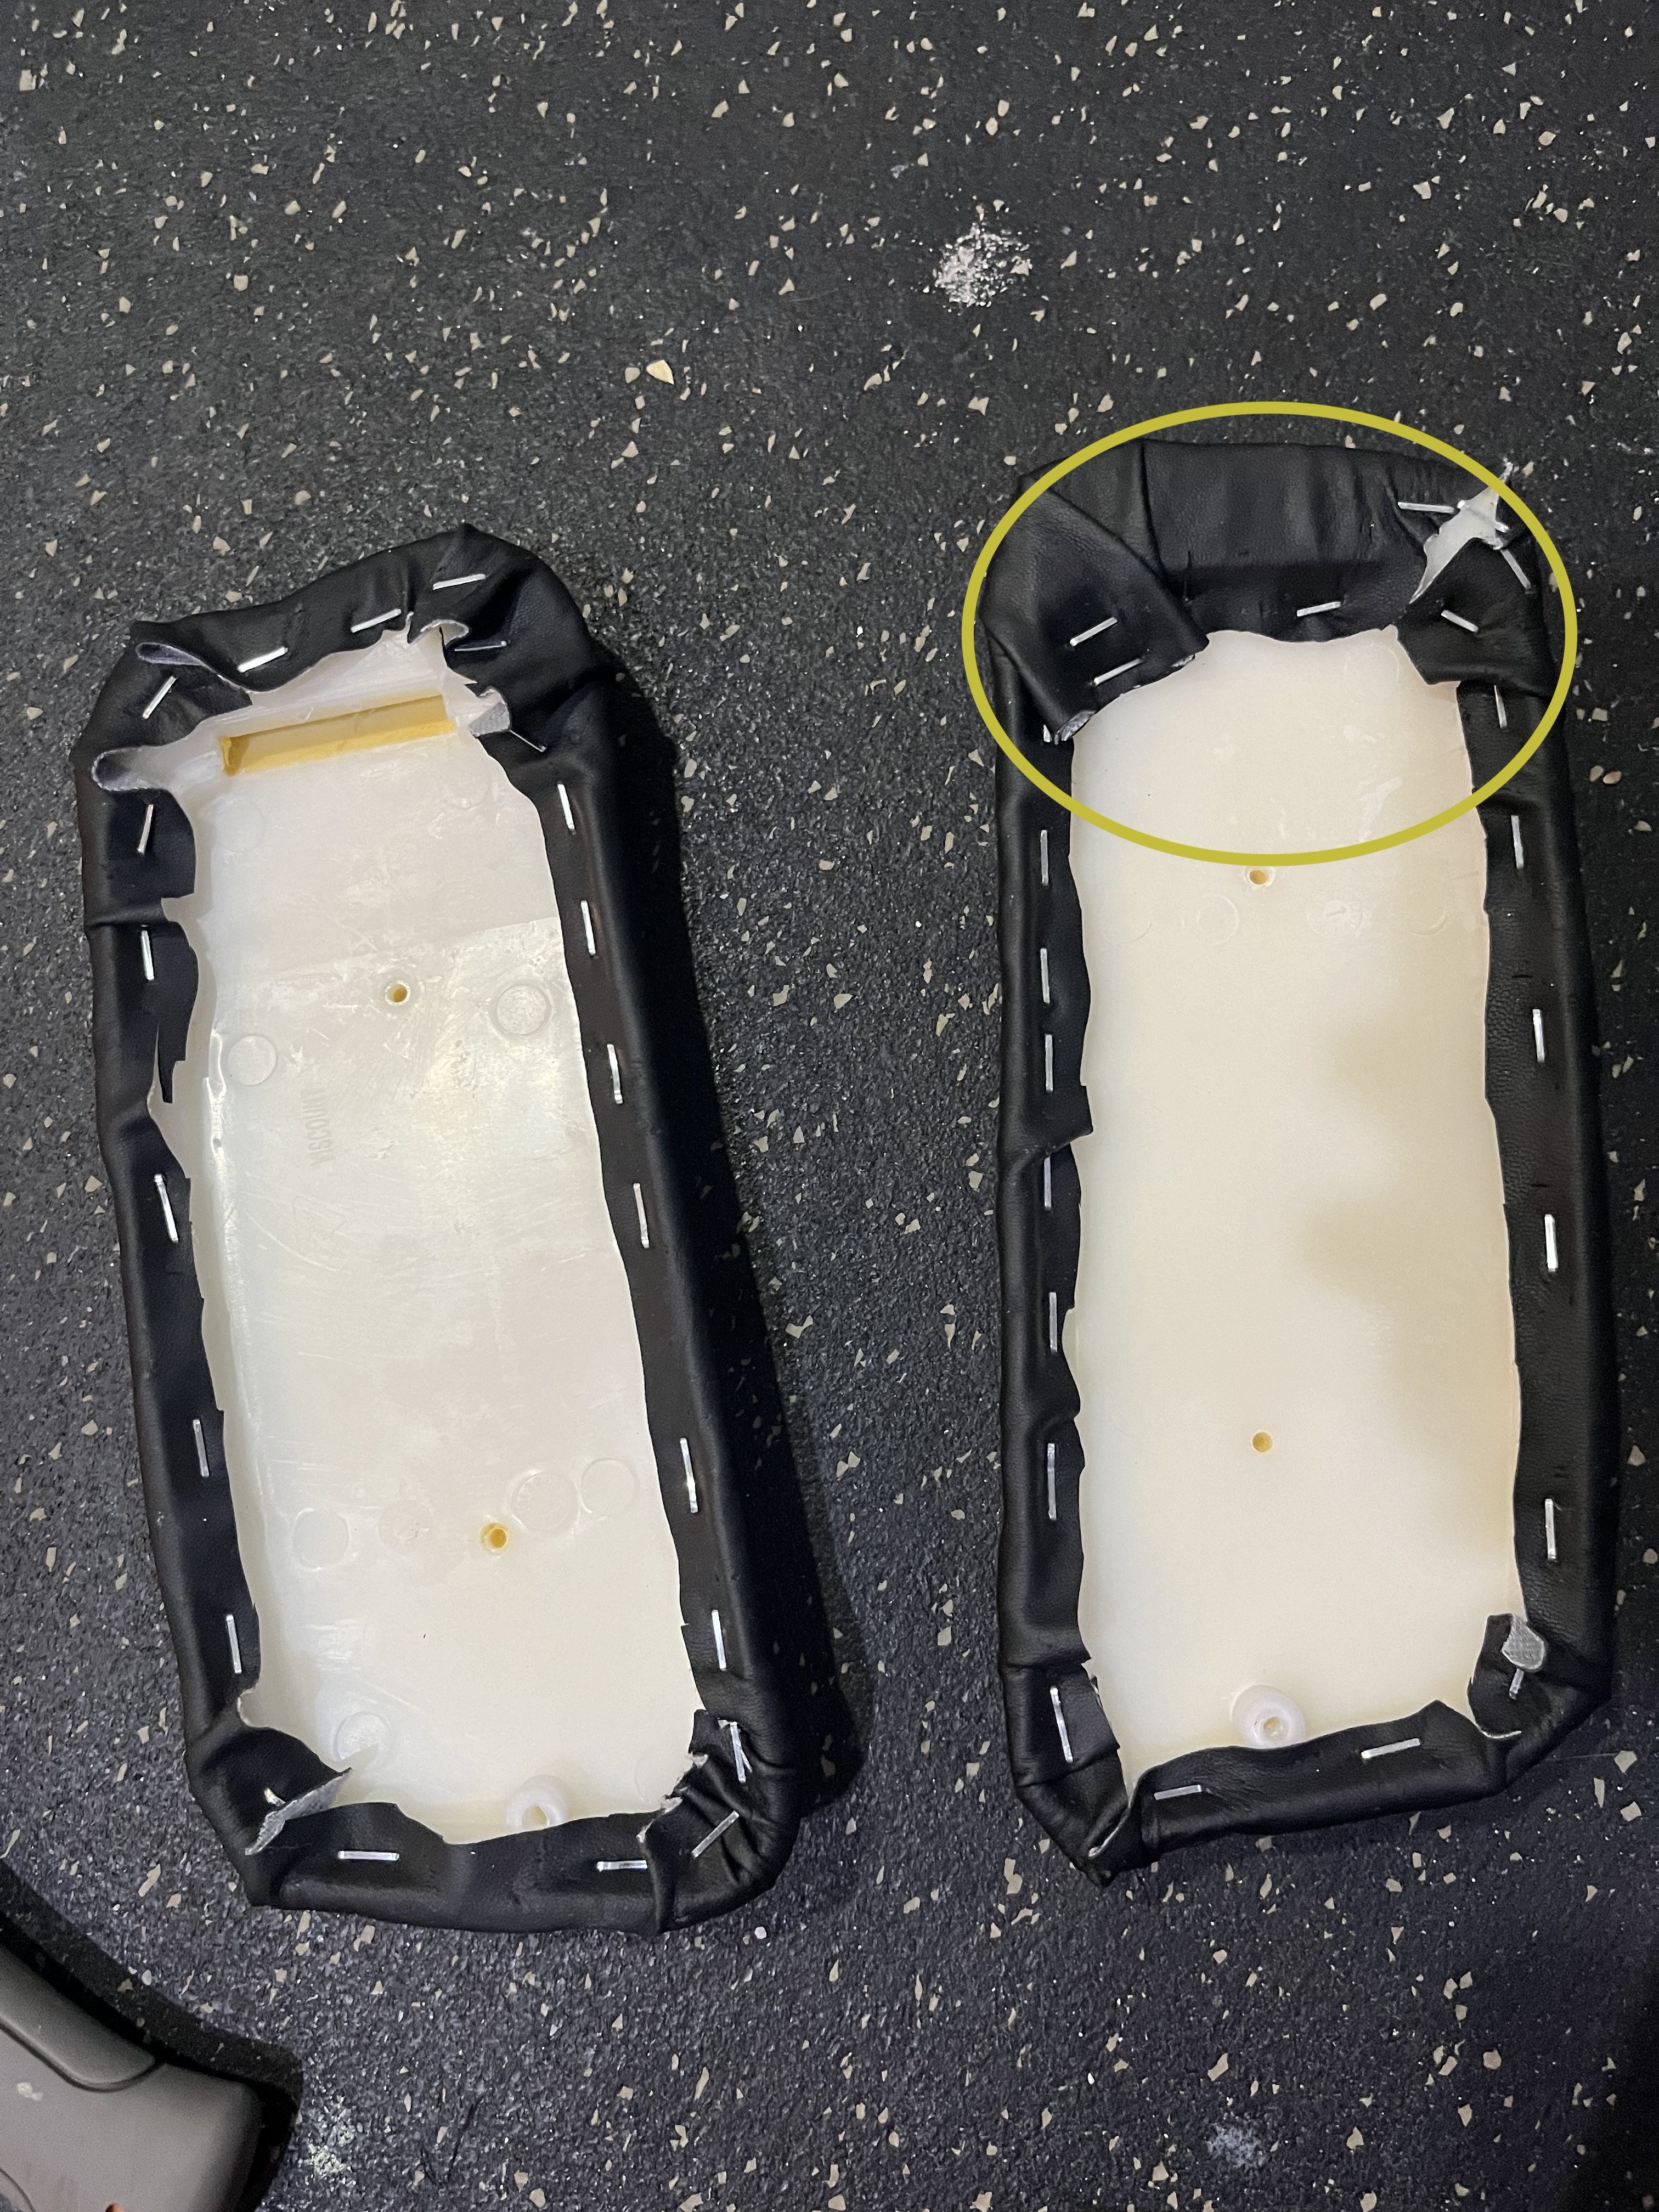
5.2. Removing the Old Leather
- Step 3: Carefully remove any staples, tacks, or adhesive holding the old leather in place. Pliers and a staple remover can be helpful.
- Step 4: Gently peel off the old leather, taking care not to damage the underlying foam or padding.
5.3. Creating a Pattern
- Step 5: Use the old leather as a template to create a pattern for the new leather. Lay the old leather flat on a piece of paper or cardboard and trace its outline.
- Step 6: Add extra material around the edges of the pattern to allow for stretching and stapling.
5.4. Cutting the New Leather
- Step 7: Lay the pattern on the new leather and trace its outline.
- Step 8: Use a sharp utility knife or leather scissors to cut out the new leather piece.
5.5. Attaching the New Leather
- Step 9: Position the new leather over the armrest, aligning it carefully.
- Step 10: Starting from the center, stretch the leather around the edges of the armrest frame.
- Step 11: Use a staple gun to secure the leather in place, working your way around the entire perimeter.
- Step 12: Ensure the leather is taut and smooth, without any wrinkles or creases.
5.6. Trimming and Finishing
- Step 13: Trim any excess leather around the edges of the armrest.
- Step 14: Use leather glue to secure any loose edges or corners.
- Step 15: Apply a leather conditioner to the new leather to keep it soft and supple.
5.7. Reattaching the Armrest
- Step 16: Reattach the armrest to the car frame using the screws or bolts you removed earlier.
Here’s a table summarizing the steps for replacing the leather:
| Step | Action | Description |
|---|---|---|
| 1-2 | Removing the Armrest | Detach the armrest from the car frame by removing screws or bolts. |
| 3-4 | Removing the Old Leather | Remove staples, tacks, and adhesive, then peel off the old leather. |
| 5-6 | Creating a Pattern | Trace the old leather onto paper or cardboard to create a pattern. |
| 7-8 | Cutting the New Leather | Use the pattern to cut out a new piece of leather. |
| 9-12 | Attaching the New Leather | Position and stretch the new leather around the armrest, securing it with a staple gun. |
| 13-14 | Trimming and Finishing | Trim excess leather and use glue to secure any loose edges. |
| 15 | Conditioning | Apply leather conditioner to keep the leather soft. |
| 16 | Reattaching the Armrest | Reattach the armrest to the car frame. |
Replacing the leather on your armrest can significantly improve the interior of your car, giving it a fresh, new look.
 New leather being stapled onto an armrest frame to replace the old, damaged material
6. Choosing the Right Leather: Types and Qualities
Selecting the right type of leather is crucial for ensuring the longevity and appearance of your repaired or replaced car leather armrest. Here’s an overview of the different types and qualities of leather available.
6.1. Types of Leather
- Full-Grain Leather: Considered the highest quality, full-grain leather retains the natural grain and markings of the hide. It’s durable and develops a rich patina over time.
- Top-Grain Leather: The second-highest quality, top-grain leather has had the top layer sanded or buffed to remove imperfections. It’s more uniform in appearance than full-grain leather but still durable.
- Genuine Leather: A general term for leather that is made from multiple layers of low-quality leather bonded together. It’s less expensive but also less durable.
- Bonded Leather: Made from shredded leather fibers bonded together with adhesive. It’s the lowest quality of leather and not recommended for automotive use.
- Synthetic Leather (Leatherette or Vinyl): A man-made material that mimics the look and feel of leather. It’s less expensive than genuine leather and often more resistant to stains and water.
6.2. Qualities to Consider
- Durability: Look for leather that is thick and strong enough to withstand the wear and tear of daily use.
- Color and Texture: Choose a leather that closely matches the color and texture of your car’s interior.
- Resistance to Fading: Opt for leather that is treated to resist fading from sun exposure.
- Ease of Maintenance: Consider leather that is easy to clean and condition.
- Cost: Balance the quality of the leather with your budget.
6.3. Recommended Leathers for Car Armrests
- Top-Grain Leather: Offers a good balance of quality, durability, and cost.
- Synthetic Leather: A practical choice for those seeking a low-maintenance and budget-friendly option.
Here’s a table summarizing the different types of leather and their qualities:
| Leather Type | Quality | Durability | Appearance | Cost | Recommended Use |
|---|---|---|---|---|---|
| Full-Grain | Highest | Excellent | Natural, develops patina | Highest | Premium car interiors |
| Top-Grain | High | Very Good | Uniform, sanded surface | High | Car armrests, seating |
| Genuine Leather | Medium | Good | Varies, can be less uniform | Medium | General upholstery |
| Bonded Leather | Low | Poor | Processed, less natural look | Low | Not recommended for automotive use |
| Synthetic Leather | Medium to High | Good | Mimics leather, uniform | Low | Budget-friendly car interiors |
Choosing the right leather is a critical step in ensuring your car armrest repair or replacement is both aesthetically pleasing and long-lasting.
7. Matching the Leather Color for a Seamless Repair
Achieving a seamless repair requires careful attention to color matching. Here’s a guide to help you match the leather color for your car armrest.
7.1. Identifying the Original Color
- Step 1: Find a hidden area of the armrest (such as the underside) that hasn’t been exposed to sunlight or wear. This will provide a more accurate representation of the original color.
- Step 2: Clean the area with a leather cleaner to remove any dirt or grime that may be affecting the color.
7.2. Using Color Matching Tools
- Step 3: Use a colorimeter or spectrophotometer to measure the exact color of the leather. These devices provide a precise color reading that can be used to mix a matching colorant.
- Step 4: Alternatively, use a color matching app on your smartphone. These apps use your phone’s camera to analyze the color and suggest matching shades.
7.3. Mixing Your Own Colorant
- Step 5: Purchase a leather colorant kit that includes a range of primary colors and a mixing guide.
- Step 6: Follow the guide to mix the desired color, using small amounts of each primary color until you achieve a close match.
- Step 7: Test the color on an inconspicuous area of the armrest to ensure it’s a good match.
7.4. Ordering Pre-Mixed Colorant
- Step 8: Many leather repair companies offer custom color matching services. Send them a sample of your leather, and they will mix a colorant that matches perfectly.
- Step 9: Alternatively, check online forums and databases for color formulas specific to your car’s make and model.
7.5. Applying the Colorant
- Step 10: Apply the colorant to the repaired area using a small paint brush, using light, even strokes.
- Step 11: Allow the colorant to dry completely, and apply additional coats as needed to achieve full coverage.
Here’s a table summarizing the steps for matching leather color:
| Step | Action | Description |
|---|---|---|
| 1-2 | Identifying Original Color | Find a hidden area and clean it to reveal the true color. |
| 3-4 | Using Color Matching Tools | Use a colorimeter or smartphone app to measure the color. |
| 5-7 | Mixing Your Own Colorant | Purchase a colorant kit and follow the guide to mix the desired color. |
| 8-9 | Ordering Pre-Mixed Colorant | Send a sample to a leather repair company or check online databases for color formulas. |
| 10-11 | Applying the Colorant | Apply the colorant to the repaired area using a small brush, ensuring even coverage. |
By carefully matching the leather color, you can ensure that your repair blends seamlessly with the surrounding material, resulting in a professional-looking finish.
8. Preventing Future Damage: Maintenance and Care Tips
Proper maintenance and care are essential for preventing future damage to your car leather armrest. Here are some tips to help you keep your leather in top condition.
8.1. Regular Cleaning
- Tip 1: Clean your leather armrest regularly (every 1-3 months) with a leather cleaner to remove dirt, oils, and other contaminants.
- Tip 2: Use a soft brush to gently scrub the leather, paying attention to seams and crevices.
- Tip 3: Wipe the area clean with a microfiber cloth.
8.2. Conditioning
- Tip 4: Apply a leather conditioner after cleaning to keep the leather soft and supple.
- Tip 5: Use a high-quality leather conditioner that is specifically designed for automotive use.
- Tip 6: Apply the conditioner sparingly, and allow it to soak into the leather for several hours before wiping off any excess.
8.3. Protecting from Sunlight
- Tip 7: Park your car in the shade or use a sunshade to protect the leather from direct sunlight.
- Tip 8: Apply a UV protectant to the leather to prevent fading and cracking.
8.4. Avoiding Spills and Stains
- Tip 9: Be careful when eating or drinking in your car to avoid spills and stains.
- Tip 10: Clean up any spills immediately with a clean, dry cloth.
- Tip 11: Use a leather stain remover to treat stubborn stains.
8.5. Using Seat Covers
- Tip 12: Consider using seat covers to protect your leather armrest from wear and tear.
Here’s a table summarizing the maintenance and care tips:
| Tip | Action | Description |
|---|---|---|
| 1-3 | Regular Cleaning | Clean every 1-3 months with leather cleaner, soft brush, and microfiber cloth. |
| 4-6 | Conditioning | Apply leather conditioner after cleaning to keep the leather soft and supple. |
| 7-8 | Protecting from Sunlight | Park in the shade or use a sunshade; apply UV protectant. |
| 9-11 | Avoiding Spills and Stains | Be careful with food and drinks; clean spills immediately; use a stain remover for stubborn stains. |
| 12 | Using Seat Covers | Consider using seat covers to protect from wear and tear. |
By following these maintenance and care tips, you can prolong the life of your car leather armrest and keep it looking its best.
 A person conditioning a car leather seat to maintain its quality and prevent damage
9. Professional Leather Repair Services: When to Seek Help
While DIY repairs can be effective for minor damage, there are situations where it’s best to seek professional leather repair services. Here’s when to consider getting professional help.
9.1. Extensive Damage
- If your car leather armrest has extensive tears, significant fading, or widespread wear, professional repair services can provide a more thorough and long-lasting solution.
9.2. Complex Repairs
- Some repairs, such as replacing entire sections of leather or restoring intricate stitching, require specialized skills and equipment that are best handled by professionals.
9.3. Color Matching Difficulties
- If you’re having trouble matching the leather color or achieving a seamless blend, professional color matching services can ensure a perfect match.
9.4. Lack of Time or Expertise
- If you don’t have the time, patience, or expertise to perform the repair yourself, hiring a professional can save you time and frustration.
9.5. Cost Considerations
- While professional repairs can be more expensive than DIY repairs, they can also save you money in the long run by preventing further damage and extending the life of your leather armrest.
9.6. Finding a Reputable Service
- Research local leather repair shops and read online reviews to find a reputable service with experienced technicians.
- Ask for before-and-after photos of previous repairs to assess the quality of their work.
- Get a detailed estimate of the repair costs before committing to the service.
Here’s a table summarizing when to seek professional help:
| Situation | Recommendation |
|---|---|
| Extensive Damage | Seek professional repair services for a thorough and long-lasting solution. |
| Complex Repairs | Hire professionals for specialized skills and equipment. |
| Color Matching Difficulties | Use professional color matching services to ensure a perfect match. |
| Lack of Time or Expertise | Save time and frustration by hiring a professional. |
| Cost Considerations | Prevent further damage and extend the life of your leather armrest. |
| Finding a Reputable Service | Research local shops, read reviews, and get a detailed estimate. |
Knowing when to seek professional help can ensure that your car leather armrest receives the best possible care and restoration. Remember, CARDIAGTECH.NET offers tools and materials for both DIY enthusiasts and professional technicians, ensuring everyone has access to quality products for leather repair.
10. Cost-Effective Solutions for Leather Armrest Restoration
Restoring your car leather armrest doesn’t have to break the bank. Here are some cost-effective solutions to help you achieve professional-quality results without overspending.
10.1. DIY Repair Kits
- Benefit: DIY leather repair kits offer an affordable way to fix minor damages such as cracks, scratches, and small tears.
- Cost: These kits typically range from $20 to $50 and include all the necessary materials and tools.
- CARDIAGTECH.NET Recommendation: Look for comprehensive kits that include leather cleaner, filler, colorant, and sealant for the best value.
10.2. Thrift Store Leather
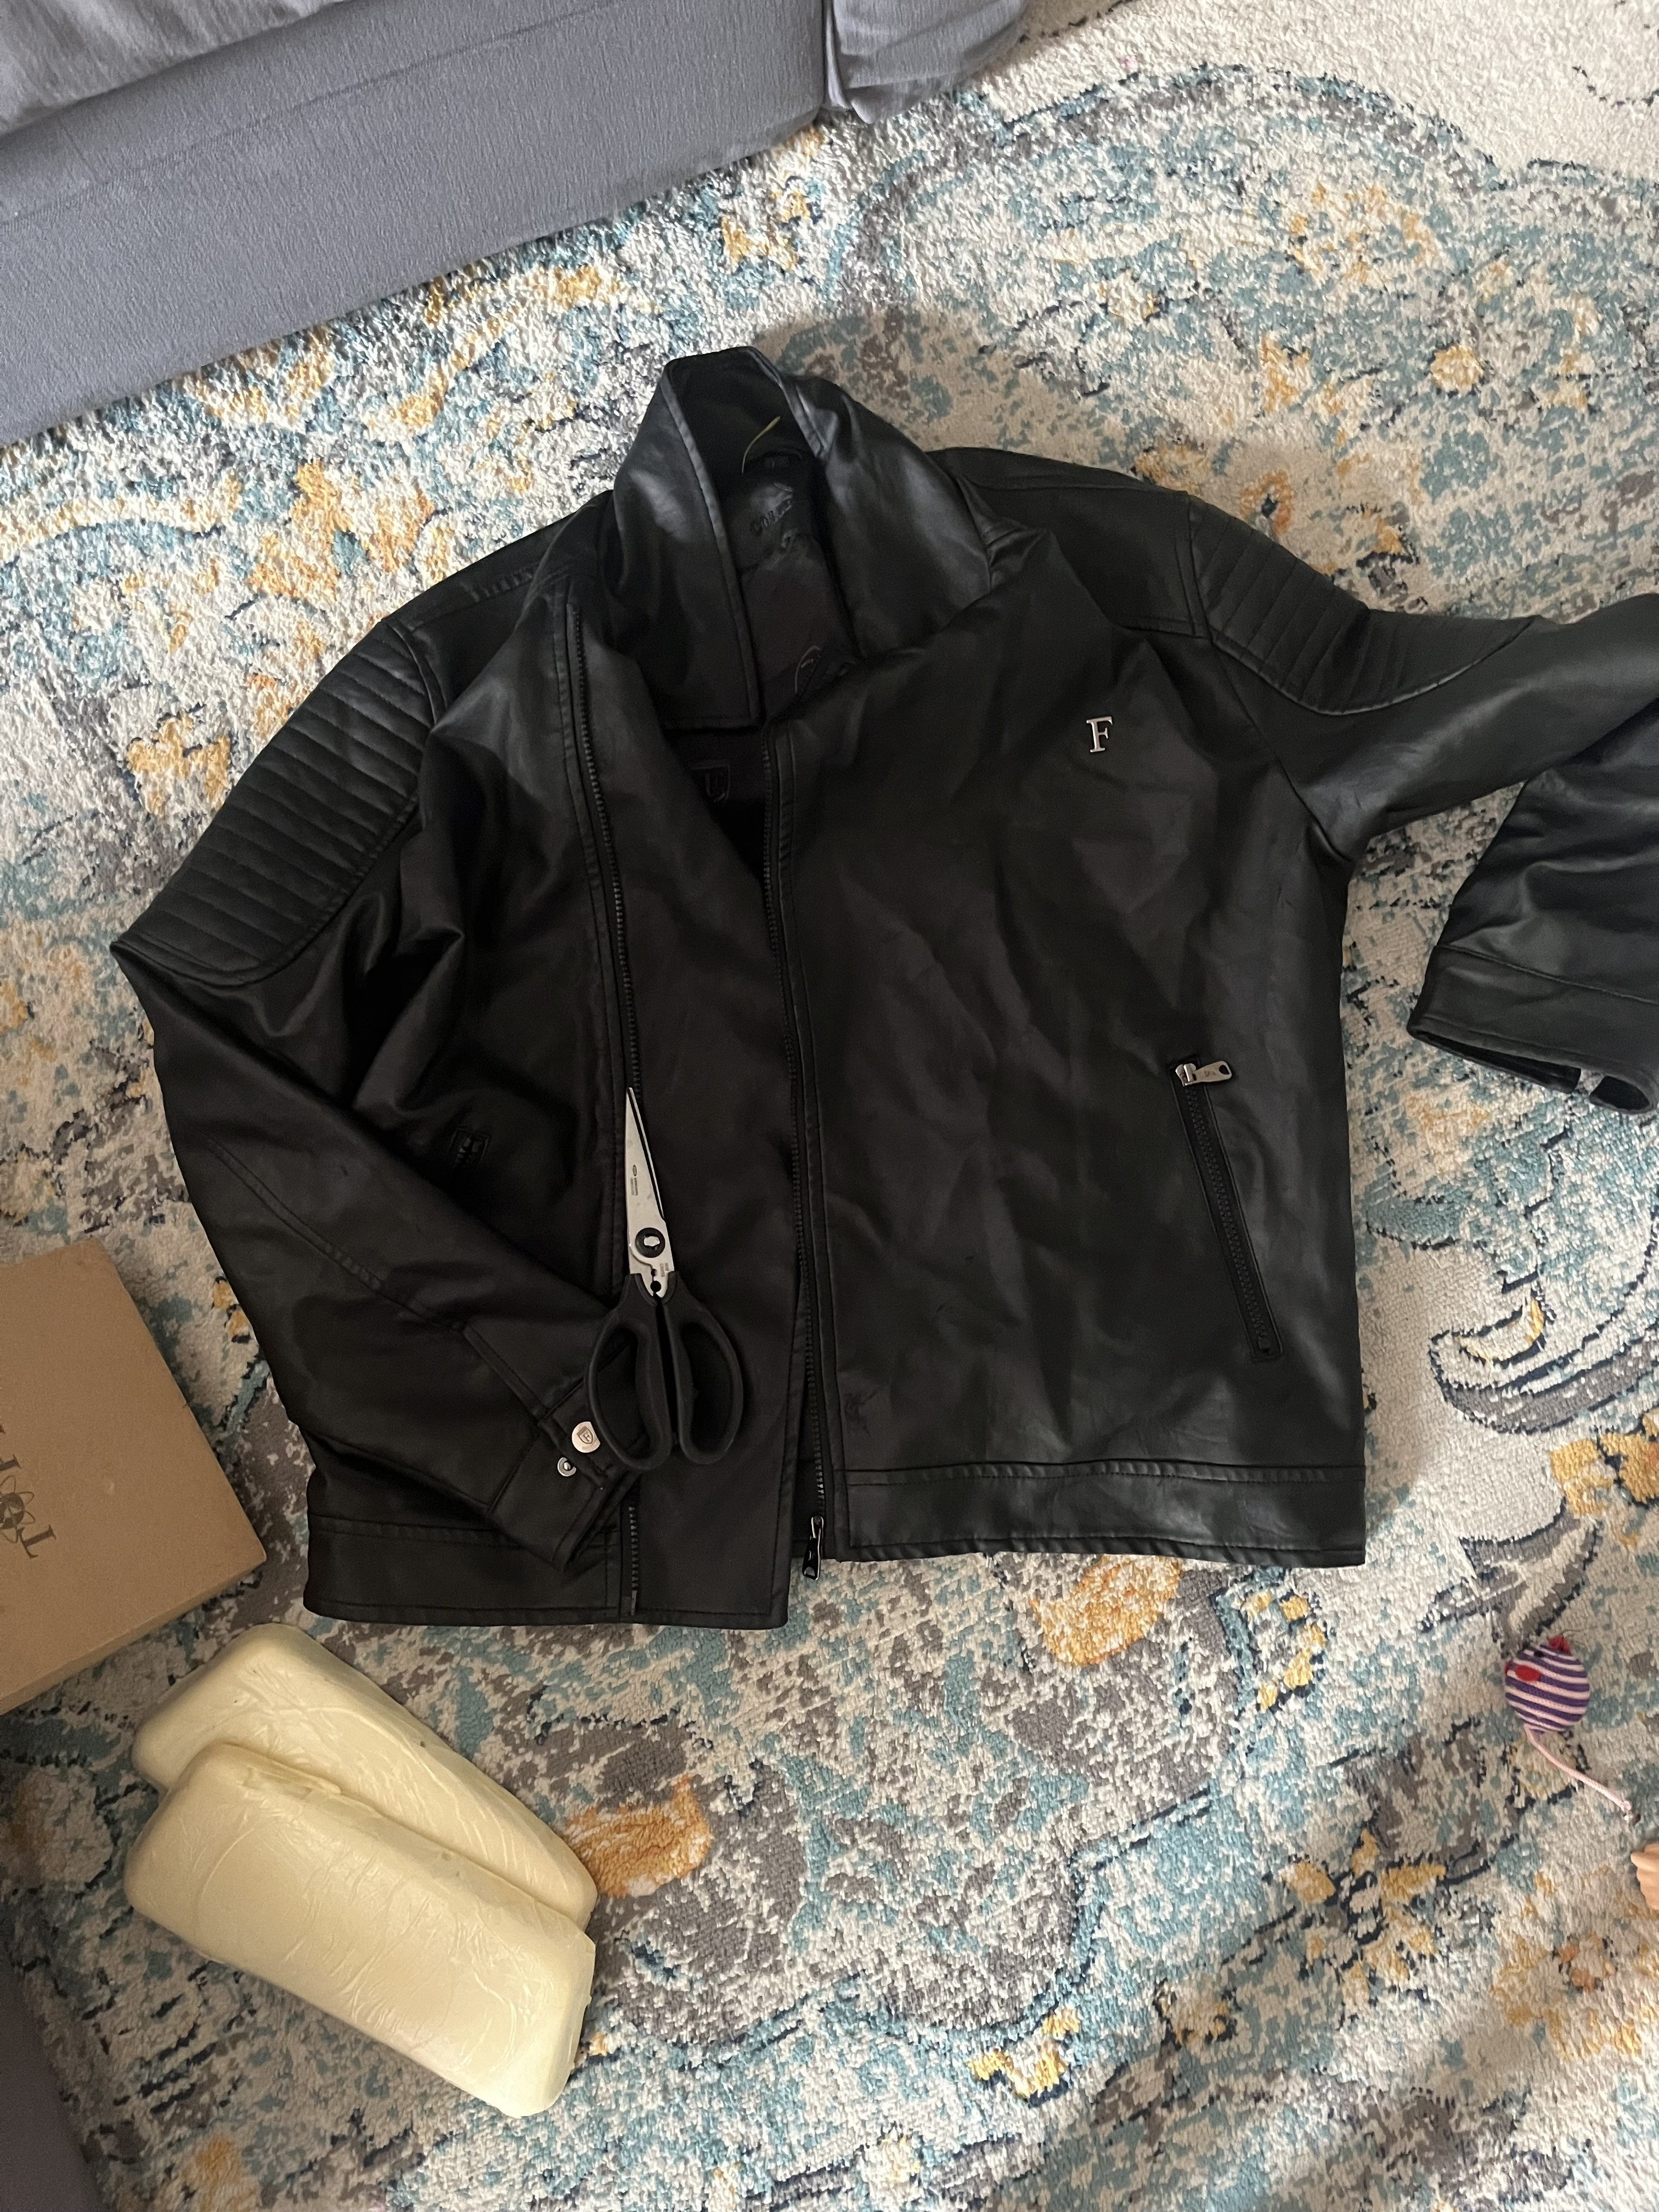
- Benefit: Instead of buying new leather for patching or replacement, consider purchasing used leather from thrift stores or online marketplaces.
- Cost: You can often find leather jackets, bags, or scraps for a fraction of the cost of new leather.
- Tip: Choose leather that closely matches the color and texture of your car’s interior.
10.3. Refurbishing Over Replacing
- Benefit: Refurbishing your existing leather armrest is almost always cheaper than replacing it entirely.
- Cost: Refurbishing costs can range from $50 to $200, depending on the extent of the damage and whether you DIY or hire a professional.
- Contrast: A new armrest can cost anywhere from $100 to $500 or more.
10.4. Preventative Maintenance
- Benefit: Regular cleaning and conditioning can prevent minor damages from becoming major problems, saving you money on costly repairs in the future.
- Cost: Leather cleaner and conditioner typically cost around $10 to $20 each.
- CARDIAGTECH.NET Recommendation: Make preventative maintenance a part of your regular car care routine to keep your leather in top condition.
10.5. Comparison Shopping
- Benefit: Compare prices from different suppliers and service providers to find the best deals on leather repair products and services.
- Tip: Check online marketplaces, local auto parts stores, and professional repair shops for competitive pricing.
- CARDIAGTECH.NET Advantage: We offer a wide range of high-quality leather repair products at competitive prices, making it easy to find the best solutions for your budget.
Here’s a table summarizing cost-effective solutions:
| Solution | Benefit | Cost |
|---|---|---|
| DIY Repair Kits | Affordable way to fix minor damages | $20 – $50 |
| Thrift Store Leather | Low-cost alternative to new leather for patching | $5 – $30 |
| Refurbishing | Cheaper than replacing the entire armrest | $50 – $200 |
| Preventative Maintenance | Prevents minor damages from becoming major problems | $10 – $20/each |
| Comparison Shopping | Find the best deals on products and services | Varies |
By implementing these cost-effective solutions, you can restore your car leather armrest without breaking the bank, ensuring your car’s interior looks its best while staying within your budget.
FAQ: Frequently Asked Questions About Car Leather Armrest Repair
Here are some frequently asked questions about car leather armrest repair to help you better understand the process and make informed decisions.
Q1: Can I use regular household cleaners on my car leather armrest?
- Answer: No, regular household cleaners can be too harsh and can damage the leather. Always use a leather cleaner specifically designed for automotive use.
Q2: How often should I condition my car leather armrest?
- Answer: It is recommended to condition your leather armrest every 1-3 months to keep it soft and supple.
Q3: What is the best way to remove stains from my leather armrest?
- Answer: Clean up spills immediately with a clean, dry cloth. For stubborn stains, use a leather stain remover specifically designed for automotive leather.
Q4: Can I repair a tear in my leather armrest myself?
- Answer: Yes, minor tears can often be repaired with a leather repair kit. Larger tears may require a leather patch and stitching.
Q5: How do I match the color of the repair to the existing leather?
- Answer: Use a color matching tool or purchase a leather colorant kit with a mixing guide. Test the color on an inconspicuous area before applying it to the repaired area.
Q6: Is it better to replace the leather or repair it?
- Answer: Repairing the leather is usually more cost-effective than replacing it. However, if the damage is extensive, replacing the leather may be the best option.
Q7: How can I prevent future damage to my leather armrest?
- Answer: Regularly clean and condition the leather, protect it from sunlight, avoid spills and stains, and consider using seat covers.
Q8: What type of leather is best for car armrests?
- Answer: Top-grain leather offers a good balance of quality, durability, and cost. Synthetic leather is also a practical choice for those seeking a low-maintenance and budget-friendly option.
Q9: How much does it cost to have a professional repair my leather armrest?
- Answer: Professional repair costs can range from $50 to $200 or more, depending on the extent of the damage and the complexity of the repair.
Q10: Where can I find quality leather repair products and tools?
- Answer: CARDIAGTECH.NET offers a wide range of high-quality leather repair products and tools for both DIY enthusiasts and professional technicians. Visit our website at CARDIAGTECH.NET or contact us at +1 (641) 206-8880 for more information. Our address is 276 Reock St, City of Orange, NJ 07050, United States.
By addressing these frequently asked questions, we aim to provide you with the knowledge and resources you need to effectively repair and maintain your car leather armrest.
Is your car leather armrest showing signs of wear and tear? Don’t let it detract from your car’s interior appeal. Contact CARDIAGTECH.NET today at +1 (641) 206-8880 for expert advice and top-quality tools to restore your armrest to its former glory. Whether you’re a DIY enthusiast or prefer professional assistance, we have the solutions you need. Reach out now and let us help you revitalize your car’s