How To Fix Large Rust Holes In Car Body
Is rust eating away at your car? Don’t worry! With the right tools and techniques, you can tackle those unsightly rust holes and restore your vehicle’s appearance and structural integrity. At CARDIAGTECH.NET, we understand the frustration of dealing with rust, and we’re here to provide you with a comprehensive guide on how to fix large rust holes in your car. Discover the best methods for rust removal, metal patching, and bodywork repair, ensuring a professional-looking finish.
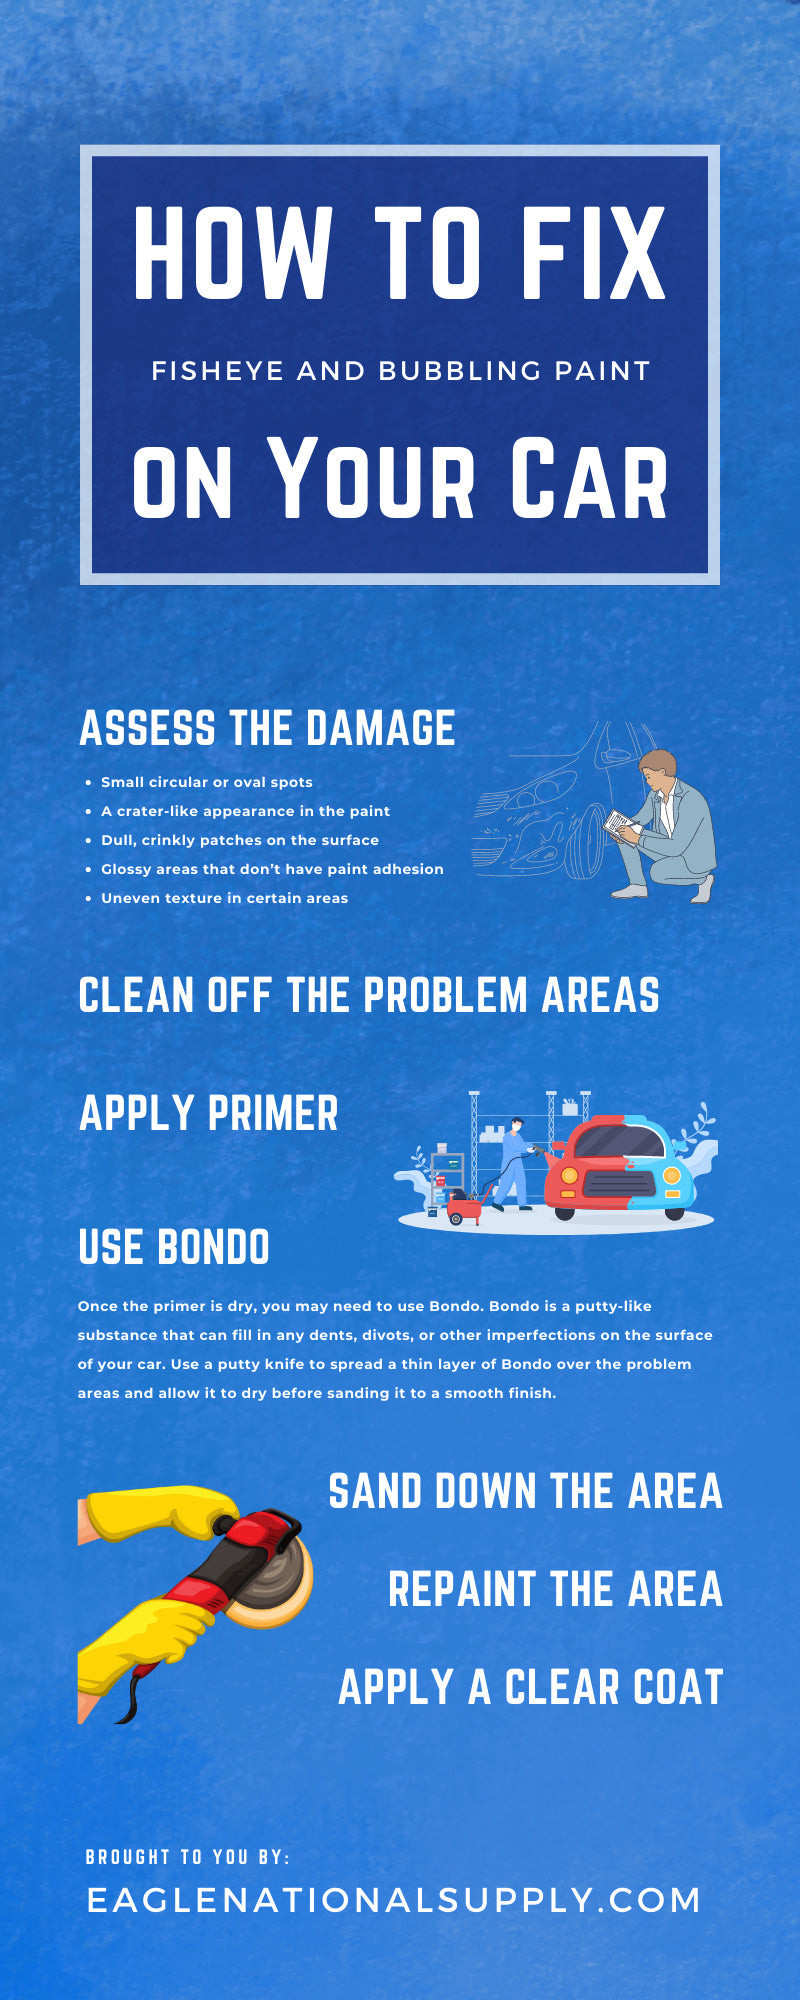
1. Identifying Rust Damage Severity: When to DIY and When to Call a Pro
Before diving into the repair process, it’s crucial to assess the extent of the rust damage.
- Surface Rust: This is the least severe type, affecting only the surface of the metal. It usually appears as orange or brown discoloration.
- Scale Rust: This involves deeper penetration, causing the metal to flake and crumble.
- Penetrating Rust: This is the most serious type, creating holes and weakening the structural integrity of the car.
When to DIY: If the rust is limited to surface rust or small areas of scale rust, you can likely handle the repair yourself with the right tools and materials.
When to Call a Pro: For penetrating rust, especially in critical structural areas like the frame or suspension components, it’s best to consult a professional body shop. Attempting to repair these areas without proper expertise and equipment can compromise your safety.
2. Essential Tools and Materials for Rust Hole Repair
To effectively tackle rust holes, you’ll need a range of tools and materials. Investing in quality equipment from CARDIAGTECH.NET will ensure a smoother and more durable repair.
| Tool/Material | Description | CARDIAGTECH.NET Recommendation |
|---|---|---|
| Angle Grinder | Used for removing rust and preparing the metal surface for patching. | Variable Speed Angle Grinder with multiple disc attachments for versatility. |
| Welding Machine | Essential for welding in new metal patches. MIG welders are generally recommended for their ease of use. | MIG Welder with adjustable settings for different metal thicknesses. |
| Welding Helmet | Protects your eyes and face from sparks and radiation during welding. | Auto-Darkening Welding Helmet for clear visibility and safety. |
| Metal Cutting Tools | For cutting out rusted sections and shaping new metal patches. Options include cutting discs, reciprocating saws, and plasma cutters. | Plasma Cutter for precise and efficient metal cutting. |
| Sanding Tools | Used for smoothing welds, removing paint, and preparing surfaces for primer and paint. Includes sanding blocks, orbital sanders, and various grits of sandpaper. | Random Orbital Sander with dust extraction for a clean and smooth finish. |
| Body Filler | Fills in imperfections and creates a smooth surface for painting. Choose a high-quality filler that is easy to sand and doesn’t shrink. | Premium Body Filler with excellent adhesion and sanding properties. |
| Rust Converter | Neutralizes rust and prevents it from spreading. Apply after removing loose rust and before priming. | Rust Converter that chemically transforms rust into a stable compound. |
| Primer | Provides a protective base for paint and helps with adhesion. Choose a primer compatible with your topcoat paint. | Epoxy Primer for superior rust protection and adhesion. |
| Automotive Paint | Matches your car’s original color and provides a durable, weather-resistant finish. | High-Quality Automotive Paint in your car’s exact color code. |
| Clear Coat | Protects the paint from scratches, UV damage, and other environmental factors. | 2K Clear Coat for a durable and glossy finish. |
| Safety Gear | Includes gloves, safety glasses, a respirator, and appropriate clothing to protect yourself from hazards. | Full Face Respirator and heavy-duty gloves for comprehensive protection. |
| Patch Panels or Sheet Metal | Used to fabricate new metal sections to replace rusted areas. | 18-Gauge Sheet Metal for fabricating durable and accurate patches. |
| Welding Clamps & Magnets | Holds metal pieces in place during welding, ensuring accurate alignment. | Assorted Welding Clamps and Magnets for secure and precise positioning. |
| Body Hammer and Dolly Set | Used for shaping and smoothing metal panels after welding. | Professional Body Hammer and Dolly Set for shaping metal with precision. |
| Masking Tape and Paper | Protects surrounding areas from overspray during painting. | High-Quality Masking Tape and Paper for clean and precise masking. |
| Degreaser | Removes grease, wax, and other contaminants from the surface before painting. | Automotive Degreaser for thorough surface preparation. |
3. Step-by-Step Guide to Fixing Large Rust Holes
Follow these detailed steps to repair large rust holes in your car:
Step 1: Preparation and Safety
- Safety First: Wear safety glasses, gloves, and a respirator to protect yourself from dust, fumes, and debris.
- Clean the Area: Thoroughly clean the area around the rust hole with soap and water, then degrease it to remove any wax, grease, or contaminants.
- Mask the Surrounding Area: Use masking tape and paper to protect the surrounding paint from damage during grinding and sanding.
Step 2: Rust Removal
- Grind Away the Rust: Use an angle grinder with a grinding disc to remove all visible rust around the hole. Extend the grinding a few inches beyond the rusted area to ensure you’re working with clean metal.
- Inspect for Hidden Rust: Carefully inspect the surrounding area for any hidden rust. Use a wire brush to remove any loose particles and assess the extent of the damage.
Alt text: Technician using an angle grinder to remove rust from a car panel, ensuring all corrosion is eliminated.
Step 3: Cutting Out the Damaged Metal
- Assess the Damage: Determine the extent of the rust damage and decide how much metal needs to be removed.
- Cut Out the Rusted Section: Use a cutting disc, reciprocating saw, or plasma cutter to carefully cut out the rusted section. Cut along clean metal, leaving a smooth, even edge.
Step 4: Fabricating a Patch Panel
- Measure the Opening: Accurately measure the size and shape of the hole you’ve created.
- Create a Template: Make a template of the hole using cardboard or paper.
- Cut the Patch Panel: Transfer the template to a piece of sheet metal and cut out the patch panel using metal cutting tools.
- Shape the Patch Panel: Use a body hammer and dolly set to shape the patch panel to match the contours of the car’s body. Take your time and ensure a precise fit.
Alt text: Metalworker shaping a new patch panel for a car body using a body hammer and dolly set to match the vehicle’s contours.
Step 5: Welding in the Patch Panel
- Prepare the Edges: Clean the edges of the hole and the patch panel with a wire brush to remove any oxidation or debris.
- Position the Patch Panel: Use welding clamps or magnets to hold the patch panel in place, ensuring it is flush with the surrounding metal.
- Weld the Patch Panel: Use a MIG welder to carefully weld the patch panel to the car’s body. Use short, overlapping welds to prevent warping the metal.
- Grind Down the Welds: Use an angle grinder with a grinding disc to grind down the welds, creating a smooth, even surface.
Step 6: Body Filler Application
- Clean the Welded Area: Clean the welded area with a degreaser to remove any residue.
- Mix the Body Filler: Mix the body filler according to the manufacturer’s instructions.
- Apply the Body Filler: Apply a thin, even layer of body filler to the welded area, filling in any imperfections and creating a smooth surface.
- Sand the Body Filler: Once the body filler has dried, use sandpaper (starting with 80-grit and gradually moving to finer grits like 400-grit) to sand the area smooth. Use a sanding block to ensure a flat, even surface.
Alt text: Auto technician applying body filler to a car panel to smooth out imperfections and prepare the surface for painting.
Step 7: Priming and Painting
- Clean the Area: Clean the area with a tack cloth to remove any dust or debris.
- Apply Primer: Apply several thin coats of primer to the repaired area, allowing each coat to dry before applying the next.
- Sand the Primer: Once the primer has dried, use fine-grit sandpaper (600-grit) to lightly sand the surface, creating a smooth base for the paint.
- Apply Paint: Apply several thin coats of automotive paint, matching the car’s original color. Allow each coat to dry before applying the next.
- Apply Clear Coat: Apply several thin coats of clear coat to protect the paint and provide a glossy finish.
- Wet Sand and Polish: After the clear coat has dried completely, use fine-grit sandpaper (2000-grit) to wet sand any imperfections. Then, use a rubbing compound and polishing pad to polish the surface to a high shine.
Step 8: Final Touches
- Remove Masking: Carefully remove the masking tape and paper.
- Clean the Area: Clean the repaired area and the surrounding area with a detailing spray.
- Inspect the Repair: Carefully inspect the repair to ensure a seamless finish.
4. Advanced Techniques for Complex Rust Repairs
For more complex rust repairs, consider these advanced techniques:
- Welding with Different Metals: If you’re welding a patch panel made of a different type of metal than the car’s body, use appropriate welding techniques and filler materials to ensure a strong, corrosion-resistant bond.
- Panel Beating: For dents and distortions in the metal, use panel beating techniques to reshape the metal before applying body filler.
- Using Specialized Rust Repair Products: Explore specialized rust repair products like rust encapsulators and cavity wax to provide long-lasting protection against future rust.
5. Maintaining Your Car to Prevent Future Rust
Prevention is always better than cure. Follow these tips to minimize the risk of rust:
- Regular Washing: Wash your car regularly, especially during winter months when salt and road grime can accelerate rust formation.
- Waxing: Apply a coat of wax to protect the paint from scratches and environmental damage.
- Touch-Up Paint: Repair any chips or scratches in the paint immediately to prevent rust from starting.
- Undercoating: Consider applying an undercoating to protect the undercarriage of your car from rust.
- Address Drainage Issues: Ensure that drain holes in doors, rocker panels, and other areas are clear to prevent water from accumulating and causing rust.
Alt text: Close-up of a person applying touch-up paint to a small chip on a car’s surface to prevent rust.
6. Cost Analysis: DIY vs. Professional Rust Repair
One of the biggest factors in deciding whether to DIY or hire a professional is cost. Here’s a breakdown:
| Cost Factor | DIY | Professional Repair |
|---|---|---|
| Materials | $100 – $500 (depending on the extent of the repair and the quality of materials) | Included in labor costs |
| Tools | $200 – $1000 (if you need to purchase tools like a welder, grinder, etc.) | N/A (already owned by the shop) |
| Labor | Your own time (can be significant, especially for larger repairs) | $50 – $150 per hour (depending on the shop and location) |
| Total Cost | $300 – $1500+ (depending on the extent of the repair and the tools you need) | $500 – $5000+ (can be significantly higher for extensive rust damage or structural repairs) |
| Time Investment | Several hours to several days (depending on your skill level and the complexity of the repair) | Typically a few days (depending on the shop’s schedule and the extent of the repair) |
| Quality of Finish | Can be excellent with patience and practice, but may not match professional-level results | Typically a high-quality, seamless finish |
| Warranty | No warranty (unless you purchase a warranty on specific materials) | Typically a warranty on the repair work (varies by shop) |
When DIY Makes Sense:
- Small, isolated areas of rust: If you have some experience with auto body work, DIY can save you a significant amount of money on minor repairs.
- You enjoy working on cars: If you find the process rewarding, DIY can be a fun and fulfilling project.
- You have the time: DIY repairs can take a considerable amount of time, so make sure you have the availability to dedicate to the project.
When Professional Repair is Recommended:
- Extensive rust damage: If the rust is widespread or has compromised the structural integrity of the car, professional repair is essential for safety.
- Lack of experience: If you’re not comfortable with welding, bodywork, or painting, it’s best to leave the job to the experts.
- Need for a perfect finish: If you want a flawless, showroom-quality finish, a professional body shop is your best bet.
- Tight timeline: If you need the repair done quickly, a professional shop can typically complete the work faster than you could on your own.
7. Frequently Asked Questions (FAQ) About Rust Repair
-
Q: How do I know if the rust damage is too severe to repair myself?
- A: If the rust has created holes larger than a few inches or has compromised structural components like the frame, it’s best to consult a professional.
-
Q: Can I just cover up rust with body filler?
- A: No, covering up rust without removing it first will only lead to the rust spreading beneath the filler, causing more damage in the long run.
-
Q: What’s the best way to prevent rust from coming back after a repair?
- A: Use a rust converter to neutralize any remaining rust, apply a high-quality primer and paint, and regularly wash and wax your car.
-
Q: Is welding required for all rust repairs?
- A: Welding is typically required for patching large holes or structural damage. For minor surface rust, you may be able to use fiberglass or epoxy repair methods.
-
Q: How long does a rust repair typically last?
- A: With proper preparation and quality materials, a rust repair can last for many years. However, it’s important to maintain your car and address any new rust spots promptly.
-
Q: What is the best type of welder for automotive rust repair?
- A: A MIG (Metal Inert Gas) welder is generally recommended for automotive rust repair due to its ease of use and ability to weld thin metals.
-
Q: Can I use household items to remove rust?
- A: While some household items like vinegar or baking soda can remove surface rust, they are not as effective as dedicated rust removal products and may not provide long-lasting protection.
-
Q: How important is it to match the paint color when repairing rust?
- A: Matching the paint color is crucial for a seamless repair. Use your car’s paint code to ensure an exact match.
-
Q: What is the purpose of using a rust converter?
- A: A rust converter chemically transforms rust into a stable, inert compound, preventing it from spreading and providing a protective layer for primer and paint.
-
Q: Where can I find quality tools and materials for rust repair?
- A: CARDIAGTECH.NET offers a wide range of high-quality tools and materials for all your automotive repair needs, including rust repair. Contact us at +1 (641) 206-8880 or visit our website at CARDIAGTECH.NET for expert advice and top-notch products. Our address is 276 Reock St, City of Orange, NJ 07050, United States.
8. Why Choose CARDIAGTECH.NET for Your Automotive Repair Needs?
At CARDIAGTECH.NET, we’re committed to providing you with the best tools, equipment, and expertise for all your automotive repair needs. Here’s why you should choose us:
- Wide Selection of High-Quality Products: We offer a comprehensive range of tools and materials for rust repair, bodywork, and general automotive maintenance.
- Expert Advice and Support: Our team of experienced technicians is available to provide expert advice and support, helping you choose the right tools and techniques for your specific needs.
- Competitive Prices: We offer competitive prices on all our products, ensuring you get the best value for your money.
- Fast and Reliable Shipping: We offer fast and reliable shipping to get your tools and materials to you quickly and efficiently.
- Customer Satisfaction Guarantee: We’re committed to your satisfaction. If you’re not happy with your purchase, we offer a hassle-free return policy.
Don’t let rust ruin your car’s appearance and value. Contact CARDIAGTECH.NET today at +1 (641) 206-8880 or visit our website at CARDIAGTECH.NET to learn more about our rust repair solutions and how we can help you restore your vehicle to its former glory. Our address is 276 Reock St, City of Orange, NJ 07050, United States. Let us help you get the job done right!