Bonded Windows For Mercedes Sprinter: The Ultimate Guide
Bonded windows for Mercedes Sprinter vans are a popular upgrade, offering enhanced aesthetics, safety, and functionality. At CARDIAGTECH.NET, we provide top-quality solutions to meet your automotive needs, especially when it comes to seamless and secure window installations. Discover how bonded windows can transform your Mercedes Sprinter and improve your overall driving experience. Secure window installation, auto glass replacement, and windshield repair solutions from CARDIAGTECH.NET ensure your vehicle is always in top condition.
1. Understanding Bonded Windows for Mercedes Sprinter
Bonded windows, also known as adhesive-bonded windows, are installed using strong adhesives like urethane instead of traditional rubber seals. This method provides a seamless, flush finish, enhancing the vehicle’s appearance and structural integrity.
1.1. What are Bonded Windows?
Bonded windows involve adhering the glass directly to the vehicle frame using a high-strength adhesive. This technique is common in modern vehicle manufacturing because it offers several advantages over traditional window mounting methods.
1.2. Why Choose Bonded Windows for Your Mercedes Sprinter?
Opting for bonded windows on your Mercedes Sprinter provides numerous benefits:
- Enhanced Aesthetics: A smooth, streamlined appearance that complements the van’s design.
- Improved Safety: Bonded windows contribute to the structural strength of the vehicle, providing added protection in collisions, according to the Insurance Institute for Highway Safety (IIHS).
- Reduced Noise: Better insulation reduces road noise, making the cabin quieter.
- Leak Prevention: Properly installed bonded windows create a watertight seal, preventing leaks.
1.3. Types of Bonded Windows Available
Various types of bonded windows are available for Mercedes Sprinter vans, including:
- Fixed Windows: Non-opening windows for a clean, sealed look.
- Sliding Windows: Offer ventilation and convenience.
- Awning Windows: Hinged at the top to provide airflow while protecting against rain.
- Panoramic Windows: Large windows that offer expansive views.
2. Key Considerations Before Installation
Before installing bonded windows on your Mercedes Sprinter, consider the following:
2.1. Compatibility with Your Sprinter Model
Ensure the windows are compatible with your specific Sprinter model year and wheelbase. Mercedes Sprinter models vary, and the windows must fit perfectly for a secure and aesthetic installation.
2.2. Choosing the Right Type of Window
Select the window type that best suits your needs. Consider factors like ventilation requirements, desired aesthetics, and intended use of the van.
2.3. Professional vs. DIY Installation
Decide whether to hire a professional or attempt a DIY installation. Professional installation ensures proper sealing and structural integrity, while DIY can save on labor costs if you have the necessary skills and tools.
2.4. Essential Tools and Materials
If opting for DIY installation, ensure you have the following:
- Urethane Adhesive: High-quality adhesive designed for automotive window bonding, such as SikaFlex P2G.
- Primer: To prepare the bonding surface.
- Caulking Gun: Heavy-duty gun with a 12:1 thrust ratio or higher.
- Cutting Tools: For removing existing windows or cutting the van’s metal.
- Edge Molding: To cover raw edges for a clean finish.
- Safety Gear: Gloves, safety glasses, and a respirator.
3. Step-by-Step Installation Guide
Follow this step-by-step guide for installing bonded windows on your Mercedes Sprinter:
3.1. Preparing the Vehicle
- Clean the Area: Thoroughly clean the area around the window opening. Remove any dirt, rust, or debris.
- Mark the Cut Line: If adding windows to a van without existing openings, mark the cut line on the interior using the OEM stamping as a guide.
- Protect the Surrounding Area: Use masking tape and plastic sheeting to protect the surrounding paint and interior from scratches and adhesive.
3.2. Removing Existing Windows (If Applicable)
- Use a Wire Cutter: If replacing an existing window, use a wire cutter like the Equalizer Window Cut-Out Set to cut through the old adhesive.
- Clean the Surface: Remove the old urethane adhesive as thoroughly as possible. Use tools like CRL Adhesive Cleaner, Acetone, Goo-Gone, or WD-40 to clean the surface.
- Final Cleaning: Clean the wall with soap and water or rubbing alcohol to remove any remaining residue.
3.3. Cutting the Window Opening (If Necessary)
- Drill a Pilot Hole: Drill a hole large enough to accommodate the blade of your cutting tool within the area to be cut out.
- Cut Along the Stamp Line: Use a body saw, air saw, or one-handed reciprocating saw to cut along the OEM stamp line.
- Remove Interior Supports: Cut out any interior supports within the window sections.
- Smooth the Edges: File any rough edges to smooth the cut line.
3.4. Applying Edge Molding (Optional)
- Measure and Cut: Measure the length of the cut edge and cut the Trim-Lok Edge Molding to size.
- Install the Molding: Press the molding onto the raw edge, ensuring it covers both the inner and outer sheet metal edges.
- Secure the Molding: If necessary, use adhesive to secure the molding in place.
3.5. Priming the Bonding Surface
- Apply Primer: Brush the urethane primer onto the outer body of the van, close to the opening. Leave about a 1/2″ gap from the trim or hole.
- Drying Time: Allow the primer to dry for about 10 minutes.
3.6. Applying Urethane Adhesive
- Prepare the Urethane: Use a commercial-grade caulking gun with at least a 12:1 thrust ratio. Warm the urethane tubes in hot water to make them more pliable.
- Cut the Tip: Cut the tip of the urethane tube at the embossed cutline, creating a V-notch.
- Apply the Bead: Apply a consistent bead of urethane adhesive around the perimeter of the window opening, starting a few inches down from the top rear corner. Ensure the V-notch trails your application path, creating a pyramid-looking dot.
- Second Tube (If Needed): If a second tube is needed, overlap the new bead about 1/2″ into the already applied bead and smooth it together.
3.7. Installing the Window
- Position the Window: With two people, align the bottom edge of the window with the opening, holding the glass back at a slight angle.
- Press into Place: Tilt the window up and press it into the urethane adhesive. Ensure the window is flush with the outer body of the van.
- Secure with Tape: Use window securing tape to tape each corner with 3-4 strips to keep the glass in place.
3.8. Curing and Final Steps
- Set Time: Allow 3-6 hours of set time before driving. Keep all windows closed and use A/C with recirculate during the first 24 hours.
- Washing: Wait at least 3 days before washing the vehicle.
4. Choosing the Right Bonded Window Kit
Selecting the right bonded window kit is crucial for a successful installation. Consider the following factors:
4.1. Kit Components
A comprehensive kit should include:
- Window: High-quality glass designed for your Sprinter model.
- Urethane Adhesive: Automotive-grade adhesive for a strong bond.
- Primer: To prepare the bonding surface.
- Applicator Nozzles: For precise application of the adhesive.
- Cleaning Supplies: To ensure a clean bonding surface.
- Instructions: Detailed step-by-step instructions.
4.2. Brand Reputation
Opt for reputable brands known for producing high-quality automotive glass and adhesives. Reliable brands ensure durability and safety.
4.3. Customer Reviews and Testimonials
Check customer reviews and testimonials to gauge the experiences of other users with the kit. Positive reviews indicate a reliable product and satisfactory results.
4.4. Price vs. Quality
Balance cost considerations with the quality of the kit. Investing in a higher-quality kit can prevent future issues and ensure a secure, long-lasting installation.
5. Maintaining Your Bonded Windows
Proper maintenance ensures the longevity and performance of your bonded windows:
5.1. Regular Cleaning
Clean your bonded windows regularly using a mild glass cleaner and a soft cloth. Avoid abrasive cleaners that can scratch the glass or damage the adhesive.
5.2. Inspecting for Damage
Regularly inspect the windows for chips, cracks, or signs of adhesive failure. Address any issues promptly to prevent further damage.
5.3. Addressing Leaks
If you notice any leaks, address them immediately. Leaks can lead to water damage and corrosion. Re-seal the window as needed or consult a professional for repairs.
5.4. Avoiding Harsh Chemicals
Avoid using harsh chemicals or solvents near the bonded windows, as they can degrade the adhesive and damage the glass.
6. Mercedes Sprinter OEM Sliding Windows
For those seeking original equipment manufacturer (OEM) quality, Mercedes Sprinter OEM sliding windows offer a perfect fit and premium performance. These windows, such as those available at CARDIAGTECH.NET, maintain the integrity and functionality of your Sprinter van.
6.1. Features of OEM Sliding Windows
- Perfect Fit: Designed specifically for Mercedes Sprinter vans, ensuring seamless integration.
- High Quality: Manufactured to meet Mercedes-Benz standards.
- Multiple Locking Positions: Includes three locking positions for secure ventilation.
- Flush Design: The opening glass panel closes perfectly flush with the surrounding glass.
6.2. Compatibility
Mercedes Sprinter OEM sliding windows fit both the 144″ and 170″ wheelbase models, as well as all model years from 2007 onwards (NCV3 and VS30).
6.3. Additional Components
When installing OEM sliding windows, consider additional components such as:
- Rubber Seals: Mercedes Sprinter OEM sliding window rubber seals cover the factory pinch weld.
- Window Screens: Protect the interior from insects while allowing ventilation.
7. Common Issues and Troubleshooting
Even with careful installation and maintenance, issues can arise with bonded windows. Here are some common problems and how to address them:
7.1. Leaks
- Problem: Water leaks around the window edges.
- Solution: Identify the source of the leak and re-seal the window using a high-quality urethane adhesive. Ensure the bonding surface is clean and dry before applying the adhesive.
7.2. Cracks and Chips
- Problem: Cracks or chips in the glass.
- Solution: Repair minor chips with a glass repair kit. For larger cracks, replace the entire window.
7.3. Adhesive Failure
- Problem: The adhesive bond weakens over time, causing the window to loosen.
- Solution: Remove the old adhesive and re-bond the window using a fresh application of urethane adhesive.
7.4. Noise and Vibration
- Problem: Increased noise or vibration from the window while driving.
- Solution: Check the window’s seal and ensure it is properly bonded to the vehicle frame. Apply additional adhesive if necessary.
8. The Benefits of Professional Installation
While DIY installation can save money, professional installation offers several advantages:
8.1. Expertise and Experience
Professional installers have the expertise and experience to ensure proper window placement, sealing, and bonding.
8.2. Proper Tools and Equipment
Professionals have access to specialized tools and equipment that ensure a high-quality installation.
8.3. Warranty and Guarantee
Professional installations often come with a warranty or guarantee, providing peace of mind in case of issues.
8.4. Time Savings
Professional installation saves time and effort, allowing you to focus on other tasks.
9. Cost Analysis: DIY vs. Professional Installation
Consider the costs associated with both DIY and professional installation:
9.1. DIY Costs
- Window Kit: $200 – $800
- Tools and Materials: $100 – $300 (if you don’t already own them)
- Time: Several hours
9.2. Professional Installation Costs
- Labor: $300 – $800 per window
- Window and Materials: Included in the labor cost
9.3. Making the Decision
Decide based on your skills, budget, and comfort level. If you are confident in your abilities and have the necessary tools, DIY can be a cost-effective option. However, if you prefer a guaranteed result and want to save time, professional installation is the better choice.
10. Maximizing Your Mercedes Sprinter’s Potential with Bonded Windows
Bonded windows not only enhance the appearance of your Mercedes Sprinter but also contribute to its functionality and value.
10.1. Increased Resale Value
A well-maintained Mercedes Sprinter with professionally installed bonded windows can command a higher resale value.
10.2. Enhanced Comfort
Bonded windows provide better insulation, reducing noise and temperature fluctuations inside the van.
10.3. Customization Options
Bonded windows can be customized with tints, screens, and other accessories to suit your specific needs and preferences.
10.4. Improved Security
Bonded windows are more difficult to break than traditional windows, providing added security for your van and its contents.
11. Why CARDIAGTECH.NET is Your Best Choice
At CARDIAGTECH.NET, we understand the challenges faced by auto repair professionals and DIY enthusiasts. Our tools and equipment are designed to enhance your efficiency, precision, and safety.
11.1. Addressing Customer Challenges
- Physical Demands: Our ergonomic tools reduce physical strain and fatigue.
- Keeping Up with Technology: We offer the latest diagnostic and repair equipment.
- Time Constraints: Our efficient tools help you complete jobs faster.
- Competition: Our high-quality tools enable you to provide superior service.
- Finding the Right Tools: We offer a wide selection of tools to meet your specific needs.
11.2. Providing Essential Services
- Increased Efficiency: Our tools streamline your workflow.
- Enhanced Accuracy: Precision tools ensure accurate repairs.
- Cost Savings: Our durable tools reduce the need for frequent replacements.
- Revenue Growth: High-quality service leads to increased customer satisfaction and referrals.
- Enhanced Reputation: Using the best tools enhances your shop’s reputation.
12. Take Action Now
Ready to transform your Mercedes Sprinter with bonded windows? Contact CARDIAGTECH.NET today for expert advice and top-quality products. Our team is here to help you choose the perfect windows and provide guidance on installation and maintenance.
- Address: 276 Reock St, City of Orange, NJ 07050, United States
- WhatsApp: +1 (641) 206-8880
- Website: CARDIAGTECH.NET
Don’t wait—upgrade your Mercedes Sprinter with bonded windows and experience the difference. Contact us now to elevate your van’s aesthetics, safety, and functionality.
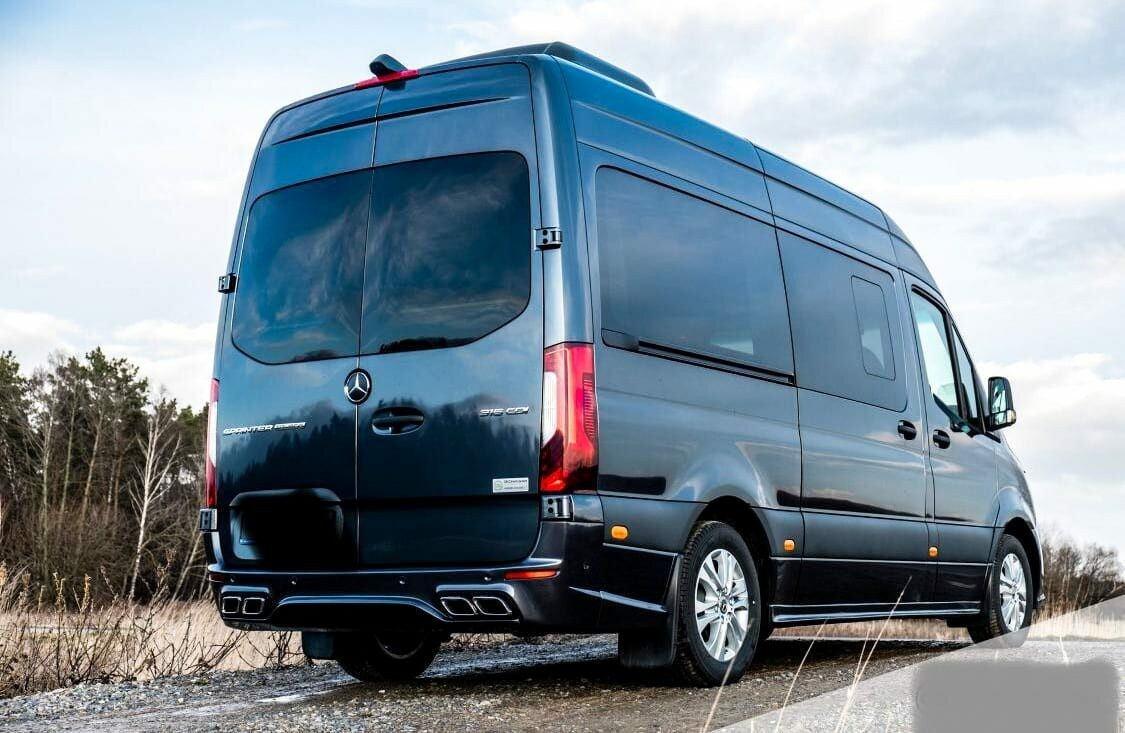
Mercedes Sprinter Bonded Window Installation
Mercedes Sprinter van showcasing the seamless integration of bonded windows, enhancing its overall appearance and functionality.
Frequently Asked Questions (FAQ)
Q1: What are the benefits of using bonded windows for my Mercedes Sprinter?
Bonded windows offer enhanced aesthetics, improved safety due to increased structural integrity, reduced noise, and better leak prevention compared to traditional windows.
Q2: Can I install bonded windows myself, or should I hire a professional?
While DIY installation is possible, professional installation ensures proper sealing and structural integrity. If you lack experience, hiring a professional is recommended.
Q3: What tools and materials are needed for a DIY bonded window installation?
You’ll need urethane adhesive, primer, a caulking gun, cutting tools, edge molding, and safety gear like gloves and safety glasses.
Q4: How do I choose the right bonded window kit for my Mercedes Sprinter?
Look for a kit that includes all necessary components (window, adhesive, primer), comes from a reputable brand, has positive customer reviews, and balances price with quality.
Q5: How often should I clean my bonded windows?
Clean your bonded windows regularly with a mild glass cleaner and a soft cloth to maintain their appearance and prevent damage.
Q6: What should I do if I notice a leak around my bonded window?
Identify the source of the leak and re-seal the window using a high-quality urethane adhesive. Ensure the bonding surface is clean and dry before application.
Q7: Are bonded windows more secure than traditional windows?
Yes, bonded windows are more difficult to break than traditional windows, providing added security for your van.
Q8: How long does it take for the urethane adhesive to cure after installing a bonded window?
Allow 3-6 hours of set time before driving the vehicle. It’s best to wait at least 24 hours before exposing the window to harsh conditions.
Q9: Can bonded windows be tinted?
Yes, bonded windows can be tinted to reduce glare, increase privacy, and enhance the vehicle’s appearance.
Q10: Where can I purchase high-quality bonded windows and installation kits for my Mercedes Sprinter?
You can find a wide selection of bonded windows and installation kits at CARDIAGTECH.NET. We offer top-quality products and expert advice to help you with your installation.
By choosing CARDIAGTECH.NET, you’re investing in quality, durability, and superior performance. Contact us today to learn more about how our tools and equipment can transform your auto repair business.