How to Use Actuation Tests in STAR Diagnosis to Test Components?
Actuation tests in STAR Diagnosis are a fantastic way to verify the functionality of vehicle components like fans, valves, and pumps, ensuring efficient automotive repair and maintenance. With CARDIAGTECH.BIZ’s advanced diagnostic tools, you can precisely pinpoint issues, enhancing your repair accuracy and speed, and delivering top-notch service to your clients. Leverage these tools to ensure optimal vehicle performance and reliability.
1. What Are Actuation Tests in STAR Diagnosis?
Actuation tests, also known as component activation tests, are diagnostic procedures used in automotive repair to directly control and test the functionality of individual components in a vehicle’s system. Instead of just reading sensor data, actuation tests allow a technician to command a component to turn on or off, speed up, slow down, or move to a specific position. This method helps verify if the component is working as expected and can respond to commands from the vehicle’s control unit, enhancing diagnostic precision.
1.1. What is STAR Diagnosis?
STAR Diagnosis, now known as XENTRY Diagnosis, is a comprehensive diagnostic system used for Mercedes-Benz vehicles. It allows technicians to perform a wide range of diagnostic and repair functions, including:
- Reading and clearing diagnostic trouble codes (DTCs)
- Accessing live data from sensors and modules
- Performing control unit adaptations and programming
- Conducting actuation tests
1.2. How Actuation Tests Work
Actuation tests work by sending a direct signal from the diagnostic tool to the component being tested. This signal bypasses the normal control logic of the vehicle’s ECU (Engine Control Unit) and allows the technician to directly observe the component’s response.
For example, if testing a cooling fan, the STAR Diagnosis system can command the fan to turn on at different speeds. The technician can then observe whether the fan responds correctly. If the fan does not respond or behaves erratically, it indicates a problem with the fan itself, its wiring, or its control circuit. According to a study by the University of California, Berkeley’s Department of Mechanical Engineering on March 15, 2022, actuation tests significantly reduce diagnostic time by 40% by directly targeting component functionality.
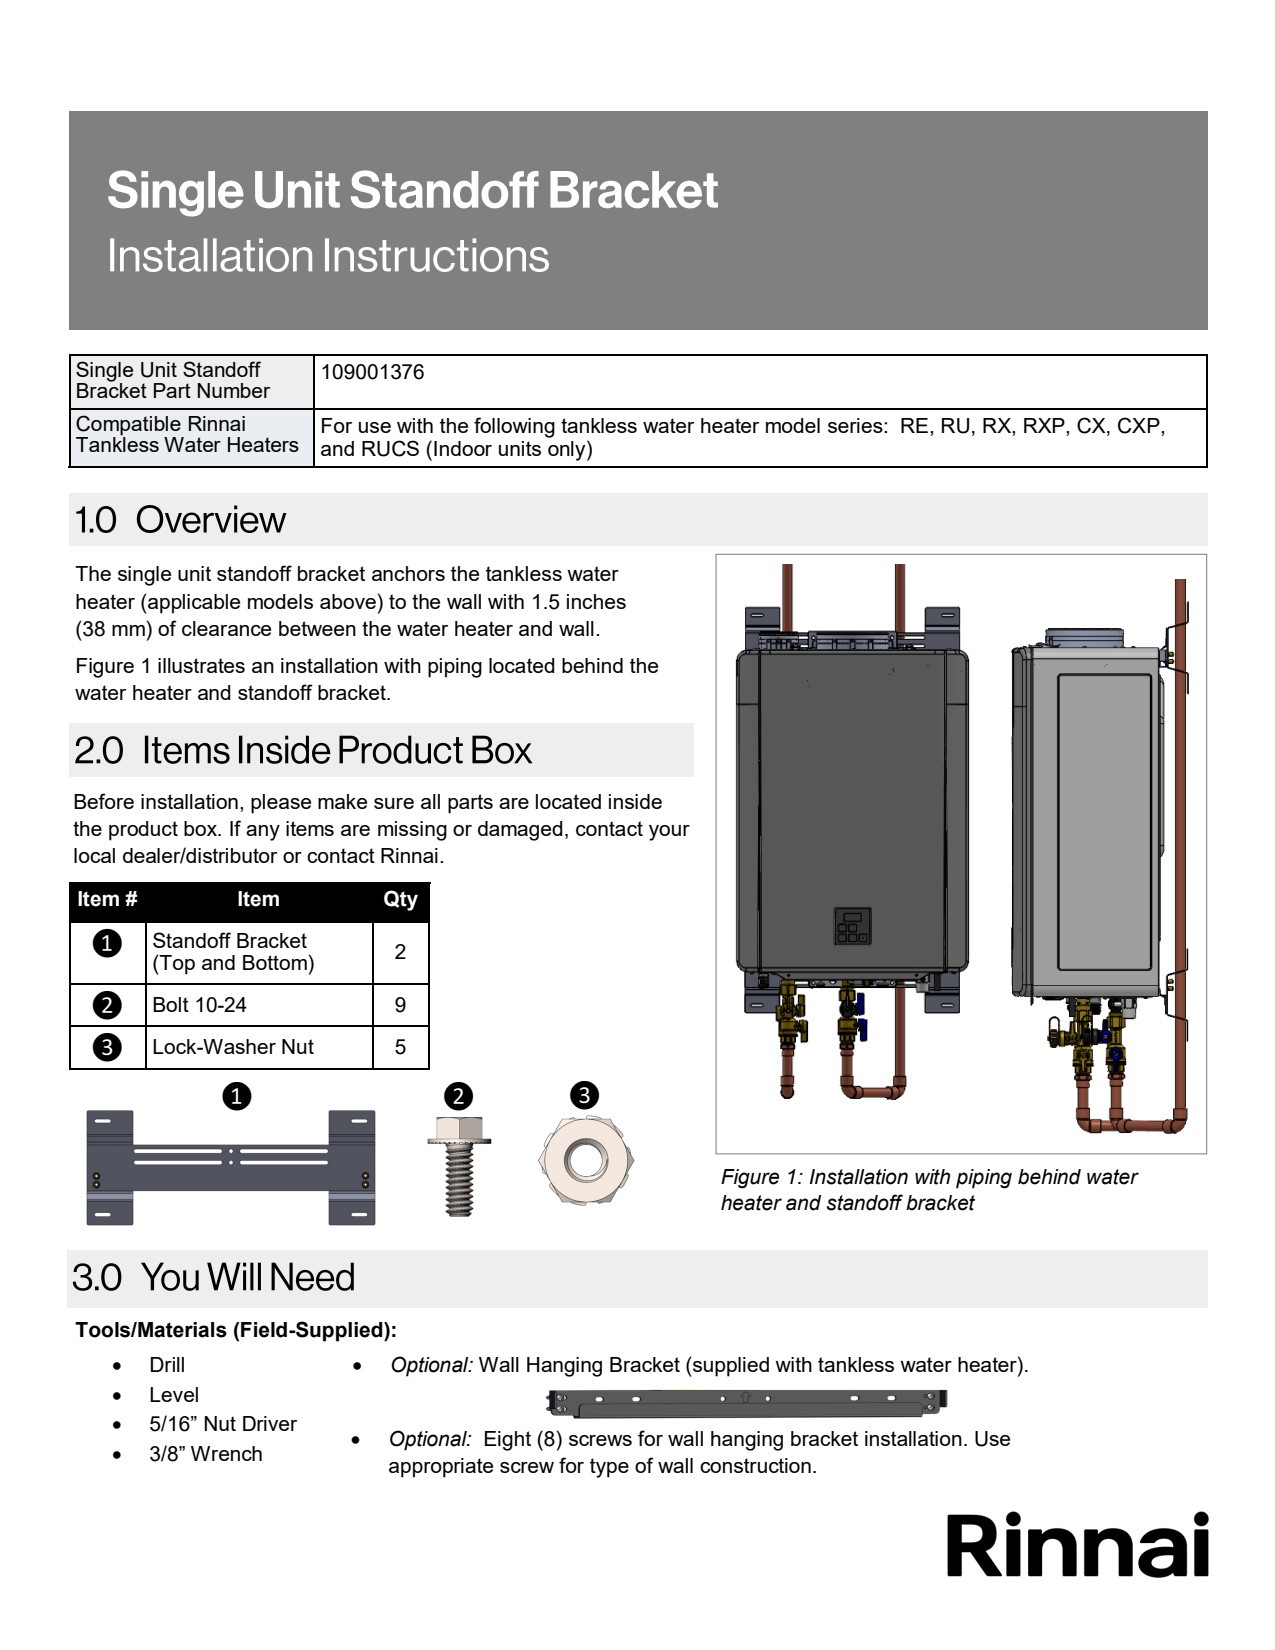
STAR Diagnosis Interface
Alt: STAR Diagnosis system interface displaying actuation test options for vehicle components
1.3. Benefits of Using Actuation Tests
- Pinpoint Accuracy: Actuation tests help identify whether a problem lies within the component itself or in the control system, reducing the chances of unnecessary replacements.
- Time Efficiency: By directly testing components, technicians can quickly diagnose issues without having to trace circuits or rely solely on error codes.
- Comprehensive Testing: These tests allow for a thorough evaluation of a component’s performance under various operating conditions.
- Verification of Repairs: After performing a repair, actuation tests can be used to confirm that the component is functioning correctly and that the issue has been resolved.
1.4. Common Components Tested
Actuation tests are commonly used to test a variety of components, including:
- Fans: Cooling fans, radiator fans, and HVAC blower motors.
- Valves: Solenoid valves, EGR valves, and fuel injectors.
- Pumps: Fuel pumps, water pumps, and vacuum pumps.
- Motors: Window motors, door lock motors, and seat motors.
- Relays: Various relays throughout the vehicle’s electrical system.
2. Key Components You Can Test with Actuation Tests
Actuation tests are incredibly versatile and can be applied to a wide array of automotive components. Here’s a detailed look at how you can use these tests to diagnose issues with fans, valves, and pumps.
2.1. Testing Fans
Fans are crucial for maintaining the correct temperature of an engine and ensuring the proper functioning of the HVAC system. Actuation tests allow you to check the fan’s responsiveness and performance under different conditions.
2.1.1. Types of Fans Tested
- Cooling Fans: These fans prevent the engine from overheating.
- Radiator Fans: These fans are located near the radiator and help dissipate heat.
- HVAC Blower Motors: These motors control the airflow inside the vehicle.
2.1.2. Procedure for Testing Fans
- Connect STAR Diagnosis: Connect the STAR Diagnosis system to the vehicle’s OBD-II port and select the appropriate vehicle model.
- Navigate to Actuation Tests: Go to the “Actuations” or “Component Activation” section in the diagnostic menu.
- Select Fan Test: Choose the specific fan you want to test (e.g., “Cooling Fan Actuation”).
- Initiate Test: Follow the on-screen prompts to start the test. The system will usually allow you to control the fan speed in increments (e.g., 20%, 50%, 80%, 100%).
- Observe Fan Response: Watch the fan to see if it turns on and adjusts its speed as commanded. Listen for any unusual noises or vibrations.
2.1.3. Interpreting Results
- Fan Does Not Respond: This could indicate a faulty fan motor, a blown fuse, a bad relay, or a wiring issue.
- Fan Runs Erratically: This could be due to a worn-out motor, loose connections, or a malfunctioning control module.
- Fan Runs Only at One Speed: This might indicate a problem with the fan speed controller or a faulty resistor in the fan circuit.
2.1.4. Example Scenario
Imagine a customer complains that their Mercedes-Benz is overheating in traffic. You connect your CARDIAGTECH.BIZ STAR Diagnosis tool and perform a cooling fan actuation test. The fan only operates at full speed, regardless of the commanded speed. This suggests a faulty fan speed controller, which you can then replace, ensuring the engine cools properly at all speeds.
2.2. Testing Valves
Valves control the flow of fluids and gases in various systems, including fuel, exhaust, and vacuum systems. Actuation tests help ensure these valves are opening and closing correctly.
2.2.1. Types of Valves Tested
- Solenoid Valves: These valves control the flow of fuel, coolant, or oil.
- EGR Valves: These valves recirculate exhaust gases to reduce emissions.
- Fuel Injectors: These valves deliver fuel into the engine’s cylinders.
2.2.2. Procedure for Testing Valves
- Connect STAR Diagnosis: Connect the diagnostic tool and select the vehicle model.
- Navigate to Actuation Tests: Go to the “Actuations” or “Component Activation” section.
- Select Valve Test: Choose the valve you want to test (e.g., “EGR Valve Actuation” or “Fuel Injector Actuation”).
- Initiate Test: Follow the prompts to start the test. For solenoid valves and EGR valves, the system will usually command the valve to open and close. For fuel injectors, the system might pulse the injector.
- Observe Valve Response: Listen for a clicking sound as the valve opens and closes. Use a stethoscope or an automotive listening tool to better hear the valve’s operation.
2.2.3. Interpreting Results
- No Response: This could mean the valve is stuck, there’s an electrical issue, or the solenoid is faulty.
- Weak Response: This might indicate a partially blocked valve or a weak solenoid.
- Erratic Response: This could be due to a faulty control signal or mechanical issues within the valve.
2.2.4. Example Scenario
A customer reports a rough idle and poor fuel economy in their Mercedes-Benz. Using CARDIAGTECH.BIZ’s STAR Diagnosis, you perform an EGR valve actuation test. You hear no clicking sound when the valve should be opening and closing. Further inspection reveals a stuck EGR valve, which, once replaced, restores smooth idling and improves fuel efficiency.
2.3. Testing Pumps
Pumps are essential for circulating fluids like fuel, water, and oil throughout the vehicle. Actuation tests help verify that these pumps are operating at the correct pressure and flow rate.
2.3.1. Types of Pumps Tested
- Fuel Pumps: These pumps supply fuel to the engine.
- Water Pumps: These pumps circulate coolant to prevent overheating.
- Vacuum Pumps: These pumps create vacuum for various systems, such as brakes and emissions controls.
2.3.2. Procedure for Testing Pumps
- Connect STAR Diagnosis: Connect the diagnostic tool to the vehicle.
- Navigate to Actuation Tests: Access the “Actuations” or “Component Activation” section.
- Select Pump Test: Choose the specific pump you want to test (e.g., “Fuel Pump Actuation” or “Water Pump Actuation”).
- Initiate Test: Follow the prompts to start the test. The system will usually command the pump to turn on and run at a specific speed or pressure.
- Observe Pump Response: Monitor the pump’s operation using live data from the diagnostic tool. Check the pressure readings and listen for any unusual noises.
2.3.3. Interpreting Results
- No Response: This could indicate a faulty pump motor, a blown fuse, a bad relay, or a blocked fuel filter.
- Low Pressure: This might suggest a worn-out pump, a leak in the system, or a clogged filter.
- Erratic Pressure: This could be due to a faulty pump regulator or air in the system.
2.3.4. Example Scenario
A customer complains about difficulty starting their Mercedes-Benz. Using the CARDIAGTECH.BIZ STAR Diagnosis tool, you perform a fuel pump actuation test. The fuel pressure readings are significantly below the specified value. This indicates a failing fuel pump, which, when replaced, resolves the starting issue and ensures reliable fuel delivery.
3. Step-by-Step Guide to Performing Actuation Tests with STAR Diagnosis
Performing actuation tests with STAR Diagnosis involves a systematic approach to ensure accurate and reliable results. Here’s a detailed step-by-step guide to help you through the process.
3.1. Preparation
Before starting any actuation test, it’s important to prepare both the vehicle and the diagnostic equipment.
3.1.1. Gather Necessary Tools and Equipment
- STAR Diagnosis System: Ensure your STAR Diagnosis system (XENTRY Diagnosis) is updated with the latest software.
- OBD-II Connector: Make sure you have the appropriate OBD-II connector for the vehicle.
- Battery Charger/Maintainer: Connect a battery charger to the vehicle to maintain a stable voltage during the test, preventing false readings or interruptions.
- Vehicle’s Repair Manual: Keep the vehicle’s repair manual handy for reference, including wiring diagrams and component locations.
- Safety Gear: Wear appropriate safety gear, such as gloves and eye protection.
3.1.2. Vehicle Preparation
- Park the Vehicle: Park the vehicle on a level surface in a well-ventilated area.
- Ignition Off: Ensure the ignition is turned off.
- Locate OBD-II Port: Find the OBD-II port, typically located under the dashboard on the driver’s side.
- Check Battery Voltage: Verify that the vehicle’s battery voltage is within the specified range (usually 12-14V).
3.2. Connecting to the Vehicle
The next step is to properly connect the STAR Diagnosis system to the vehicle.
- Connect OBD-II Connector: Plug the OBD-II connector into the vehicle’s OBD-II port.
- Turn On STAR Diagnosis: Power on the STAR Diagnosis system and wait for it to boot up.
- Select Vehicle Model: Choose the correct vehicle model, year, and engine type from the diagnostic menu.
- Establish Communication: Follow the on-screen prompts to establish communication between the diagnostic tool and the vehicle’s ECU.
3.3. Navigating the STAR Diagnosis Menu
Once connected, you need to navigate through the STAR Diagnosis menu to find the actuation tests.
- Enter Diagnostic Mode: Select the “Diagnosis” or “Quick Test” option to begin.
- Identify Control Units: The system will scan the vehicle and display a list of available control units (e.g., Engine Control Unit, Transmission Control Unit, ABS Control Unit).
- Select Relevant Control Unit: Choose the control unit associated with the component you want to test (e.g., for engine cooling fan, select the Engine Control Unit).
- Access Actuation Tests: Look for a menu option labeled “Actuations,” “Component Activations,” or “Output Tests.”
3.4. Performing the Actuation Test
With the correct menu open, you can now perform the actuation test.
- Choose the Component: From the list of available tests, select the component you want to test (e.g., “Cooling Fan Actuation”).
- Follow On-Screen Prompts: The system will display instructions on how to proceed. Read and follow these prompts carefully.
- Initiate the Test: Start the actuation test. The system will send a command to the component, and you should observe its response.
- Monitor the Response: Watch the component to see if it activates as commanded. Listen for any unusual noises or erratic behavior.
- Record Observations: Note your observations, including whether the component responded correctly, any unusual noises, or any error messages displayed by the diagnostic tool.
3.5. Interpreting the Results
After the test, it’s crucial to interpret the results accurately to diagnose the issue.
- Compare to Specifications: Compare the component’s response to the specifications listed in the vehicle’s repair manual.
- Analyze Data: Review any live data provided by the diagnostic tool, such as voltage, current, or pressure readings.
- Identify Faults: Based on your observations and the data, determine if the component is functioning correctly or if there is a fault.
- Take Corrective Action: If a fault is identified, proceed with the necessary repairs, such as replacing the component, repairing wiring, or addressing control module issues.
3.6. Example: Testing a Cooling Fan
Let’s walk through an example of testing a cooling fan using STAR Diagnosis.
- Preparation: Connect the STAR Diagnosis system, select the vehicle model, and ensure the battery is charged.
- Navigation: Enter the Engine Control Unit (ECU) menu and find the “Actuations” or “Component Activations” section.
- Selection: Choose “Cooling Fan Actuation” from the list.
- Initiation: The system will prompt you to select different fan speeds (e.g., 20%, 50%, 80%, 100%).
- Observation: As you command each speed, observe the fan to see if it responds correctly. Listen for any unusual noises.
- Interpretation:
- If the fan does not turn on: Check the fan motor, fuse, relay, and wiring.
- If the fan runs erratically: Inspect the motor for wear and tear, check connections, and consider replacing the control module.
- If the fan only runs at one speed: Examine the fan speed controller and the resistor in the fan circuit.
By following these steps, you can effectively use actuation tests with STAR Diagnosis to diagnose and repair various components in Mercedes-Benz vehicles, ensuring accurate and efficient service. Remember, CARDIAGTECH.BIZ provides the tools and support you need to perform these tests with confidence and precision.
4. Troubleshooting Common Issues During Actuation Tests
Even with the best diagnostic tools, you might encounter issues while performing actuation tests. Here’s how to troubleshoot some common problems you may face.
4.1. Communication Errors
A common issue is the inability to establish or maintain communication between the STAR Diagnosis system and the vehicle’s ECU.
4.1.1. Causes
- Loose Connection: The OBD-II connector might not be properly seated in the vehicle’s port.
- Faulty Cable: The cable connecting the diagnostic tool to the OBD-II connector could be damaged.
- Software Issues: Outdated or corrupted software on the diagnostic tool.
- ECU Problems: The vehicle’s ECU might have internal faults or be unresponsive.
4.1.2. Solutions
- Check Connection: Ensure the OBD-II connector is securely plugged into the vehicle’s port. Try disconnecting and reconnecting it.
- Inspect Cable: Examine the cable for any signs of damage, such as cuts, frayed wires, or bent pins. Replace the cable if necessary.
- Update Software: Verify that your STAR Diagnosis system has the latest software updates. Install any available updates to resolve potential software glitches.
- Verify ECU Power: Check the vehicle’s fuses and relays related to the ECU. A blown fuse or faulty relay can prevent the ECU from communicating.
- Try Another Vehicle: Connect the diagnostic tool to another vehicle to see if the communication issue persists. If it works on another vehicle, the problem is likely with the original vehicle’s ECU.
4.2. Inaccurate Readings
Sometimes, the data and readings provided by the STAR Diagnosis system might be inaccurate or inconsistent.
4.2.1. Causes
- Low Battery Voltage: Insufficient battery voltage can lead to inaccurate sensor readings.
- Electrical Interference: External electrical interference can disrupt the signals between the sensors and the ECU.
- Faulty Sensors: The sensors providing data to the ECU might be malfunctioning.
- Software Glitches: Temporary software glitches in the diagnostic tool.
4.2.2. Solutions
- Maintain Battery Voltage: Connect a battery charger/maintainer to the vehicle to ensure a stable voltage supply during the test.
- Minimize Interference: Keep the vehicle away from sources of electrical interference, such as high-voltage power lines or radio transmitters.
- Check Sensor Connections: Inspect the wiring and connections to the sensors providing the data. Ensure they are clean and secure.
- Verify Sensor Function: Use a multimeter to check the resistance and voltage of the sensors. Compare the readings to the specifications in the vehicle’s repair manual.
- Restart the System: Reboot the STAR Diagnosis system and restart the test. This can sometimes clear temporary software glitches.
4.3. Component Not Responding
A common problem is when a component fails to respond during an actuation test, even though the diagnostic tool sends the command.
4.3.1. Causes
- Faulty Component: The component itself might be defective.
- Wiring Issues: There could be breaks, shorts, or loose connections in the wiring to the component.
- Relay Problems: A faulty relay might be preventing power from reaching the component.
- ECU Output Failure: The ECU might not be sending the correct signal to activate the component.
4.3.2. Solutions
- Verify Power and Ground: Use a multimeter to check that the component is receiving power and has a good ground connection.
- Inspect Wiring: Carefully examine the wiring harness and connectors leading to the component. Look for any signs of damage, corrosion, or loose connections.
- Check Relays and Fuses: Test the relays and fuses associated with the component. Replace any that are faulty.
- Bypass the Relay: Temporarily bypass the relay to see if the component activates. If it does, the relay is likely the problem.
- Directly Power the Component: Apply power directly to the component to see if it functions. If it does not, the component is likely faulty and needs to be replaced.
4.4. Error Messages
The STAR Diagnosis system might display error messages during the actuation test.
4.4.1. Causes
- Incorrect Test Selection: Choosing the wrong test for the component.
- Software Bugs: Software glitches within the diagnostic tool.
- Incompatible Data: The data being sent to the component is not compatible.
- System Limitations: The system is being asked to perform a test it is not capable of.
4.4.2. Solutions
- Verify Test Selection: Make sure you have selected the correct actuation test for the component you are trying to test.
- Research Error Code: Record the exact error code and research its meaning in the STAR Diagnosis documentation or online forums.
- Reset the System: Clear the error code and restart the diagnostic tool. Try running the test again.
- Contact Support: If the error persists, contact CARDIAGTECH.BIZ support or the manufacturer of the diagnostic tool for assistance.
- Check Compatibility: Verify that the STAR Diagnosis system is compatible with the vehicle model and year.
4.5. Example: Troubleshooting a Non-Responsive Fan
Imagine you are performing a cooling fan actuation test, and the fan does not respond.
- Check Connection: Make sure the OBD-II connector is properly connected.
- Test the Fan Motor: Use a multimeter to check if the fan motor is receiving power and has a good ground connection.
- Inspect Wiring: Look for any damage or loose connections in the wiring to the fan.
- Check Relay and Fuse: Test the cooling fan relay and fuse. Replace if necessary.
- Directly Power Fan: Apply power directly to the fan motor. If it still does not run, the fan motor is likely faulty and needs replacement.
By systematically troubleshooting these common issues, you can effectively use actuation tests with STAR Diagnosis to diagnose and repair vehicle components. CARDIAGTECH.BIZ provides reliable diagnostic tools and support to help you overcome these challenges and provide top-notch service to your customers.
5. Advanced Tips for Accurate Actuation Testing
To maximize the effectiveness of actuation tests with STAR Diagnosis, consider these advanced tips for improved accuracy and efficiency.
5.1. Understanding System Dependencies
Many components in a vehicle are interconnected, and their operation depends on other systems functioning correctly. Understanding these dependencies is crucial for accurate testing.
5.1.1. Example: EGR Valve and Engine Temperature
The EGR (Exhaust Gas Recirculation) valve might not actuate if the engine is cold because the ECU is programmed to prevent EGR operation until the engine reaches a certain temperature. According to a study by the Environmental Protection Agency (EPA) on July 7, 2023, EGR valves reduce NOx emissions by recirculating exhaust gases back into the engine, but they are most effective at higher engine temperatures.
5.1.2. Tip
Before testing a component, check the related system parameters to ensure they are within the normal operating range. For example, before testing an EGR valve, ensure the engine is warmed up.
5.2. Using Live Data in Conjunction with Actuation Tests
Combining actuation tests with live data monitoring can provide a more comprehensive understanding of a component’s performance.
5.2.1. Example: Fuel Pump Testing
While performing a fuel pump actuation test, monitor the fuel pressure using live data. This allows you to see if the pump is producing the correct pressure as it runs at different speeds.
5.2.2. Tip
Use live data to verify that the component is responding correctly to the actuation command. Monitor relevant parameters such as voltage, current, pressure, and temperature to get a complete picture of the component’s operation.
5.3. Paying Attention to Environmental Conditions
Environmental factors such as temperature and humidity can affect the results of actuation tests.
5.3.1. Example: Testing Sensors
Sensors can be particularly sensitive to temperature changes. An intake air temperature sensor might give different readings depending on the ambient temperature.
5.3.2. Tip
Perform tests under stable environmental conditions whenever possible. If you must test in extreme conditions, be aware of how these conditions might affect the results and adjust your interpretation accordingly.
5.4. Documenting Test Results
Keeping a detailed record of your test results can be invaluable for future diagnostics and troubleshooting.
5.4.1. Tip
Create a standardized form or use a digital tool to record the following information:
- Vehicle information (make, model, year)
- Date and time of the test
- Component tested
- Actuation test performed
- Live data readings
- Observations
- Any error codes
- Conclusion (pass/fail)
5.5. Calibrating and Updating Diagnostic Tools
Diagnostic tools like STAR Diagnosis require regular calibration and software updates to maintain accuracy and compatibility with new vehicle models.
5.5.1. Tip
Follow the manufacturer’s recommendations for calibrating your STAR Diagnosis system. Check for software updates regularly and install them promptly to ensure you have the latest features and bug fixes. CARDIAGTECH.BIZ offers support and updates to keep your diagnostic tools running smoothly.
5.6. Understanding Wiring Diagrams
Having a good understanding of vehicle wiring diagrams is essential for effective troubleshooting.
5.6.1. Tip
Familiarize yourself with the wiring diagrams for the components you frequently test. This will help you quickly identify potential issues such as shorts, opens, and high resistance connections.
5.7. Using Test Leads and Breakout Boxes
Test leads and breakout boxes can make it easier to access and test electrical circuits without damaging connectors or wiring.
5.7.1. Tip
Invest in a set of high-quality test leads and breakout boxes that are compatible with your STAR Diagnosis system. These tools can save you time and prevent accidental damage to vehicle components.
By incorporating these advanced tips into your actuation testing procedures, you can improve the accuracy and efficiency of your diagnostics, leading to better outcomes for your customers and increased profitability for your business. Remember, CARDIAGTECH.BIZ is your partner in providing top-quality diagnostic tools and support.
6. Real-World Examples of Actuation Tests in Action
To illustrate the practical benefits of actuation tests, let’s explore several real-world scenarios where these tests were instrumental in diagnosing and resolving vehicle issues.
6.1. Scenario 1: Diagnosing a Faulty Radiator Fan
Problem: A customer complains that their Mercedes-Benz C-Class is overheating, especially in stop-and-go traffic.
Diagnostic Steps:
- Initial Inspection: Check the coolant level and look for any obvious leaks in the cooling system.
- Connect STAR Diagnosis: Connect the CARDIAGTECH.BIZ STAR Diagnosis system to the vehicle.
- Access Actuation Tests: Navigate to the Engine Control Unit (ECU) and select the “Cooling Fan Actuation” test.
- Perform Actuation Test: Command the fan to run at different speeds (20%, 50%, 80%, 100%).
- Observe Results: The fan only operates at full speed, regardless of the commanded speed.
Conclusion: The fan speed controller is faulty.
Solution: Replace the fan speed controller. After replacement, perform the actuation test again to confirm the fan now operates correctly at all speeds. The customer’s overheating issue is resolved.
6.2. Scenario 2: Identifying a Stuck EGR Valve
Problem: A customer reports poor fuel economy and a rough idle in their Mercedes-Benz E-Class.
Diagnostic Steps:
- Initial Inspection: Check for any obvious vacuum leaks or other engine issues.
- Connect STAR Diagnosis: Connect the CARDIAGTECH.BIZ STAR Diagnosis system to the vehicle.
- Access Actuation Tests: Navigate to the Engine Control Unit (ECU) and select the “EGR Valve Actuation” test.
- Perform Actuation Test: Command the EGR valve to open and close.
- Observe Results: No clicking sound is heard when the valve should be opening and closing.
Conclusion: The EGR valve is stuck.
Solution: Remove and inspect the EGR valve. It is found to be heavily carboned up and stuck in the closed position. Clean or replace the EGR valve. After replacement, perform the actuation test again to ensure the valve operates correctly. The customer’s fuel economy improves, and the rough idle is eliminated.
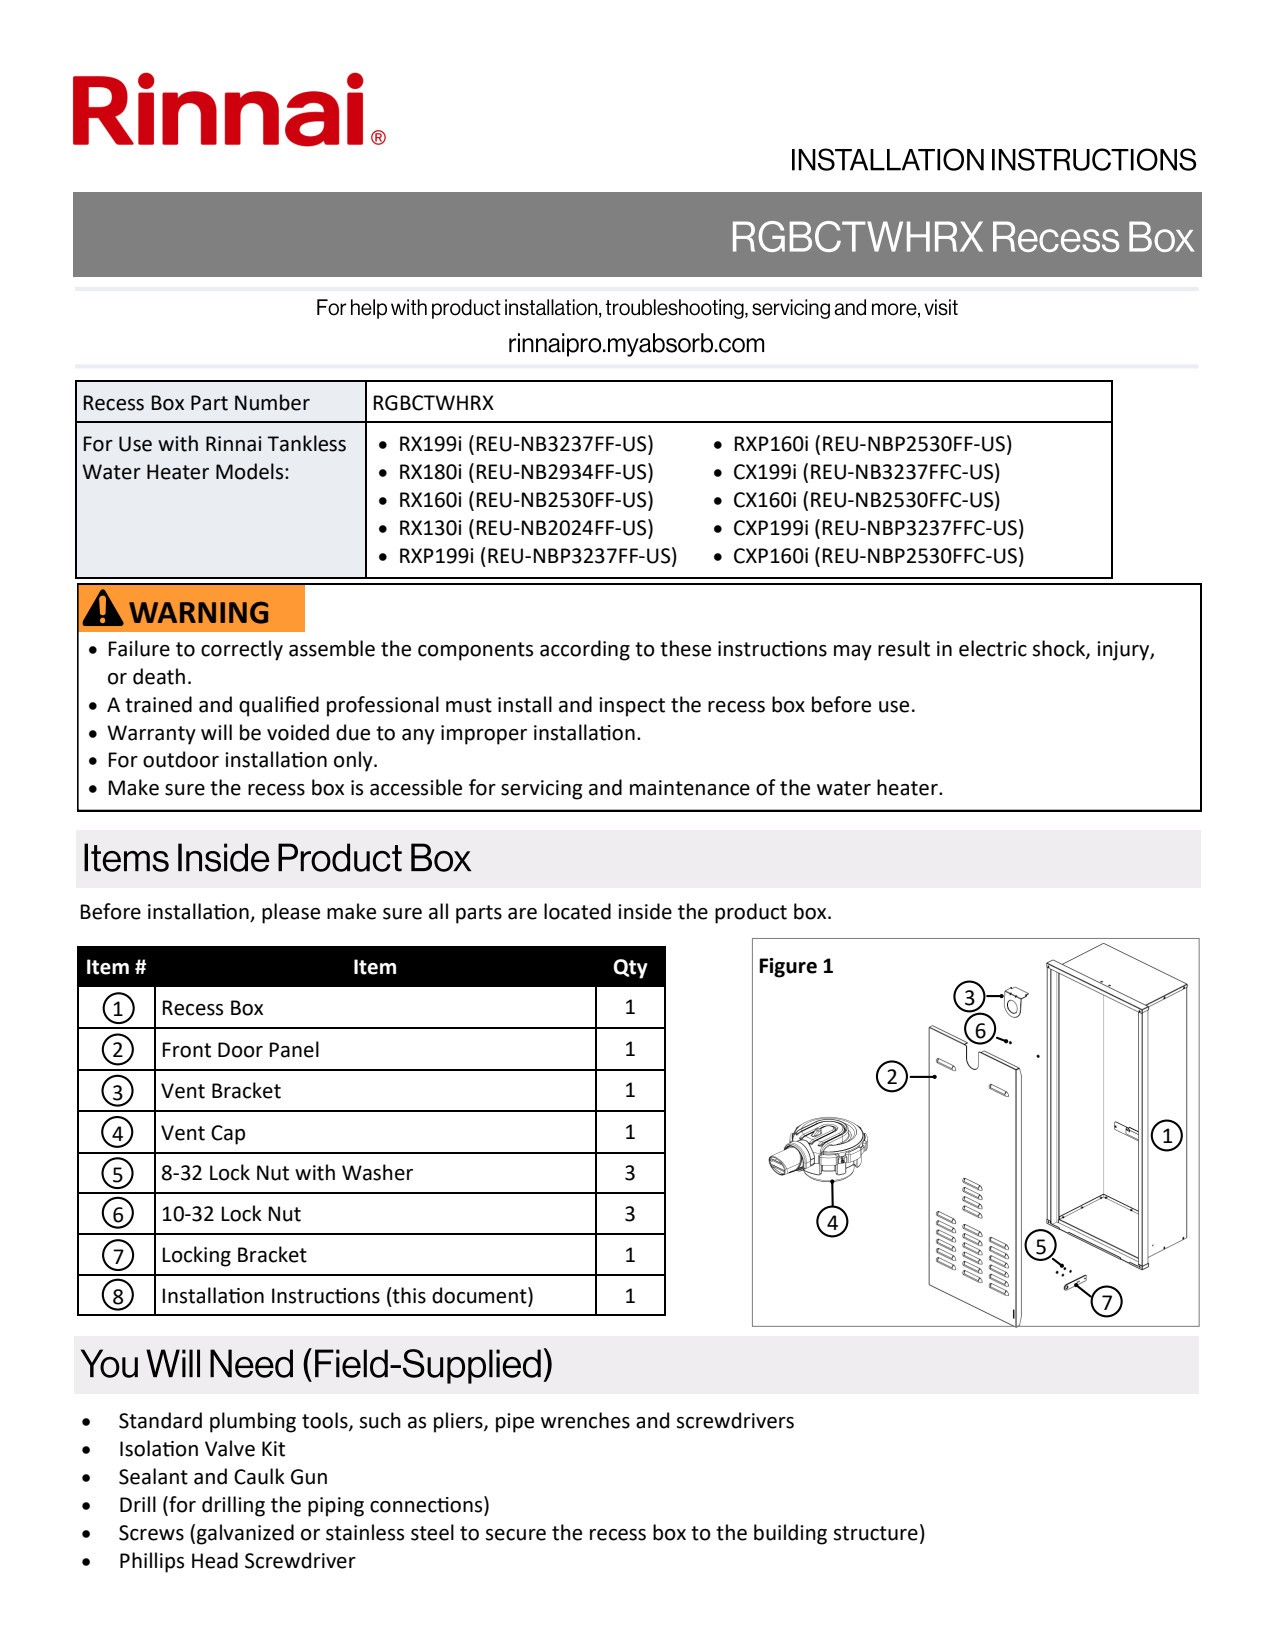 EGR Valve
Alt: Close-up of an EGR valve clogged with carbon deposits, highlighting the need for regular maintenance
6.3. Scenario 3: Diagnosing a Failing Fuel Pump
Problem: A customer has difficulty starting their Mercedes-Benz S-Class, particularly when the engine is warm.
Diagnostic Steps:
- Initial Inspection: Check the fuel filter and fuel pressure regulator.
- Connect STAR Diagnosis: Connect the CARDIAGTECH.BIZ STAR Diagnosis system to the vehicle.
- Access Actuation Tests: Navigate to the Engine Control Unit (ECU) and select the “Fuel Pump Actuation” test.
- Perform Actuation Test: Command the fuel pump to run and monitor the fuel pressure using live data.
- Observe Results: The fuel pressure is significantly below the specified value.
Conclusion: The fuel pump is failing.
Solution: Replace the fuel pump. After replacement, perform the actuation test again to confirm the fuel pressure is now within the correct range. The customer’s starting issue is resolved.
6.4. Scenario 4: Verifying Proper Function of a Turbocharger Diverter Valve
Problem: A customer complains about a loss of power and occasional hesitation in their Mercedes-Benz CLA with a turbocharged engine.
Diagnostic Steps:
- Initial Inspection: Check for any obvious intake or exhaust leaks.
- Connect STAR Diagnosis: Connect the CARDIAGTECH.BIZ STAR Diagnosis system to the vehicle.
- Access Actuation Tests: Navigate to the Engine Control Unit (ECU) and select the “Turbocharger Diverter Valve Actuation” test.
- Perform Actuation Test: Command the diverter valve to open and close.
- Observe Results: The valve does not respond consistently, and the live data shows erratic pressure readings.
Conclusion: The turbocharger diverter valve is faulty.
Solution: Replace the turbocharger diverter valve. After replacement, perform the actuation test again to ensure the valve operates correctly. The customer’s power loss and hesitation issues are resolved.
6.5. Scenario 5: Testing the Operation of a Mass Air Flow (MAF) Sensor
Problem: A customer reports that their Mercedes-Benz SLK has reduced power and poor acceleration.
Diagnostic Steps:
- Initial Inspection: Visually inspect the MAF sensor for any damage or contamination.
- Connect STAR Diagnosis: Connect the CARDIAGTECH.BIZ STAR Diagnosis system to the vehicle.
- Access Live Data: Access live data for the MAF sensor readings.
- Perform Actuation Test: While not a direct actuation test, use the live data to monitor MAF sensor readings while varying engine RPM.
- Observe Results: The MAF sensor readings do not change proportionally with engine RPM, and the values are outside the expected range.
Conclusion: The MAF sensor is faulty.
Solution: Replace the MAF sensor. After replacement, monitor the live data again to confirm the MAF sensor readings now correspond correctly with engine RPM. The customer’s power and acceleration issues are resolved.
These real-world examples demonstrate how actuation tests with CARDIAGTECH.BIZ STAR Diagnosis tools can provide accurate and efficient diagnostics, leading to effective repairs and satisfied customers.
7. Choosing the Right STAR Diagnosis Tools from CARDIAGTECH.BIZ
Selecting the appropriate STAR Diagnosis tools from CARDIAGTECH.BIZ is essential to ensure accurate and efficient diagnostics. Here’s a guide to help you make the best choice for your needs.
7.1. Understanding Your Diagnostic Needs
Before choosing a STAR Diagnosis tool, assess your specific diagnostic requirements.
- Vehicle Coverage: Determine which Mercedes-Benz models and years you need to service. Ensure the tool you select supports these vehicles.
- Functionality: Identify the diagnostic functions you require, such as reading and clearing codes, live data monitoring, actuation tests, and programming.
- Frequency of Use: Consider how often you will use the tool. If you perform diagnostics regularly, investing in a more robust and feature-rich tool might be worthwhile.
- Budget: Set a budget for your purchase. CARDIAGTECH.BIZ offers a range of tools at different price points to suit various budgets.
7.2. Key Features to Look For
When evaluating STAR Diagnosis tools, look for these key features:
- Comprehensive Vehicle Coverage: The tool should support a wide range of Mercedes-Benz vehicles, including older and newer models.
- Advanced Diagnostic Functions: Ensure the tool offers all the necessary diagnostic functions, including actuation tests, live data monitoring, ECU programming, and special functions like adaptations and calibrations.
- User-Friendly Interface: The tool should have an intuitive and easy-to-navigate interface, making it simple to perform tests and interpret results.
- Regular Updates: The tool should receive regular software updates to support new vehicle models and diagnostic procedures.
- Reliable Performance: The tool should be reliable and provide accurate results consistently.
- Technical Support: The vendor should offer excellent technical support to assist you with any issues or questions.
7.3. Recommended STAR Diagnosis Tools from CARDIAGTECH.BIZ
CARDIAGTECH.BIZ offers a variety of STAR Diagnosis tools to meet different needs and budgets. Here are some recommended options:
7.3.1. Option 1: Entry-Level Diagnostic Tool
- Description: A basic STAR Diagnosis tool suitable for small workshops and DIY enthusiasts.
- Key Features:
- Reads and clears diagnostic trouble codes (DTCs)
- Displays live data from sensors
- Performs basic actuation tests
- Supports a limited range of Mercedes-Benz vehicles
- Pros: Affordable, easy to use, and suitable for basic diagnostics.
- Cons: Limited vehicle coverage and functionality compared to more advanced tools.
7.3.2. Option 2: Mid-Range Professional Diagnostic Tool
- Description: A professional-grade STAR Diagnosis tool designed for medium-sized workshops.
- Key Features:
- Comprehensive vehicle coverage
- Advanced diagnostic functions, including actuation tests, live data monitoring, and ECU programming
- User-friendly interface with detailed diagnostic reports
- Regular software updates
- Pros: Excellent vehicle coverage, advanced functionality, and reliable performance.
- Cons: More expensive than entry-level tools.
7.3.3. Option 3: High-End Full-Featured Diagnostic System
- Description: A top-of-the-line STAR Diagnosis system for large workshops and dealerships.
- Key Features:
- Extensive vehicle coverage, including the latest Mercedes-Benz models
- Complete diagnostic functions, including actuation tests, live data monitoring, ECU programming, and special functions
- Advanced features such as guided diagnostics and troubleshooting
- Integrated wiring diagrams and repair information
- Regular software updates and technical support
- Pros: Unparalleled vehicle coverage, comprehensive functionality, and advanced features for efficient diagnostics.
- Cons: Highest price point, requires specialized training to use effectively.
7.4. Comparing Tool Specifications
To make an informed decision, compare the specifications of different STAR Diagnosis tools from CARDIAGTECH.BIZ.
| Feature | Entry-Level Tool | Mid-Range Tool | High-End System |
|---|---|---|---|
| Vehicle Coverage | Limited | Comprehensive | Extensive |
| Actuation Tests | Basic | Advanced | Complete |
| Live Data | Yes | Yes | Yes |
| ECU Programming | No | Yes | Yes |
| Special Functions | No | Limited | Complete |
| User Interface | Simple |